
This project only cost me $1
Supplies
Step 1
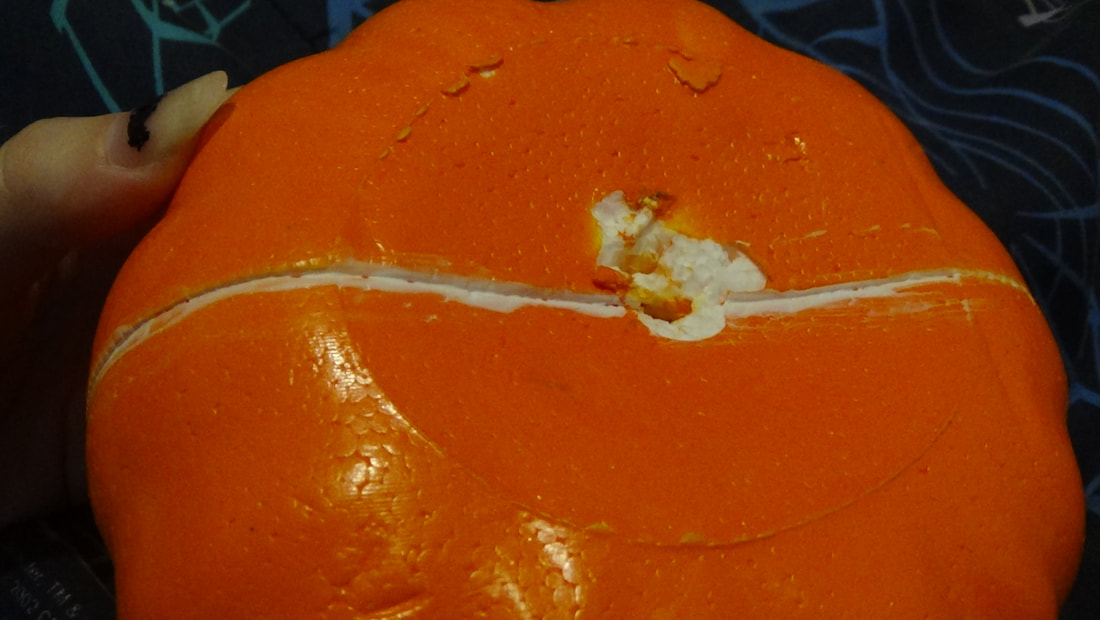
The first thing I did was take some fabric paint and try to even out the line that ran down the middle of the pumpkin, this is completely optional, it just bugged me a bit lol. I also took the stem off so that I could not only add the tail later, but to also attach it better, since it was only held on by a toothpick.
Step 2
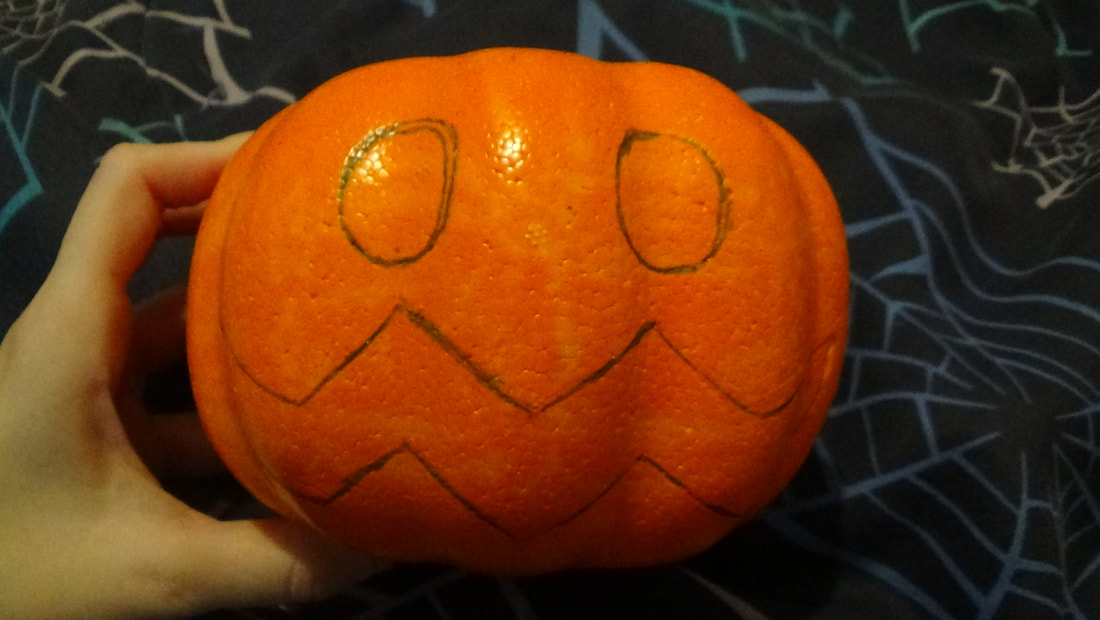
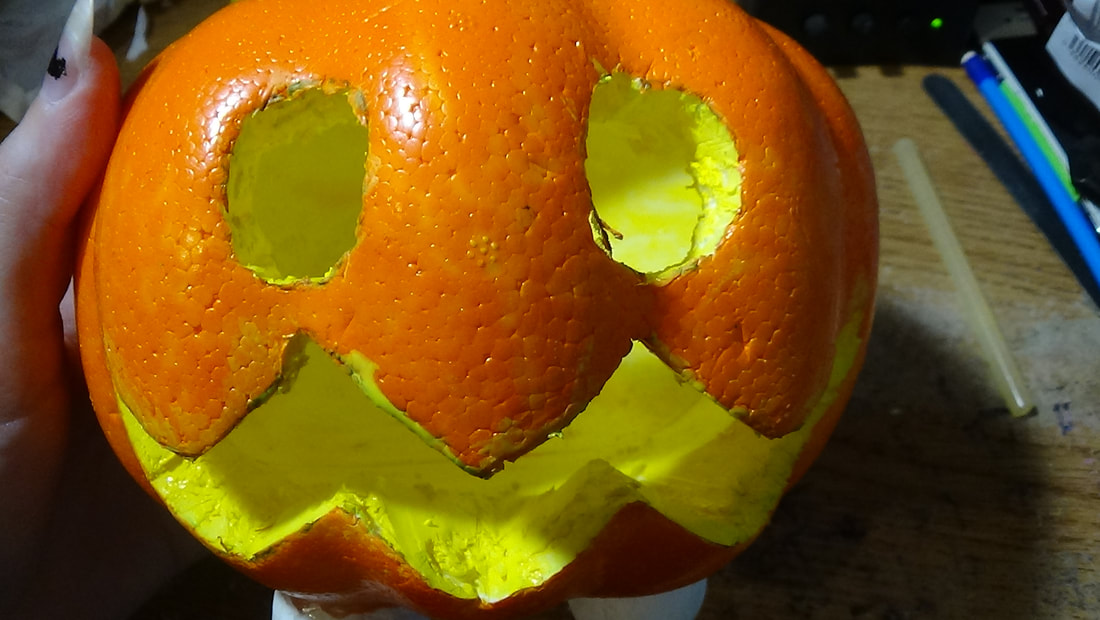
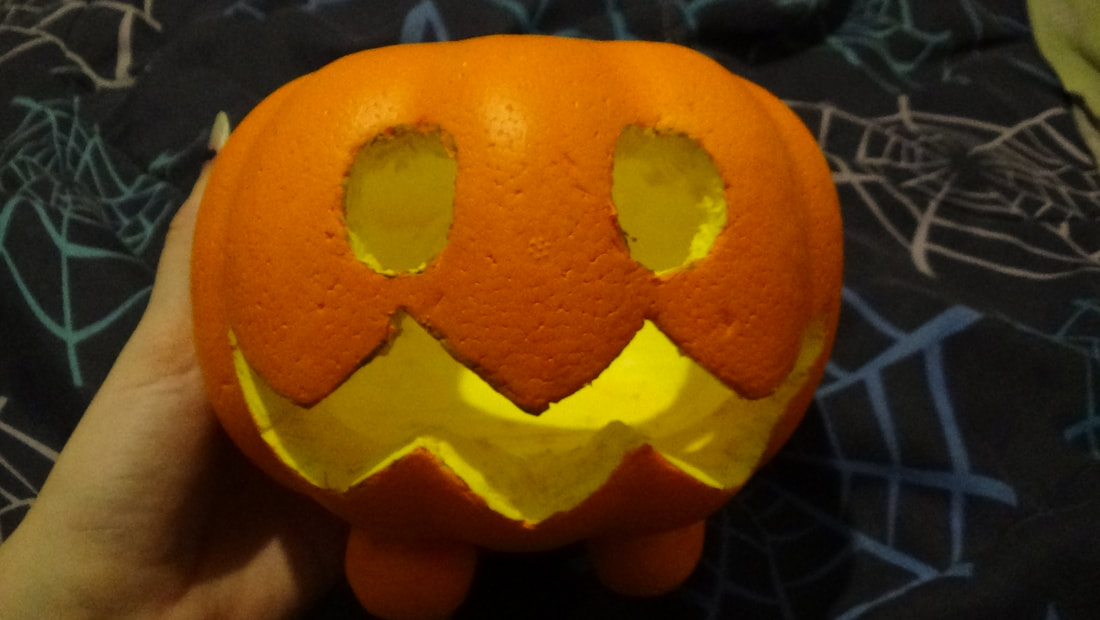
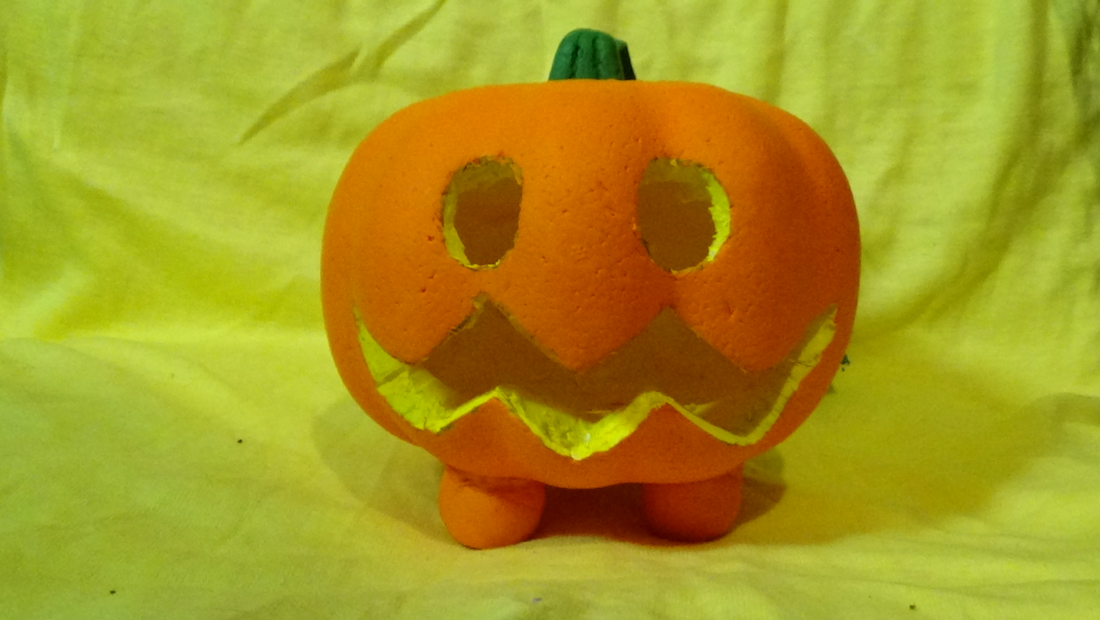
The next step was to draw his face and cut it out, if you are younger please have an adult help you with this step.
Step 3
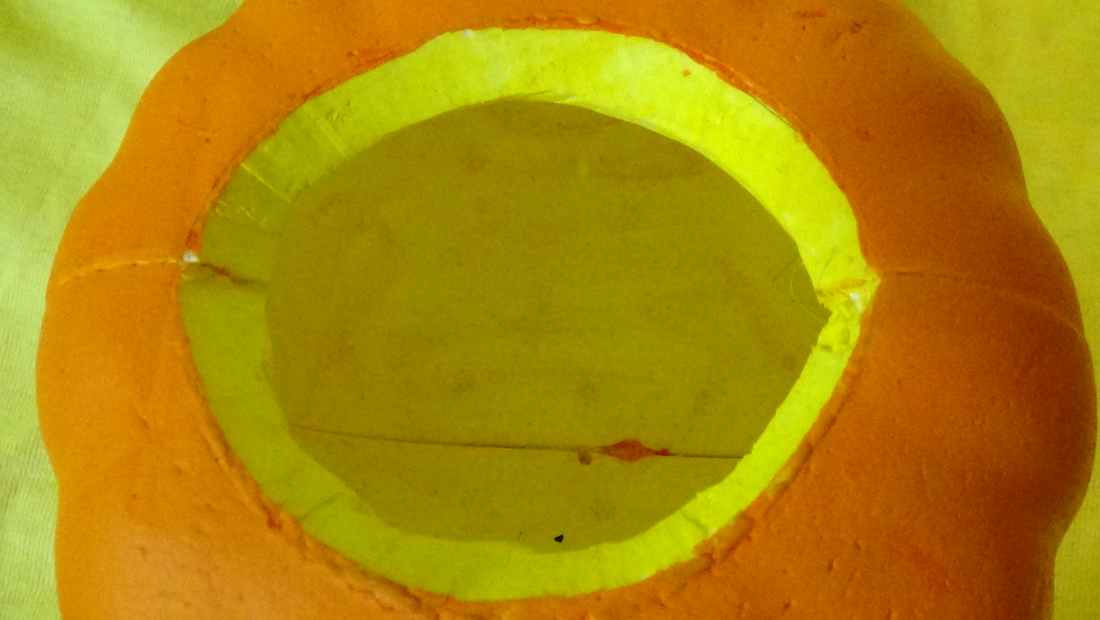
I also cut the top open at an angle (like you would a real pumpkin) so that I could not only get to the inside to paint it, but also so that later on I could add a LED tea light if I wanted.
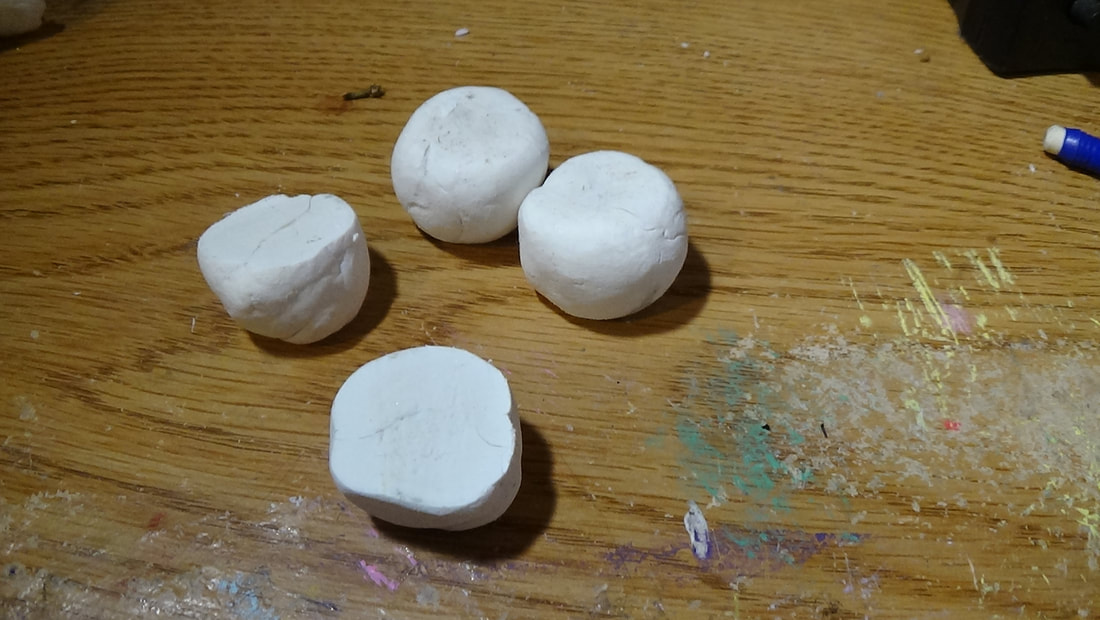
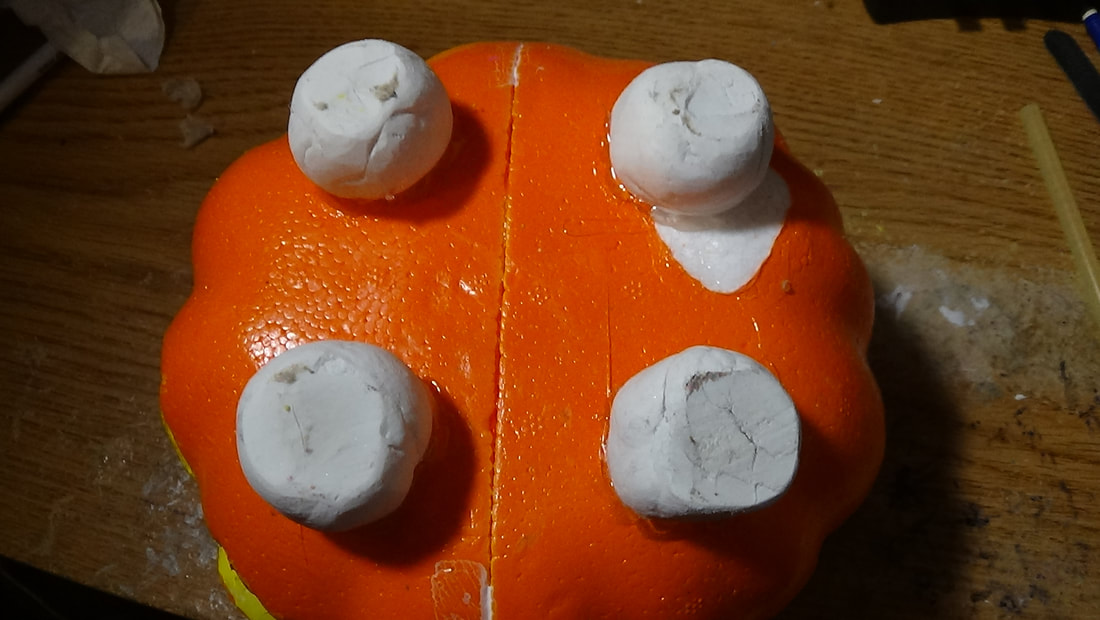
Step 4
The day before I had made some legs for him out of clay, and let them dry overnight. I cut the tops and bottoms so that they were flat, I know his legs are rounded, but this let him sit a bit sturdier. I also used some sandpaper to smooth them out. Then I just hot glued them to the bottom of the pumpkin (again if you are younger, please have an adult help you with the hot glue gun)
Step 5
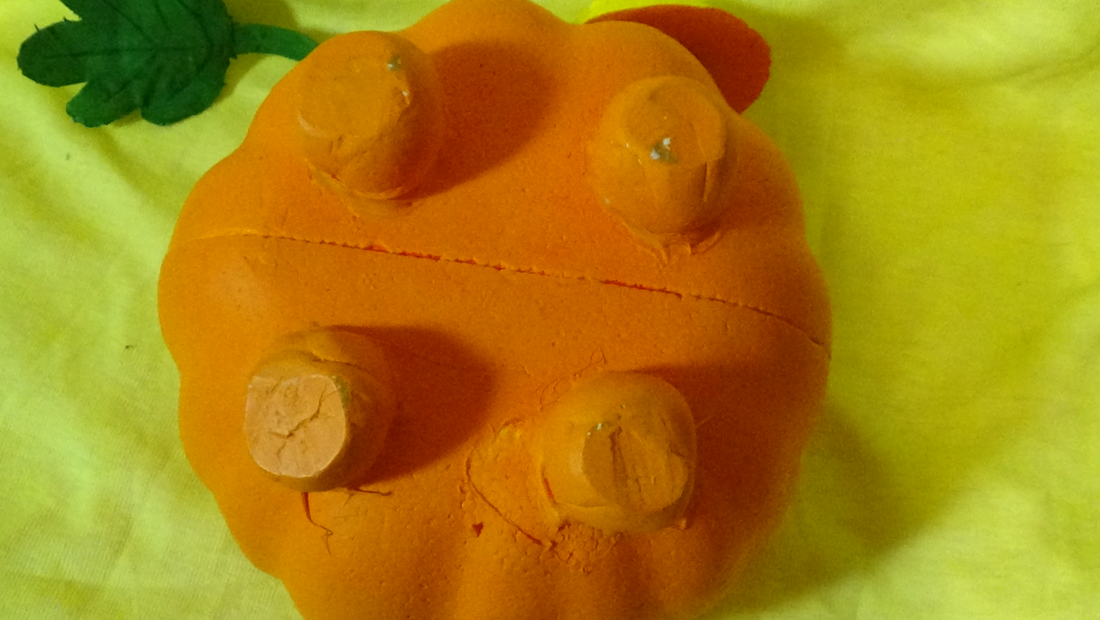
I then painted all of him orange, not only to cover up the fabric paint I had used earlier, and the yellow I had gotten on the outside, but also so that the legs would match the rest of him.
Step 6
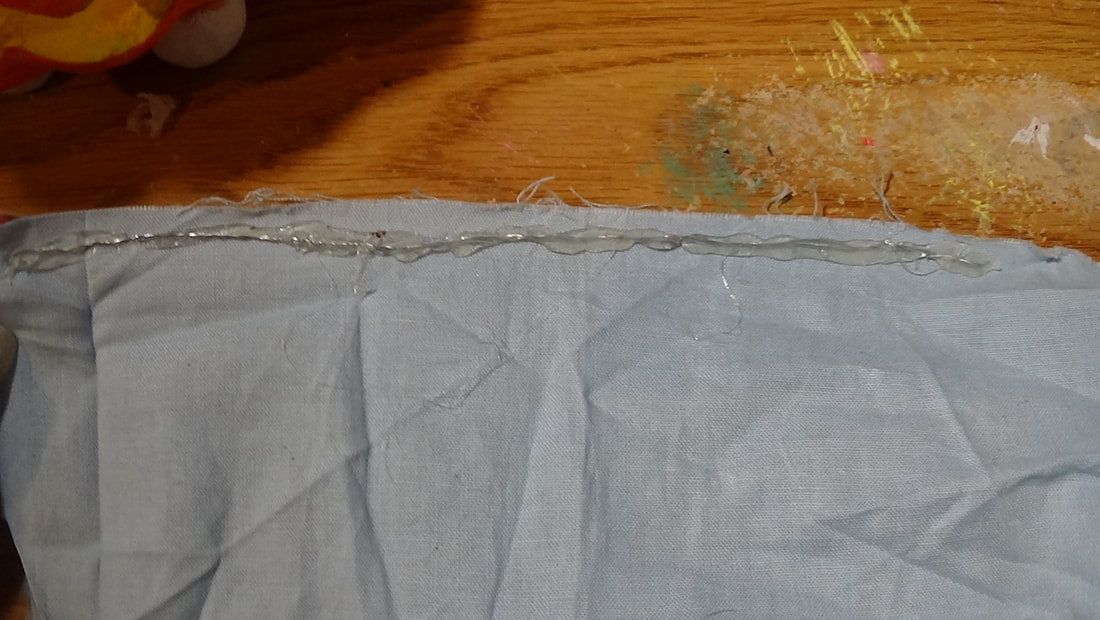
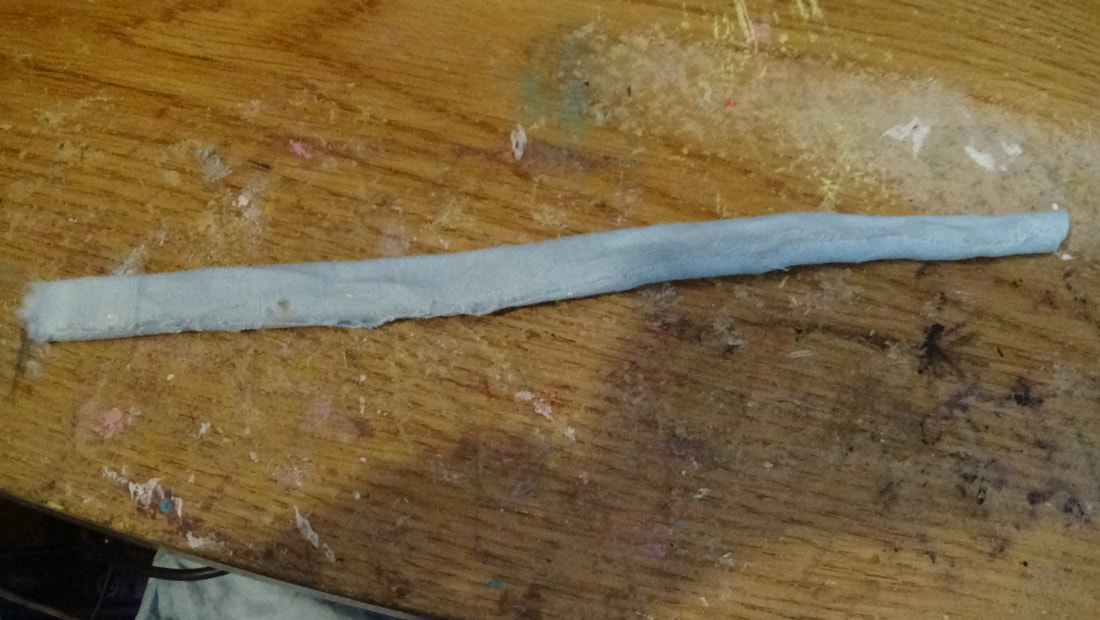
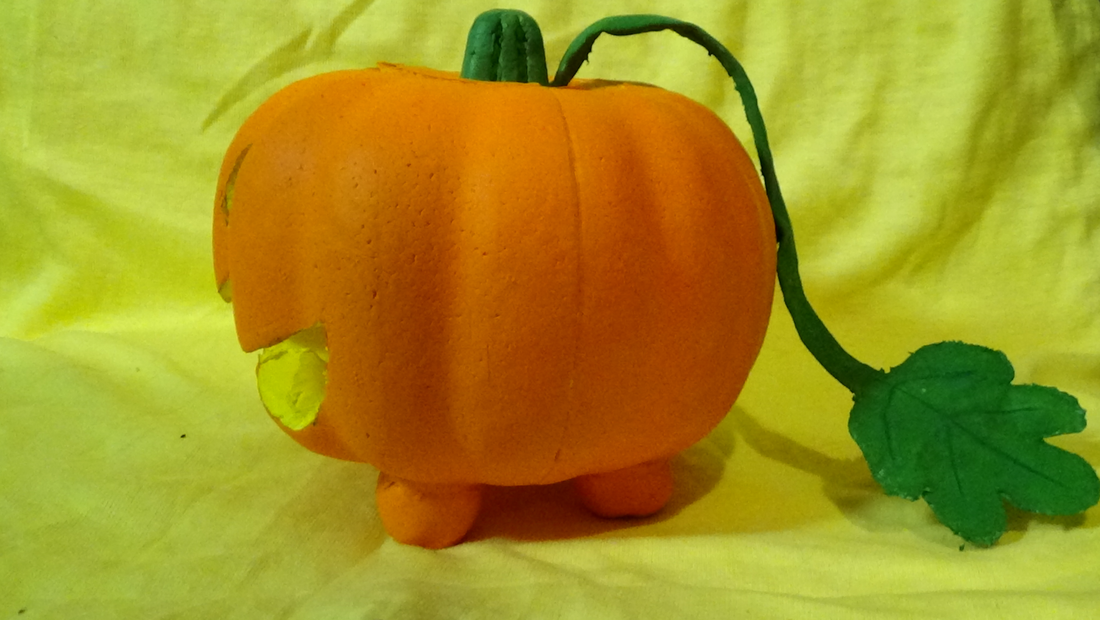
While the orange paint was drying, I started on the leaf tail. For this I took a length of craft wire, folded it in half, and twisted it together. I then glued it down onto the edge of some fabric. (Now if you have green fabric it would be better, I didn't, so I'm going to be painting the fabric later on). I then folded it over and glued that down, and then folded it over once more, glued it down, cut the extra fabric off and glued the edges.
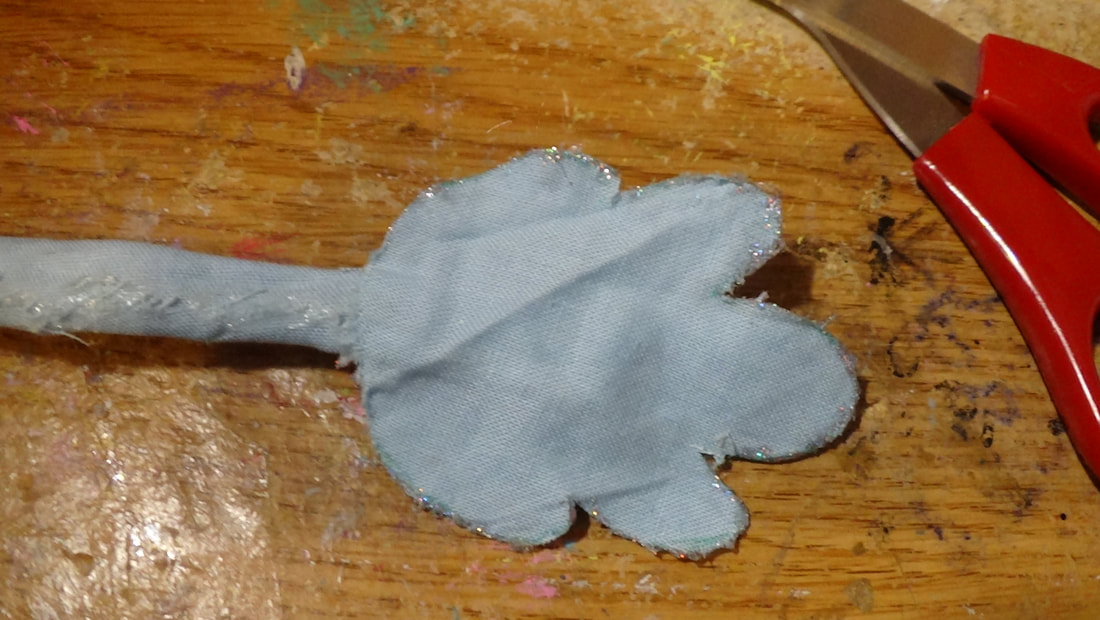
For the leaf I just cut out two pieces of fabric in a leaf shape. Glued the wire to the middle of one leaf, and then glued the other leaf shape on top of that, sandwiching the wire in between the shapes.
For the leaf I just cut out two pieces of fabric in a leaf shape. Glued the wire to the middle of one leaf, and then glued the other leaf shape on top of that, sandwiching the wire in between the shapes.


Finishing
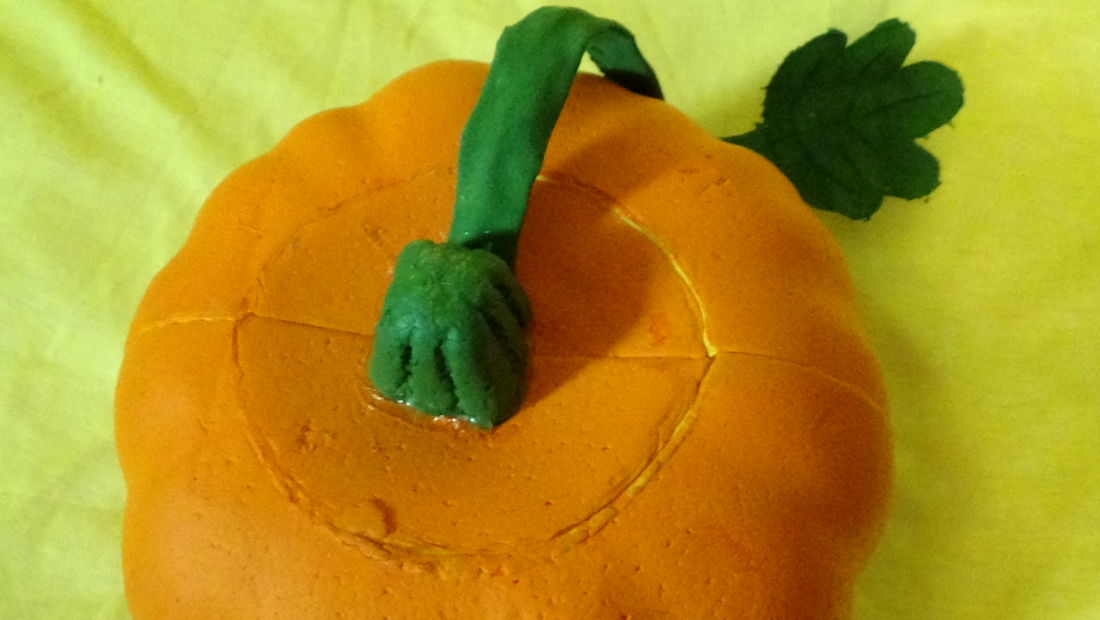
Because I had to paint my fabric, I got to work on the stem while it was drying. I took the toothpick that originally held the stem, and made indents all around the stem, I then painted it with the same green that I painted the leaf tail. Once they were both dried, I glued the leaf tail to the bottom of the stem, and glued them both back onto the top of the pumpkin, and I was finished!

I hope this tutorial helped anyone who needed it. Feel free to check out my Youtube channel, and other social medias. If you have any questions, please feel free to message me on there, or email me (email on contact me page)

