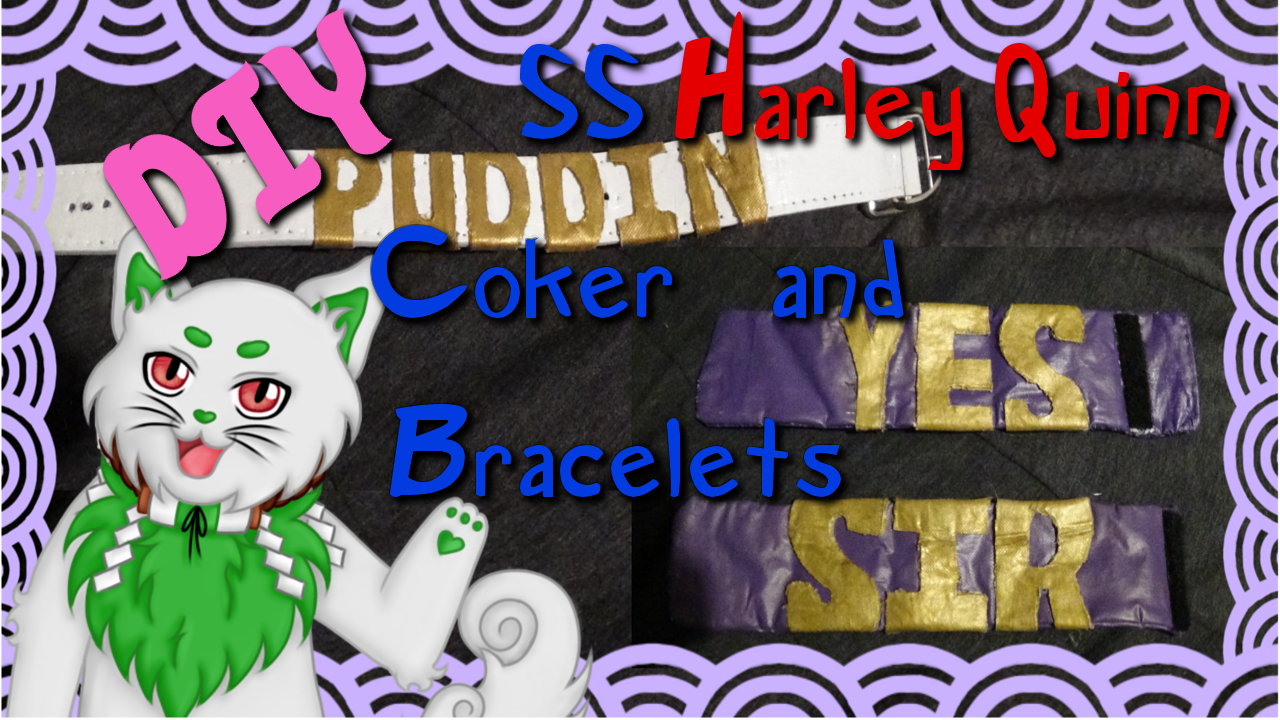
Choker
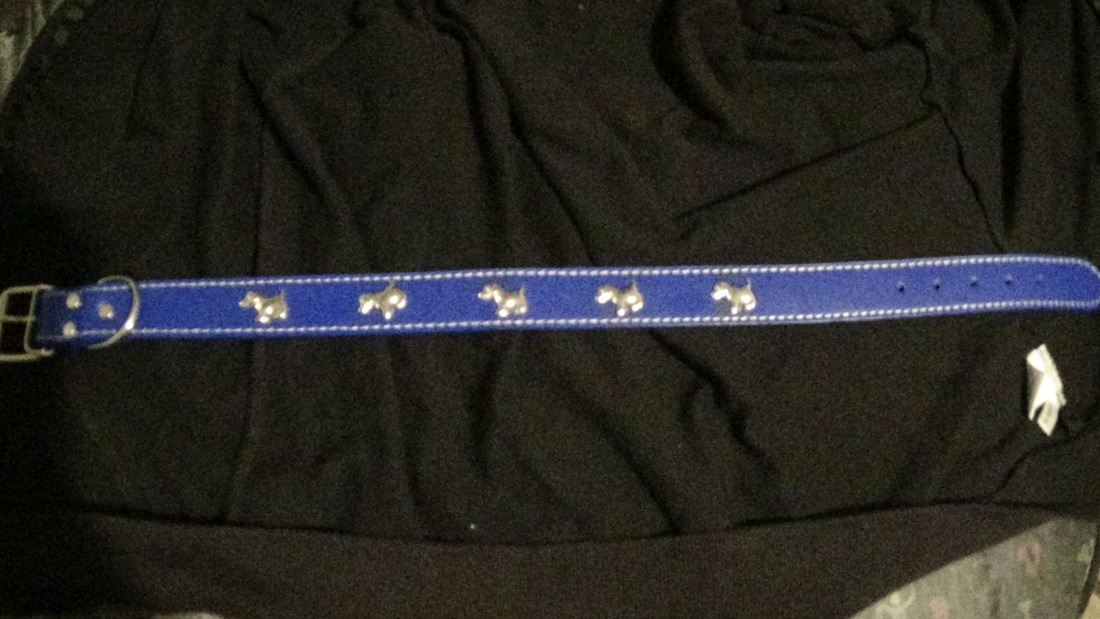
This project only cost $5 for me because of the dog collar, I already had everything else.
Supplies
Step 1
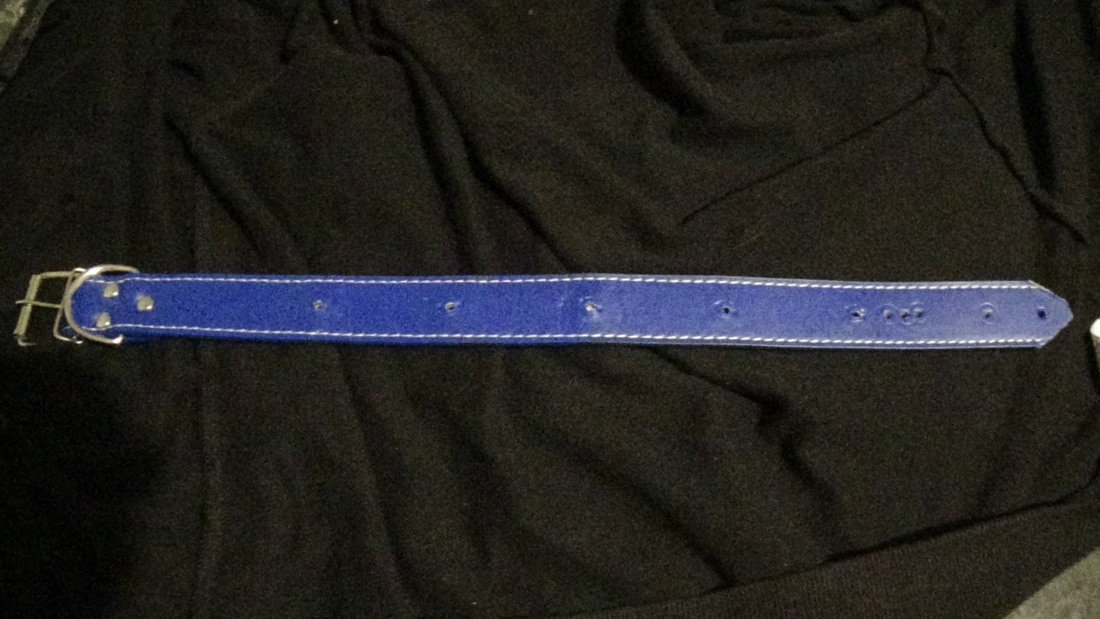
First I started by taking off all of the unneeded decorations, as well as putting a new hole so the collar would fit better, cutting off a lot of the excess, and painting it all white.
Step 2
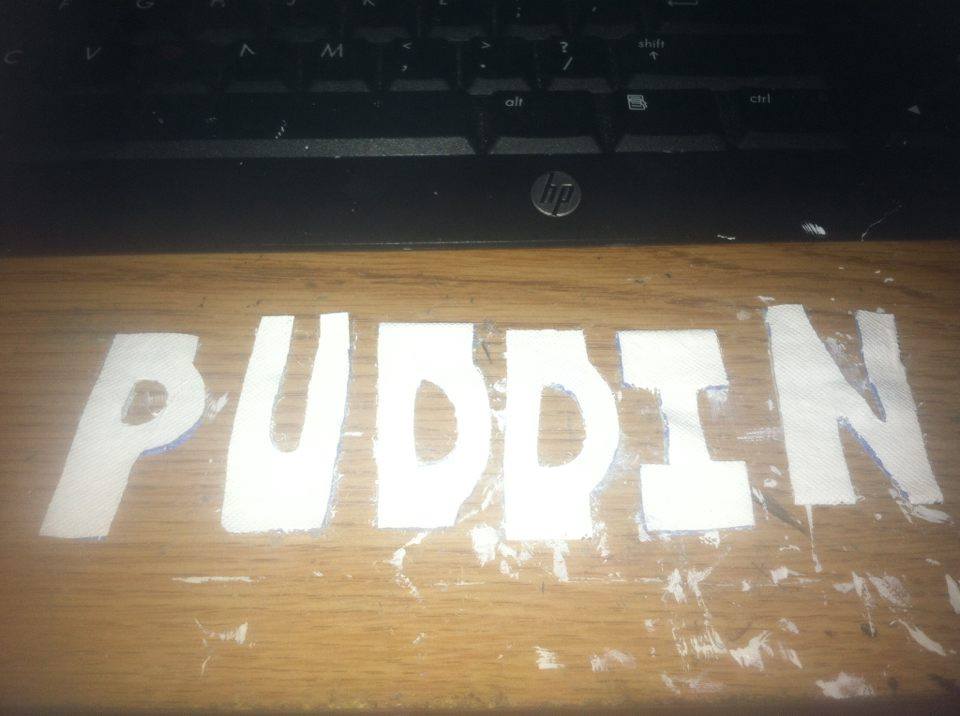
Next I started on my lettering. First I planned out just how big I needed to make them, then, I cut two of each letter out of my vinyl fabric. I then glued them both together, and painted them white because my fabric had a design on it. Now you might also see that the letters have extra bits on the top and bottom, this is so that I can fold it over the collar to make it look like an actual letter bead.
Step 3
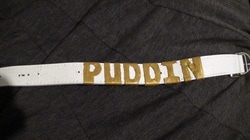
Then I painted the letters gold and hot glued them to my collar.
And this is what you should have when you're done!
YES SIR BRACELETS
This project didn't cost me anything because I already had all of the supplies.
SUPPLIES
step 1
First I cut out two piece of my vinyl fabric

Step 2
And right sides together, I sewn them together, leaving a small opening at one end so I could flip it right side out.
step 3
Step 4
Then I sewn the opening shut

Step 5
Once again, because my fabric had a design on it, I had to paint it white before I could paint it purple.


Step 6
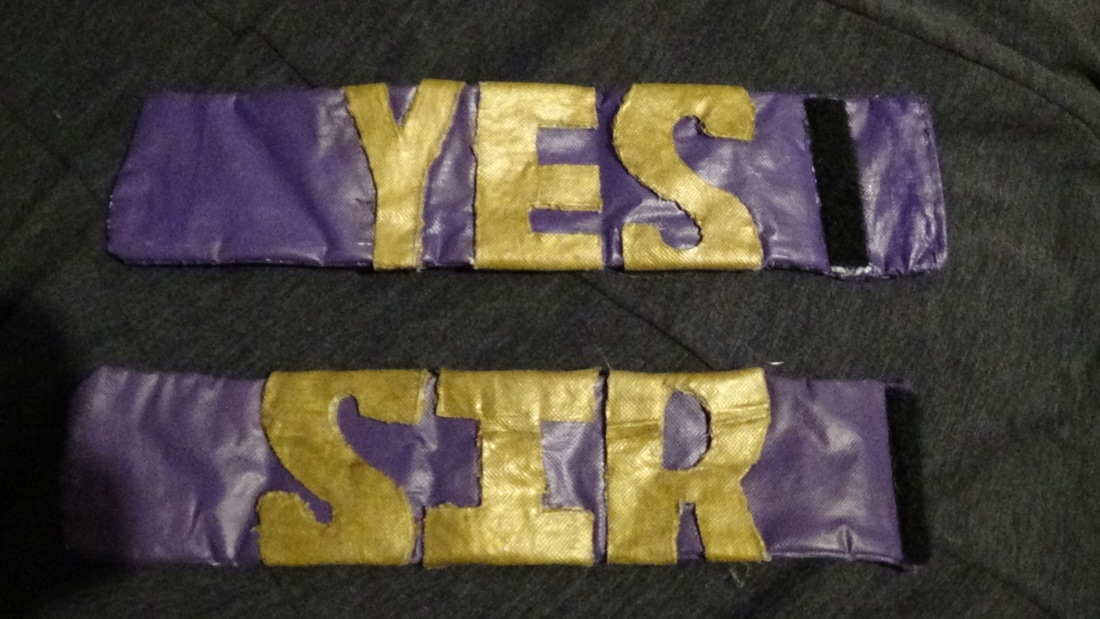
And same with the collar, I measured out how big the letters needed to be, and cut two of each letter out of my vinyl fabric, making sure to add the extra bits on the top and bottom. I then glued them both together, and painted them white, then gold.

Step 7
Lastly I added some velcro to the outside of one end, and inside of the other end so I could put them on.
And this is what you should have when you're done!
I hope this tutorial helped anyone who needed it. Feel free to check out my Youtube channel, Facebook, or Instagram. If you have any questions, please feel free to message me on there, or email me (email on contact me page)