
Supplies
Step 1
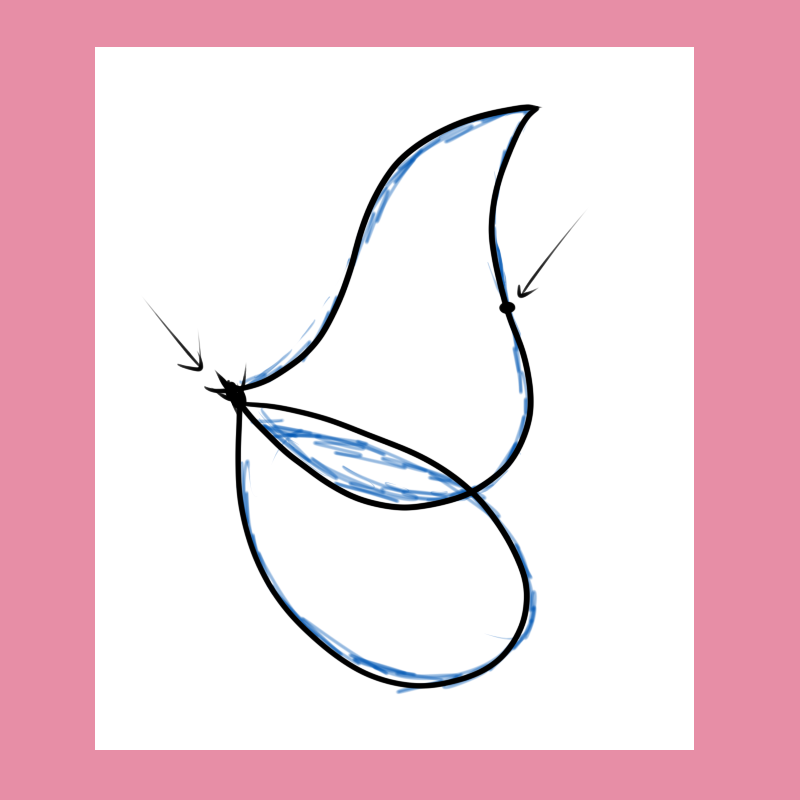
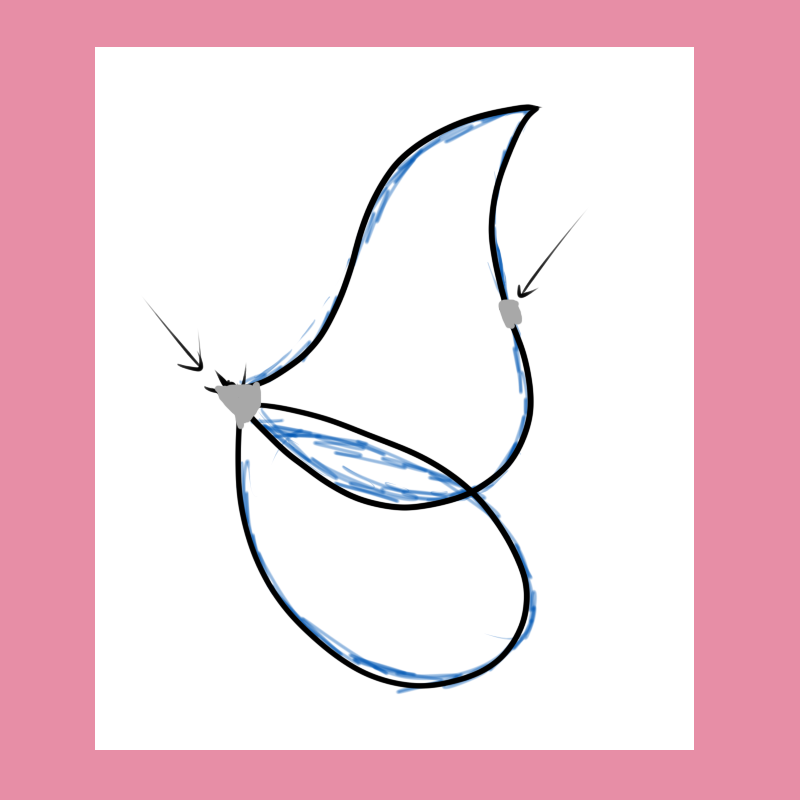
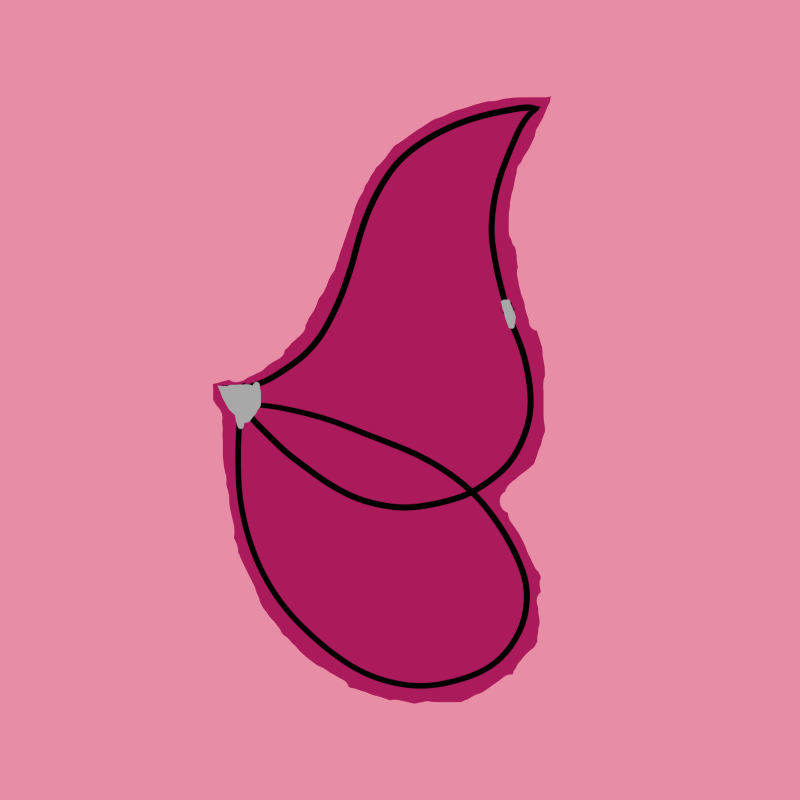
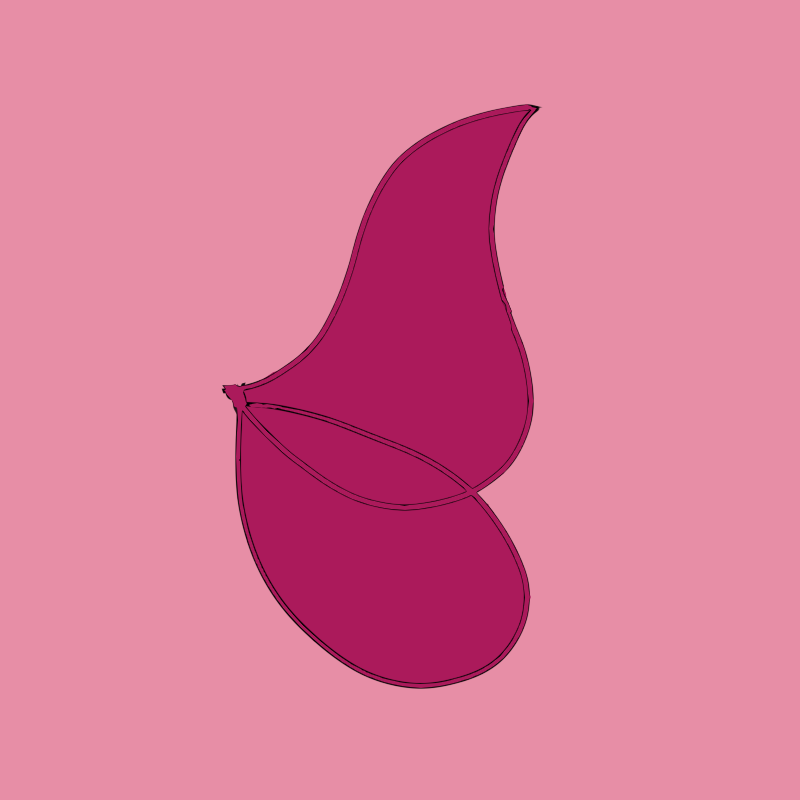
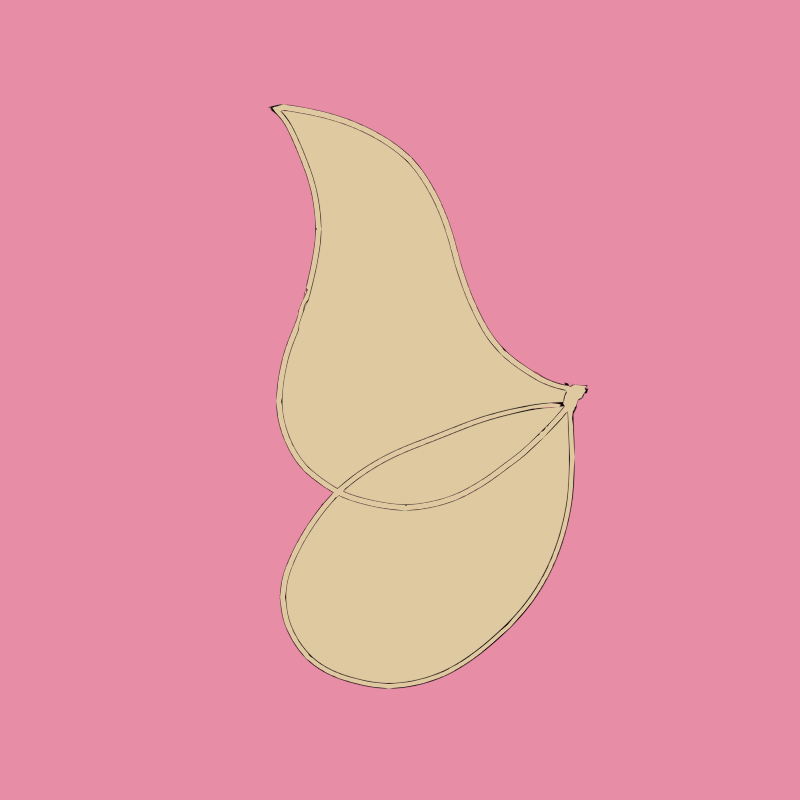
The first thing that I did was I laid down on a piece of posterboard, and had my mom trace out half of me, from my head to my hip. I then drew what wing shape I wanted, and how big I wanted them to be.

Step 2
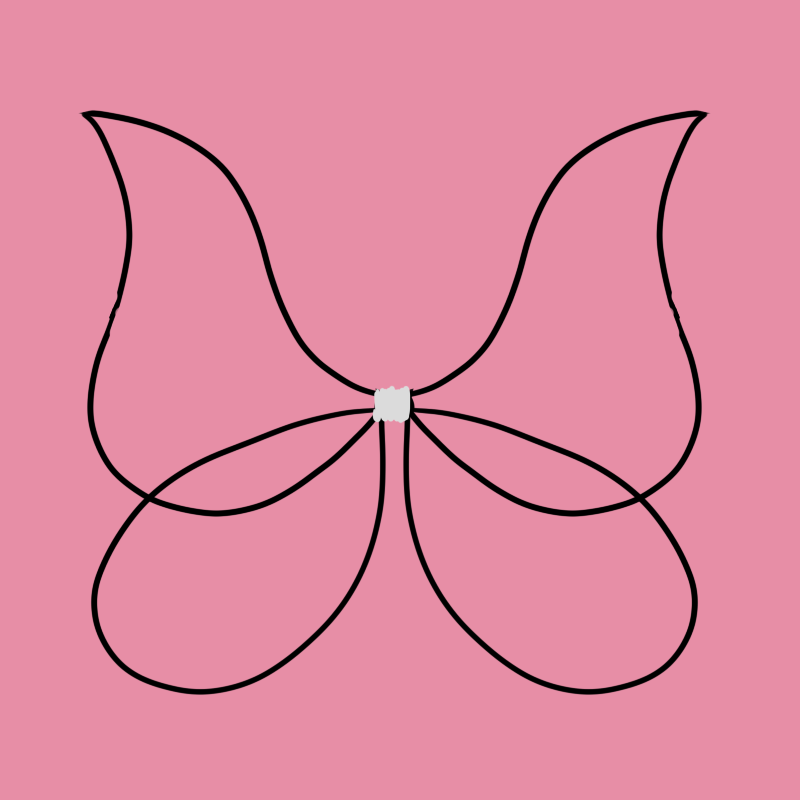
Next I took my hangers, and after unfolding them, I bent them into the desired shape. Now my wings were very large, so it took two hangers to make the top wing, and one to make the bottom wing. Where the two hangers that made up the top wing met I just twisted them together and put some duct tape on it to be on the safe side. I thing twisted all of the ends of each wing together and added some duct tape to that. For the second pair of wings I bent them to match the first pair instead of the drawing, just in case the first pair ended up a bit off from the drawing. I then put both pair together and duct taped the middle.
Step 3
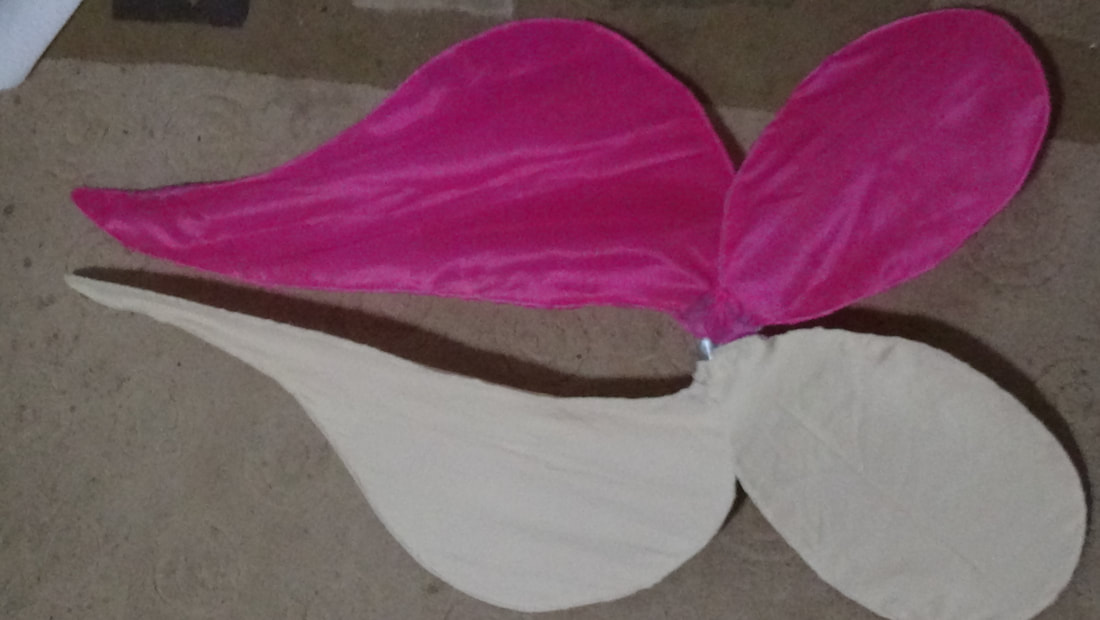
Next I took my fabric and I laid one wing down front side down onto it, gluing as I went. I then cut around the wing, leaving a little bit extra. I then took and glued the extra down along the side of the wing. I then took and glued another piece of fabric to the back side of the wing, this time cutting off the extra right along the wire. I repeated this process with the other wing using the pillow case.

Step 4
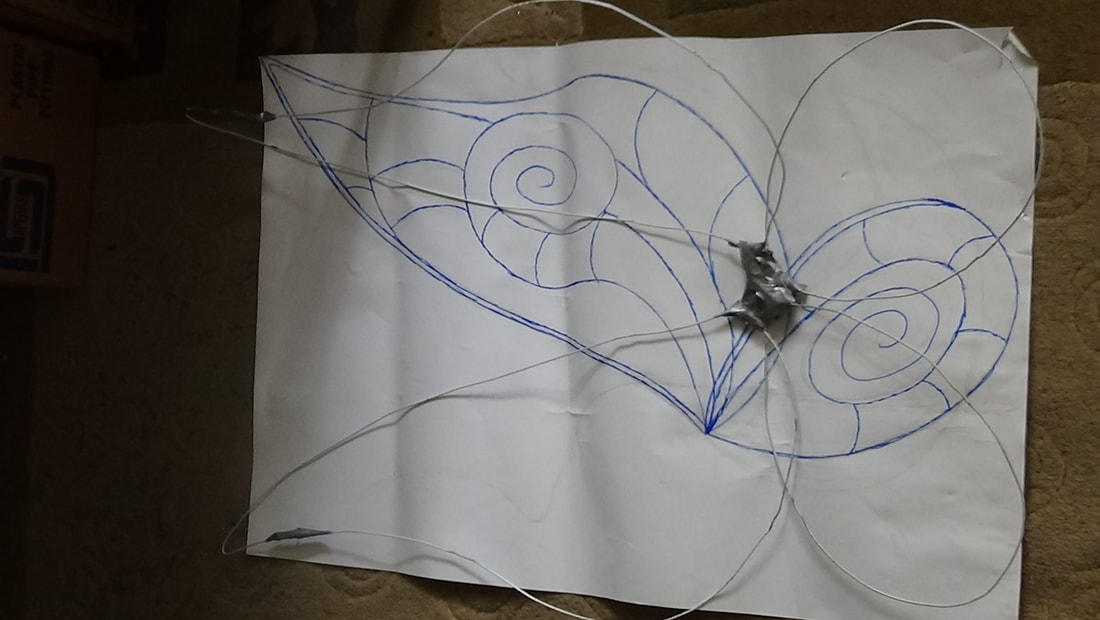
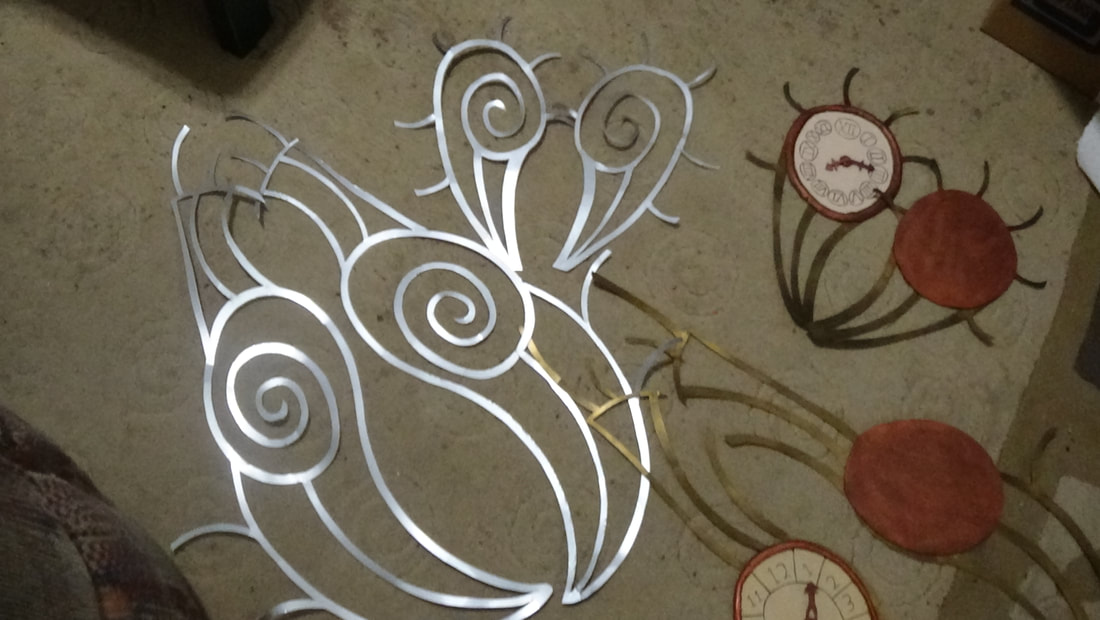
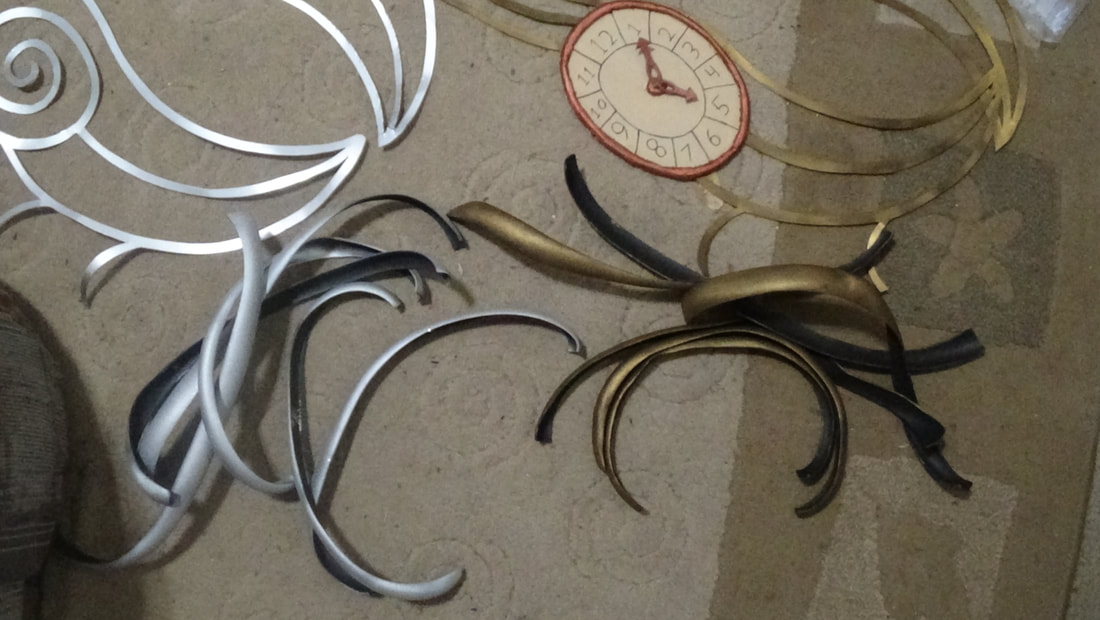
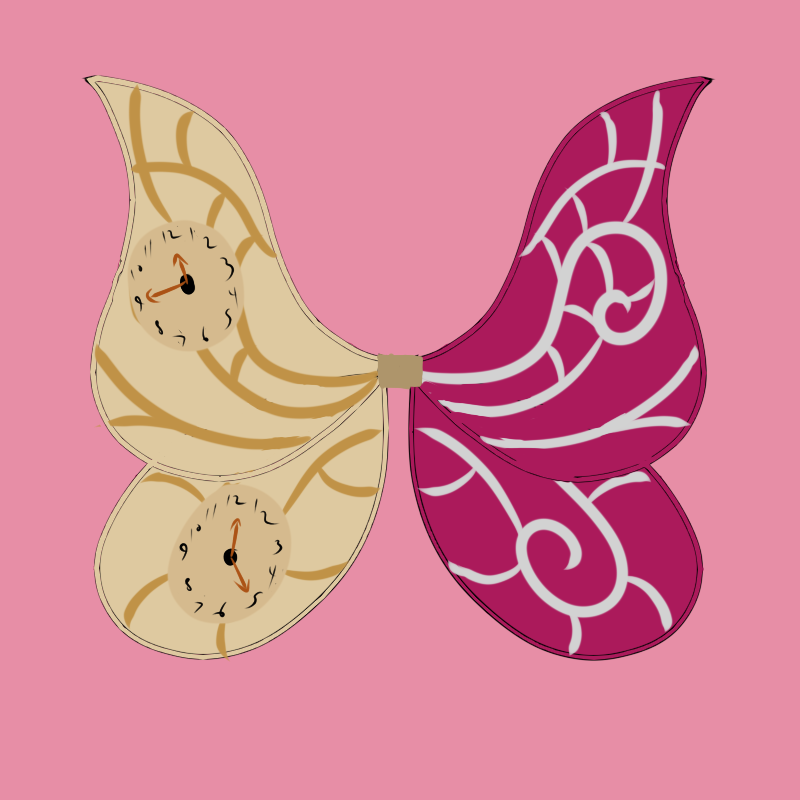
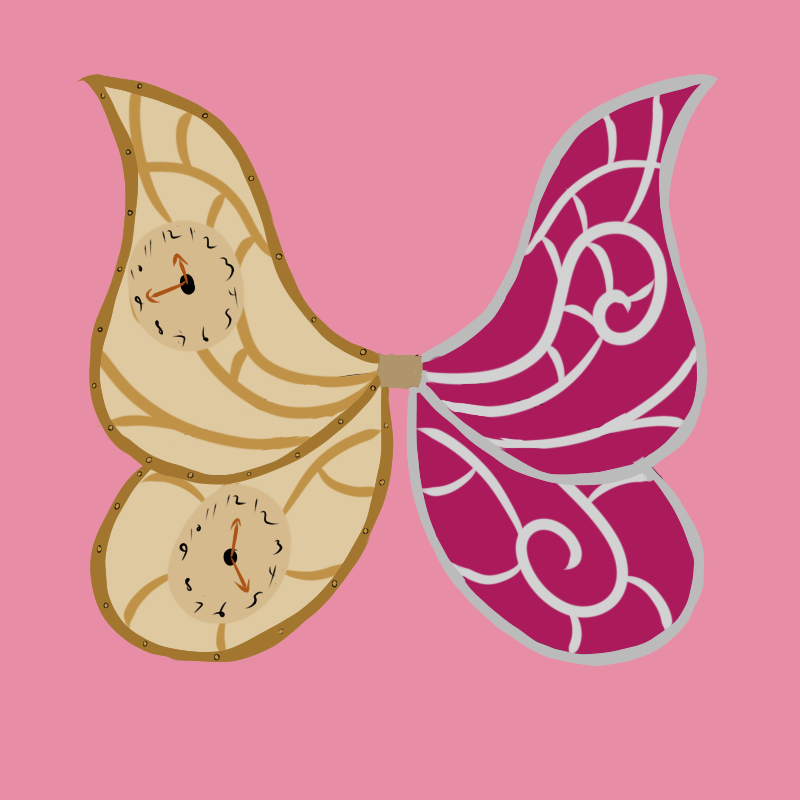
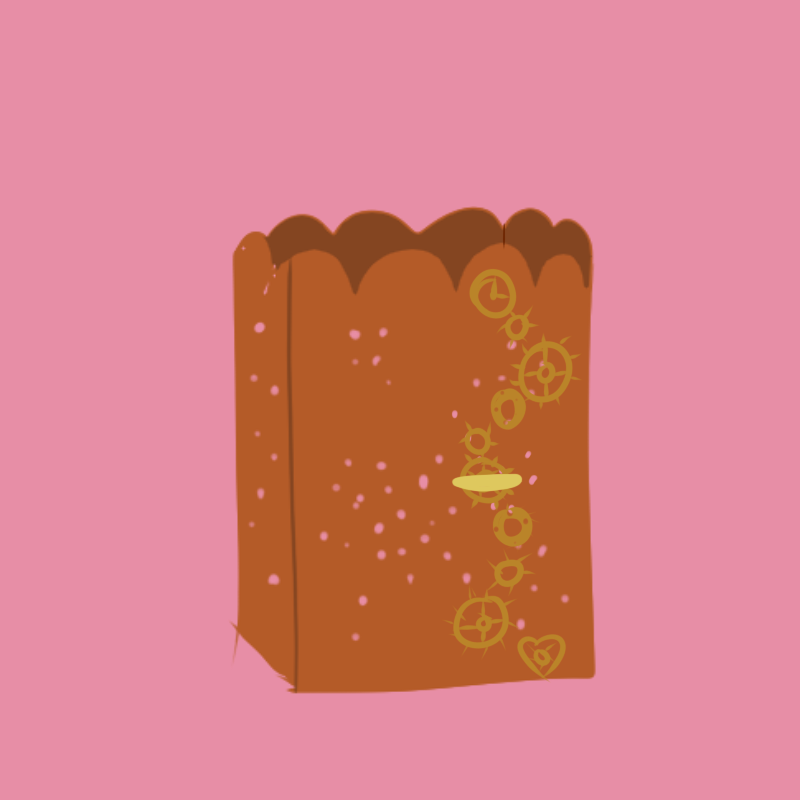
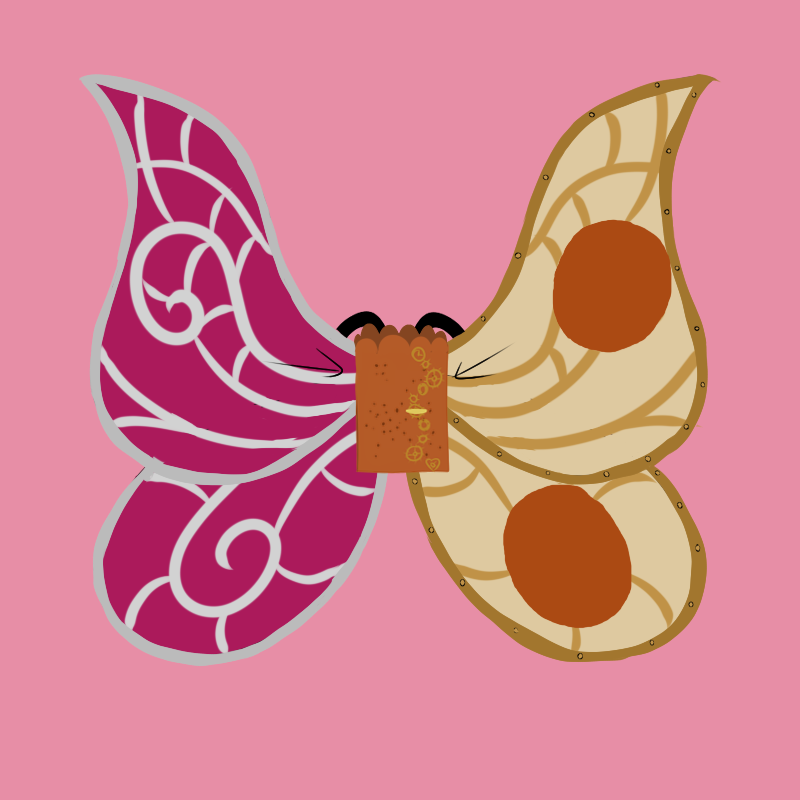
Next I took and cut out one inch wide strips of craft foam and used my heat gun to quickly heat set them. this also caused the foam to curl in on itself, which helped me when I glued them along the edges of the wings. I painted them with my spray paint (silver for the natural wing, gold for the steampunk one. I also added some silver glitter to the silver.) I also used some posterboard to make the veins for the wings, I made two of each set of veins, opposite of each other since I would be sandwiching the wings in between them. For the Steampunk wings I also make small clocks out of posterboard, foam, and a little bit of foamboard I had laying around. I also used my hole punch to punch out small pieces of foam, painted them gold, and glued them onto my steampunk wing along the edge to make it look like it had rivets


Step 5
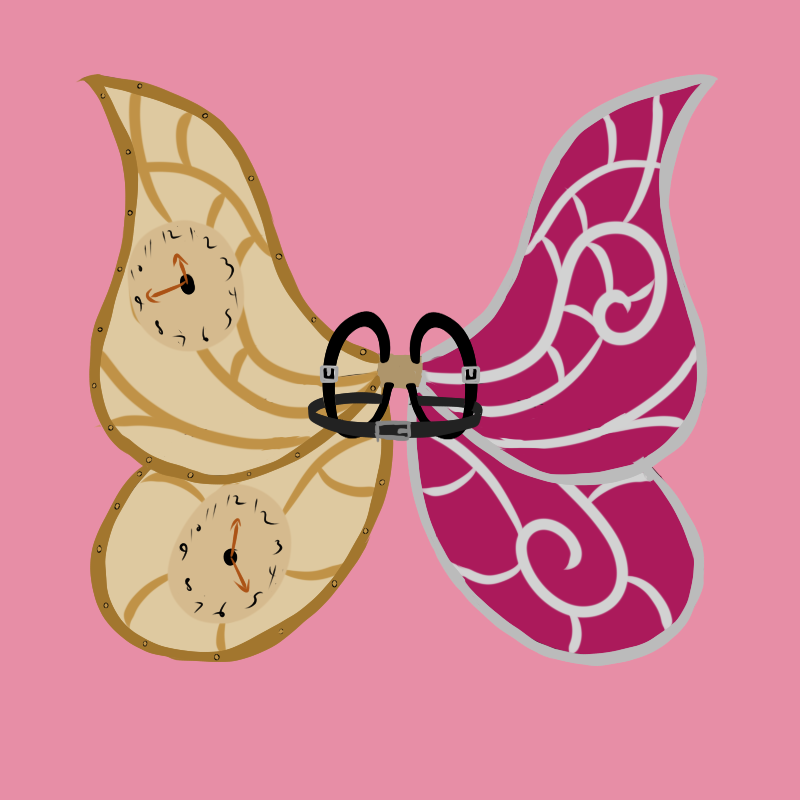
Next it's time for the belts. Now I sewed my belts to just the middle meeting point of the wings (that I covered in fabric) at first, but my wings kept falling back. So I also sewed the belts a little further up on the wings as well, wrapping the thread around the wire as I went (I suggest using upholstery thread for this part). That way the wings stayed standing up. These first two went around my shoulders like a backpack, but for a bit more stability, I also added another over that would go around my stomach. This one I sewed to the bottom wings near the middle.
All these steps are optional
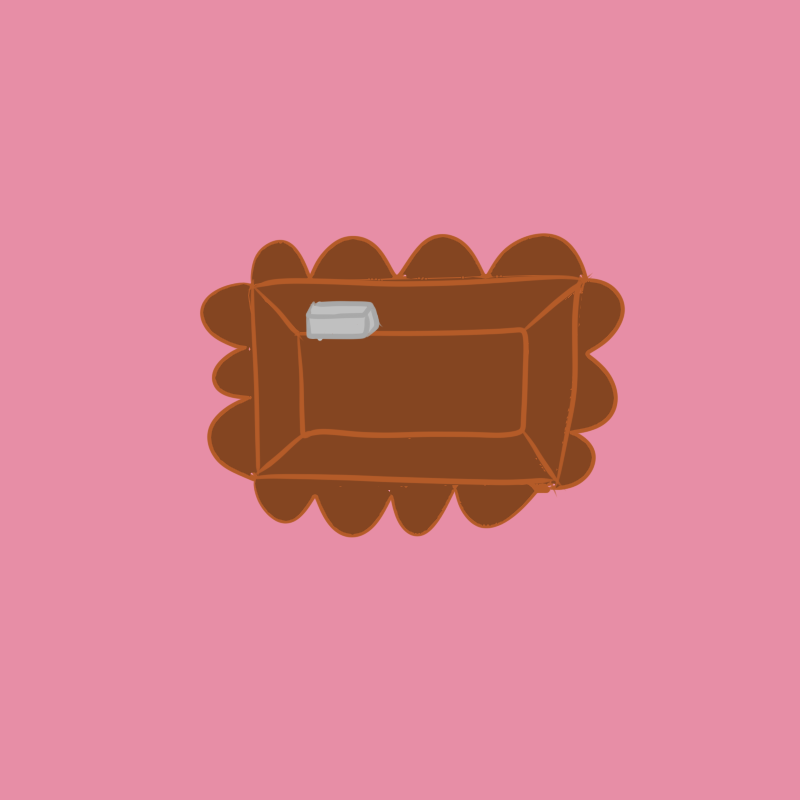
If you are happy with your wings as they are, Yay! I'm glad I could help you out ^_^. My wings had a bit more to them though, to amp up the Steampunk-ness of them lol. I started out by drilling out one of the holes on my tin lantern to make it a bit bigger, I then took some gear buttons that I had gotten, and glued them in a cool pattern along my lantern (You may have to use superglue for this, if you're younger haven an adult do this, superglue sucks when it gets on your skin). Next up, I unscrewed the metal handle from my music box, and stuck the crank out of the hole I drilled, as well as glued the music box to the inside of the lantern. I then screwed the handle back on, and my lantern now had a working music box! Before I added anything else, I used the holes on the side of the lantern to sew it to each of the wings until I felt that it was stable enough.
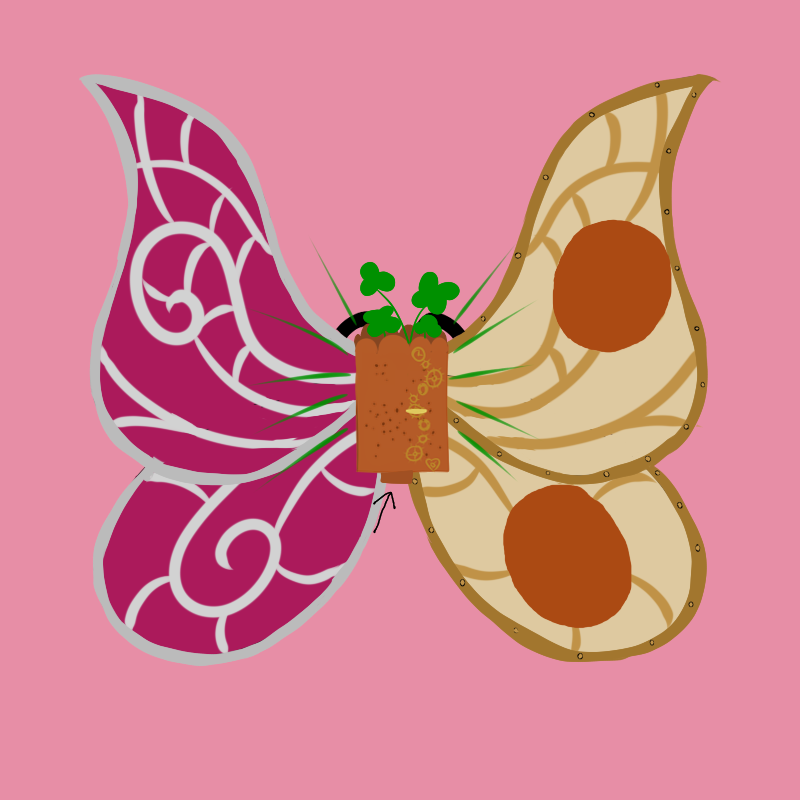
Then! I also put some foamboard in the bottom of the lantern and stuck some flowers in it (three leaf clovers to be correct since we were going to a St Patrick's day thing). And then! To top it off, I added some green battery powered LED lights in it, and glued the battery pack to the bottom of the tin lol.
Then! I also put some foamboard in the bottom of the lantern and stuck some flowers in it (three leaf clovers to be correct since we were going to a St Patrick's day thing). And then! To top it off, I added some green battery powered LED lights in it, and glued the battery pack to the bottom of the tin lol.


my wings were finished!


I hope this tutorial helped anyone who needed it. Feel free to check out my Youtube channel, Facebook, or Instagram. If you have any questions, please feel free to message me on there, or email me (email on contact me page)