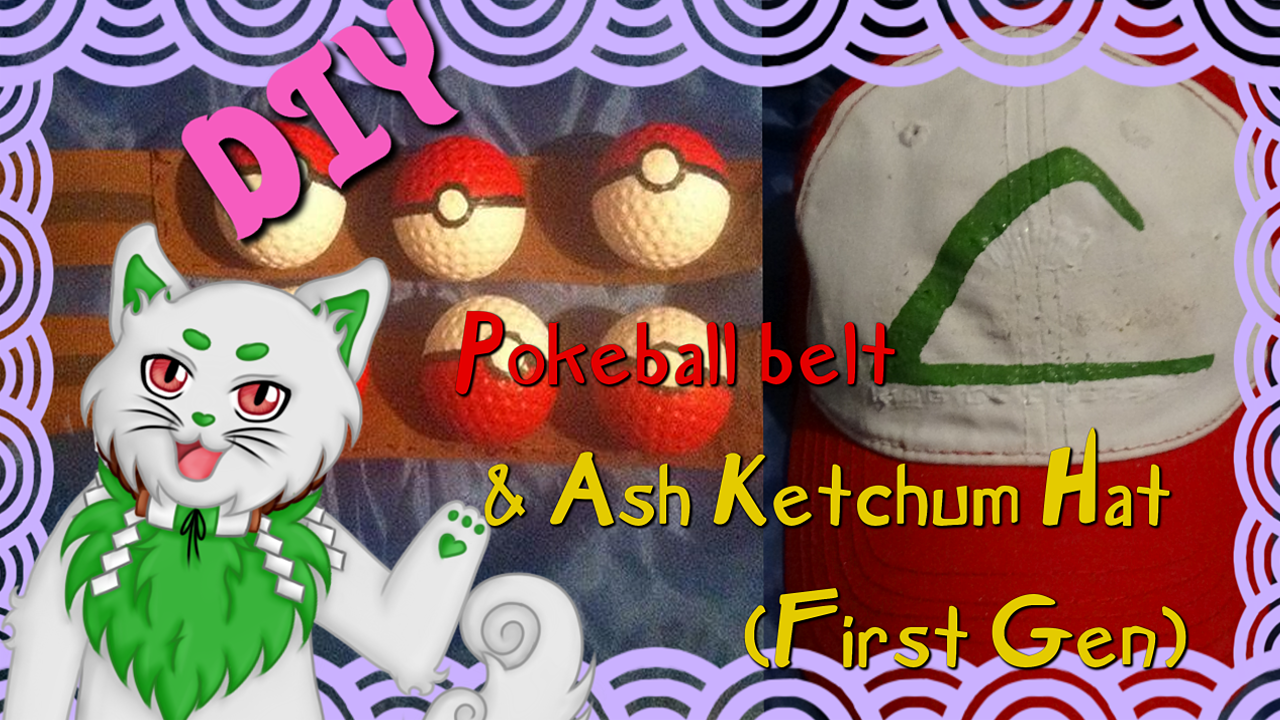
Pokeball Belt
This project cost me about $8
Supplies
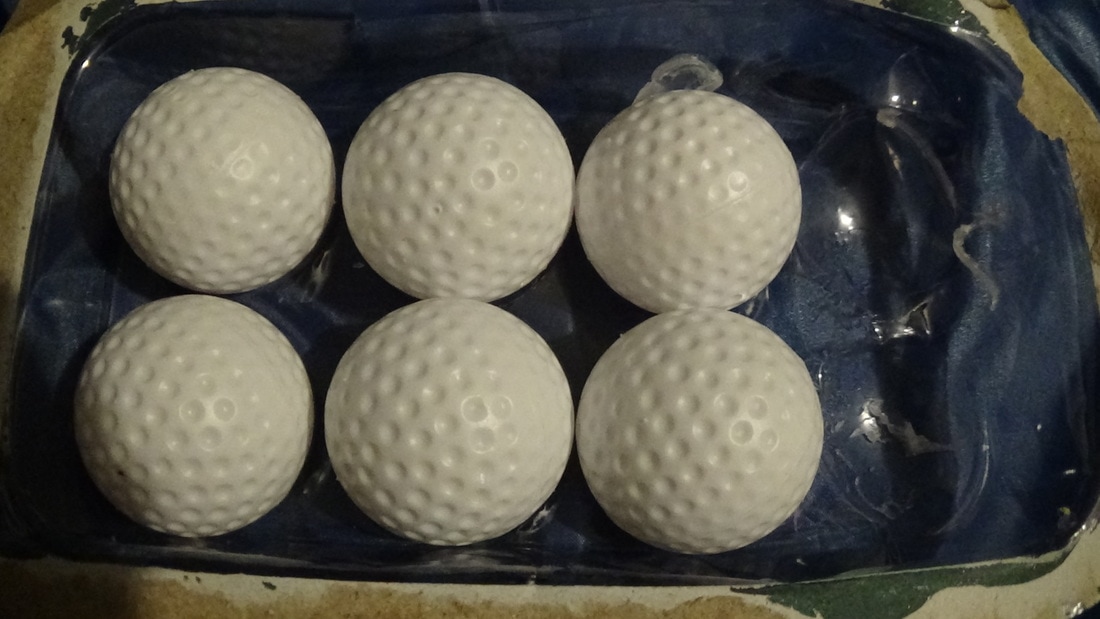
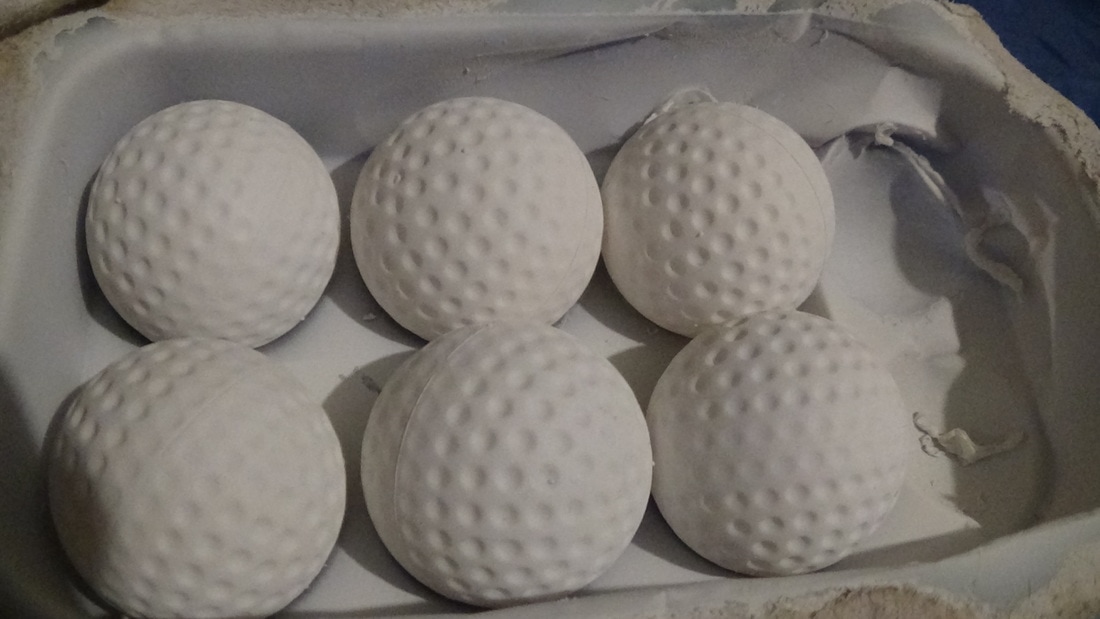
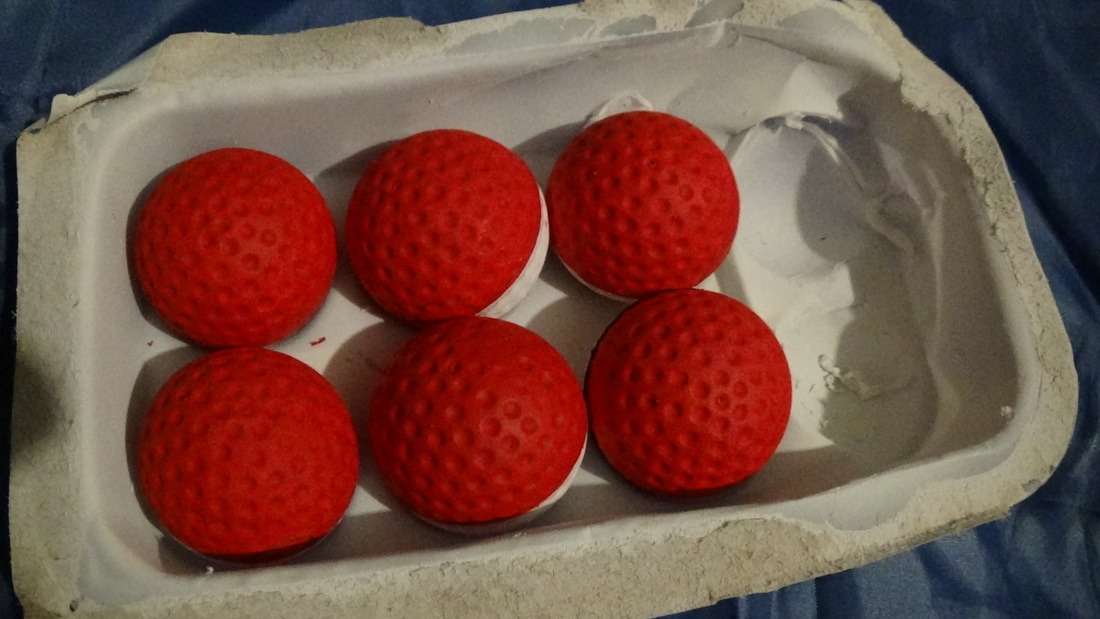
Step 1
First I spray painted the golf balls with a matte white paint. Now I only did this so that I would have a matte base to work on because my red acrylic paint wouldn't stick as long as they were glossy.
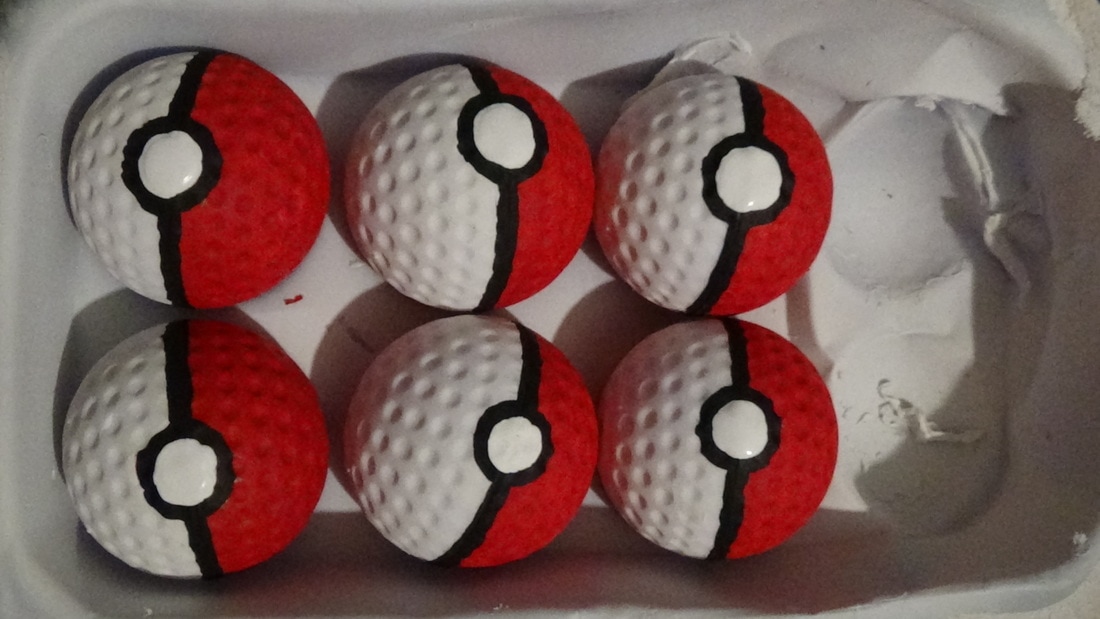
Step 2
Then I found the middle seam of each ball and painted the top half red.
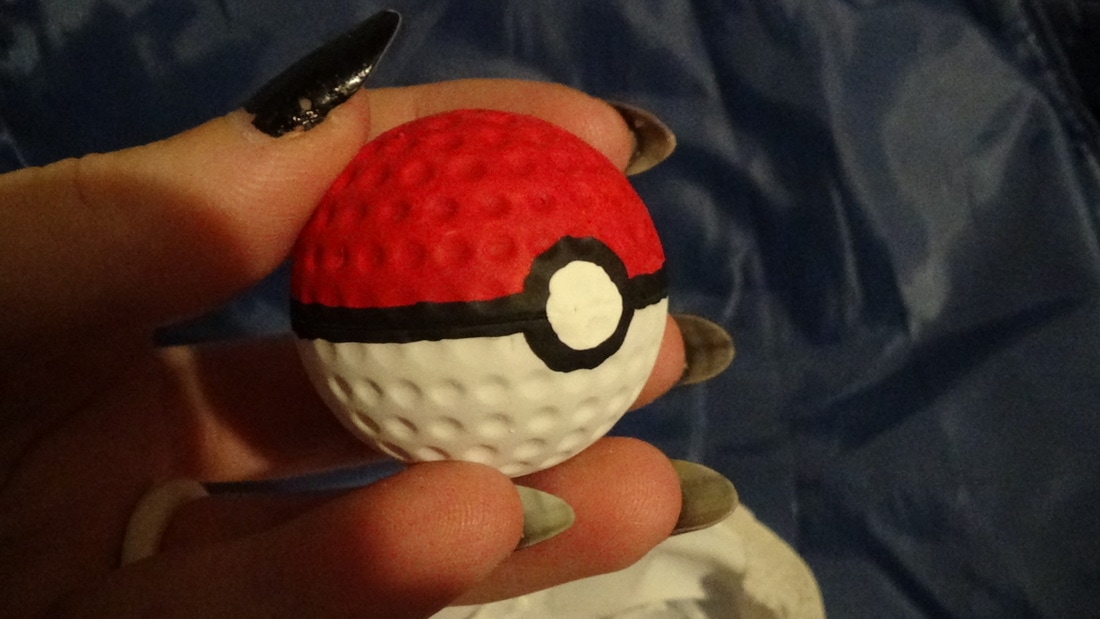
Step 3
Next I sketched on where I wanted the black to go, as well as the button. This is a good time to find any mistakes you made have made, since you can just paint the button over them lol.

And then I did that for all of the pokeballs.
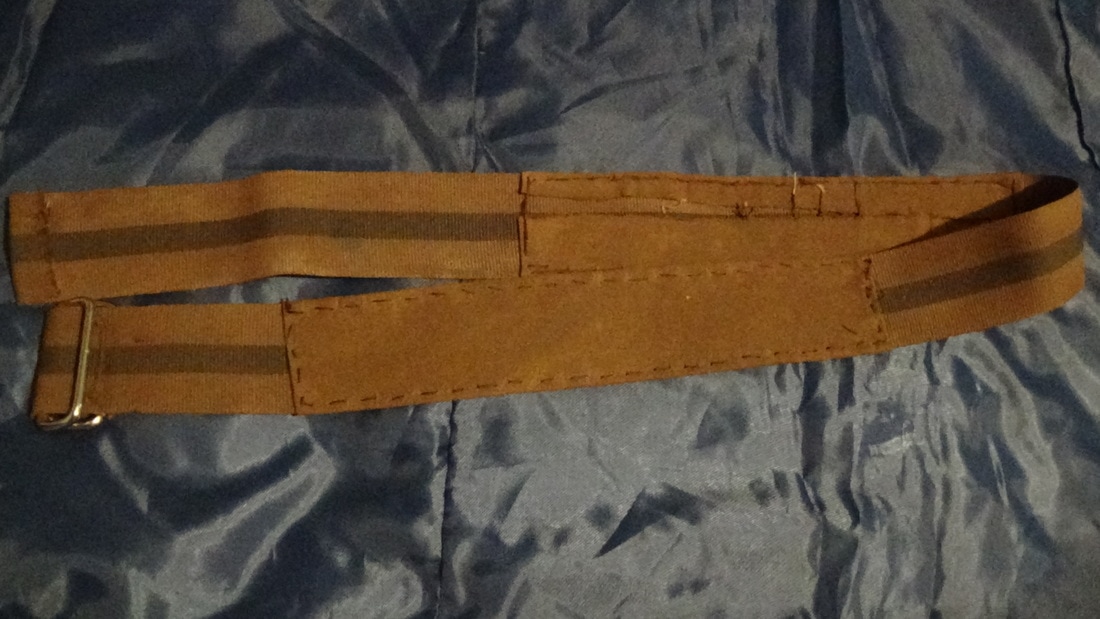
Step 4
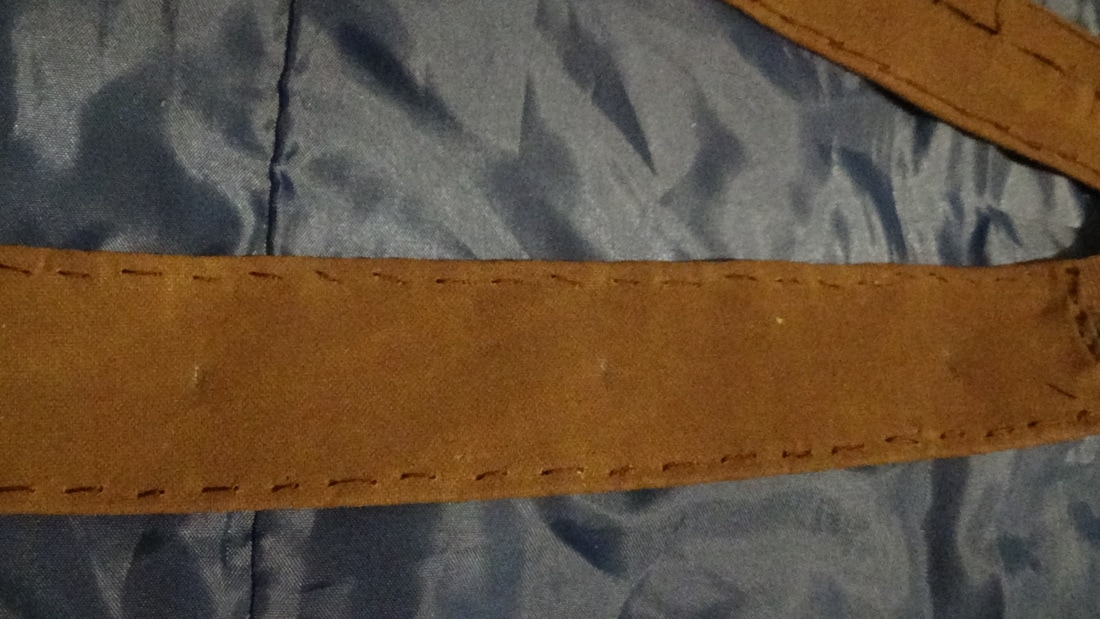
Next I added a bit of brown fabric to the belt since I was afraid that the velcro wouldn't stick to the texture of the belt well.
Finishing
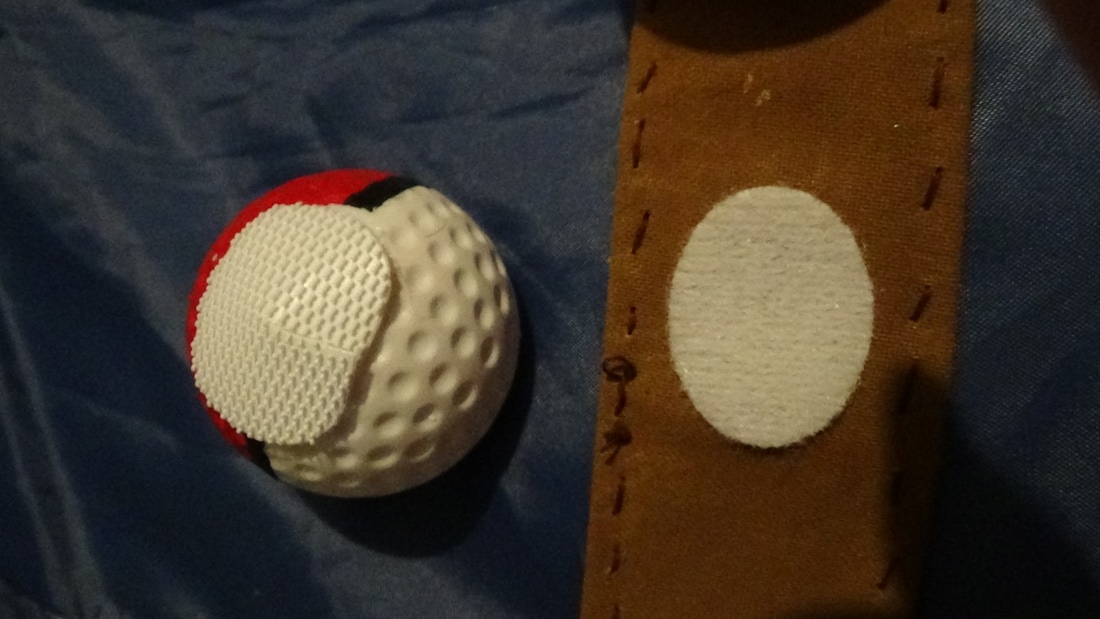
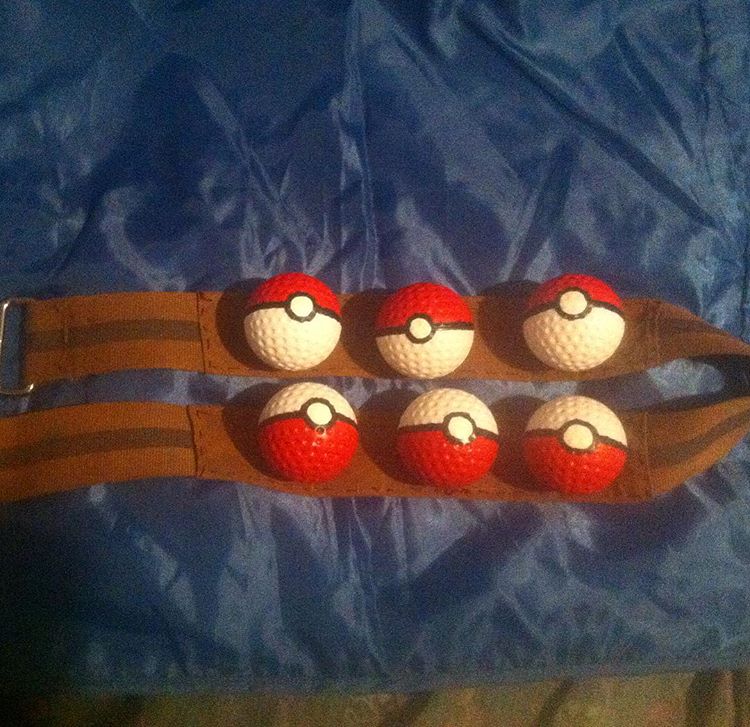
I then marked out where I wanted my pokeballs to go and stuck the velcro on
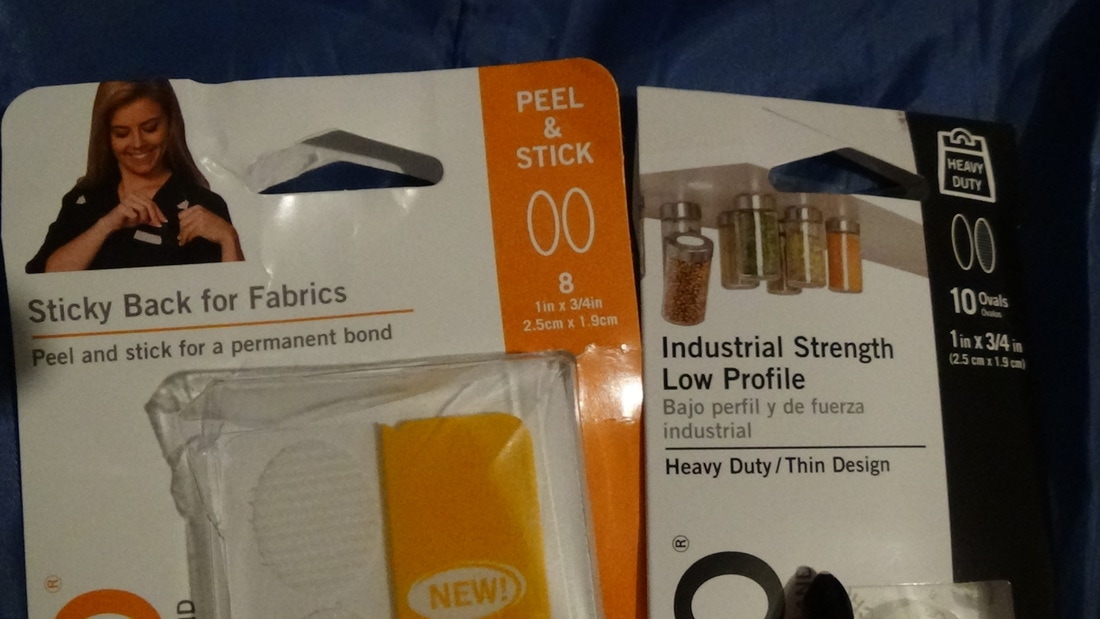
Now because I knew that my nephew was going to be wearing this to school I knew I needed some tough velcro so that they didn't fall off throughout the day. So my mom actually found these two, I used the fabric velcro on the belt and added the other kind to the pokeball since that velcro said it was for metals and plastics.
The Hat
This project only cost me about $3 since all I had to buy was the hat
Supplies
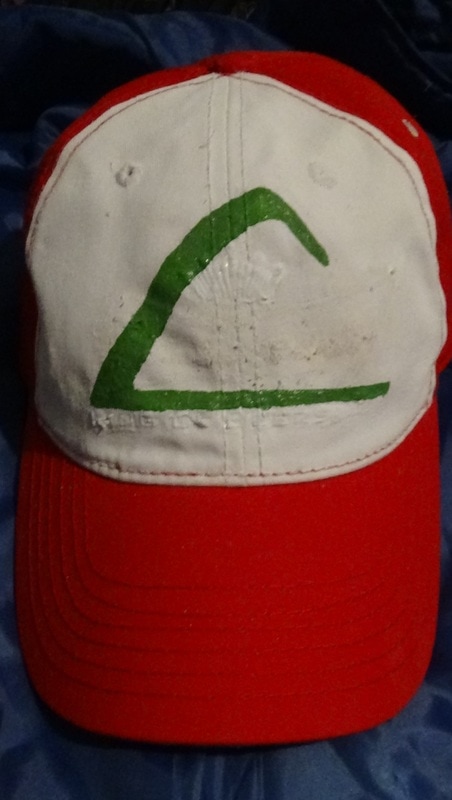
Ok so this was the only red and white hat that I could find in any stores around my town lol. So the first thing I did was take off all of the Budweiser embroidery.

The crown and " King of beers" was too small to remove so I went over them with a white fabric paint. And since the white fabric paint was bright compared to the hat which was an off white, I then went over the rest of the white with a thin layer of white acrylic paint. I also sketched out the design.

I then filled in the design with a green acrylic paint mixed with a little bit of white fabric paint to help it stick, but you can use just fabric paint if you want.
I hope this tutorial helped anyone who needed it. Feel free to check out my Youtube channel, Facebook, or Instagram. If you have any questions, please feel free to message me on there, or email me (email on contact me page)