
This project didn't cost me anything since I had all of the supplies.
I used the removable collar tutorial by Daisha View as a guideline
Supplies
Step 1
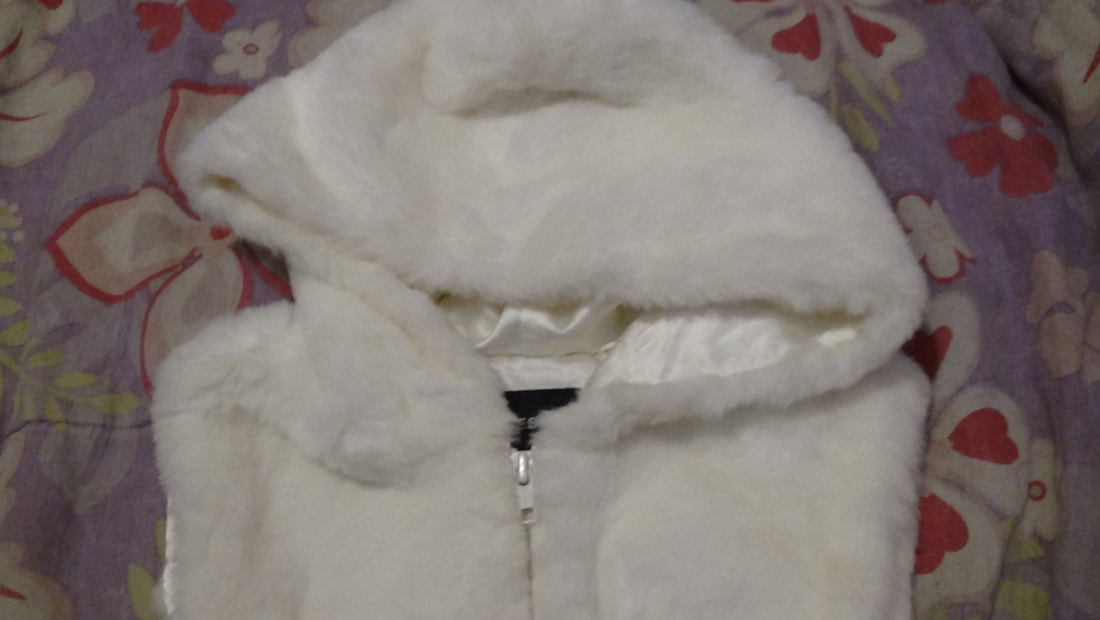
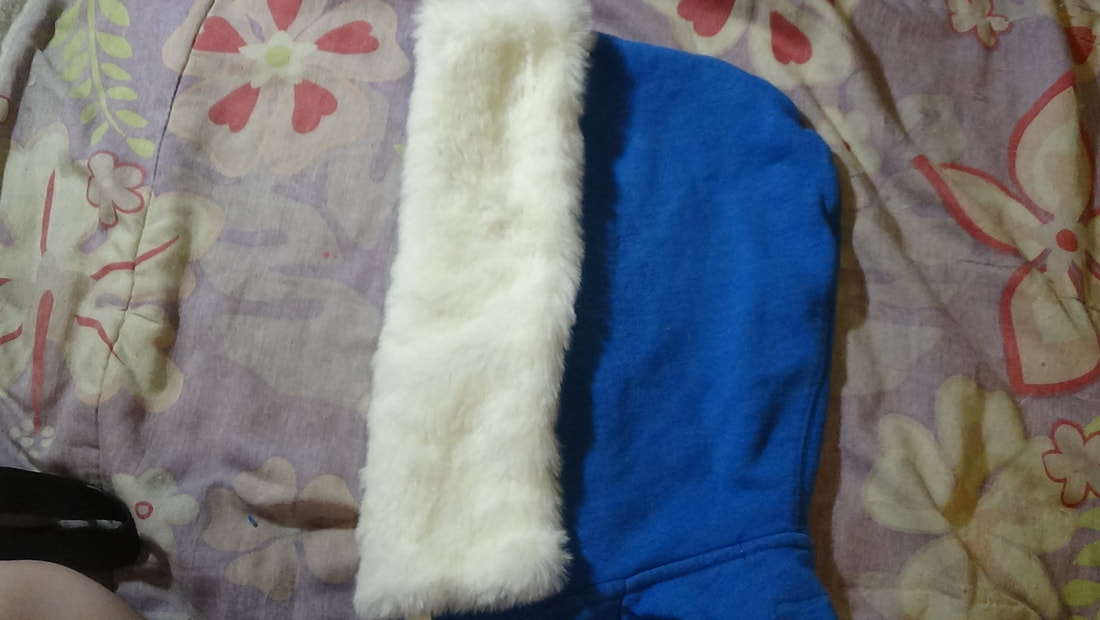
Now if you are using normal fur by the yard, you will start off by measuring how much you will need for your hood. I actually kept this white fur vest that is too small for me, but I figured I would save in case I ever needed white fur...Looks like it came in handy lol. I start off my removing the hood from the rest of the vest.
Step 2
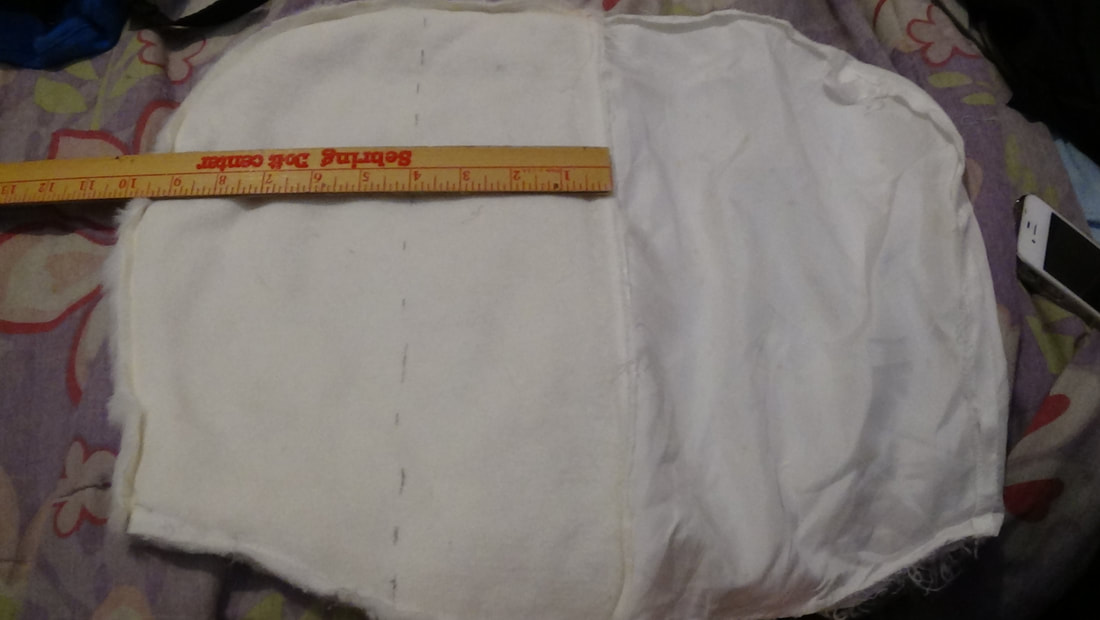
Next I measure 4 inches in from the edge, I actually should have only made it 3 1/2 inches since I only needed to hem one edge, but the width will depend on how wide you want to make your fur trim, I wanted mine to be about 3 inches wide. To cut it out I used my box cutter and cut along just the BACKING of the fur, not actually cutting any of the fur, I do this so we don't get blunt edges of fur, and it also makes the fur shed less (Fursuit trick ~.^) Once that was cut, I also measured 4 inches and cut and hemed the lining.

Step 3
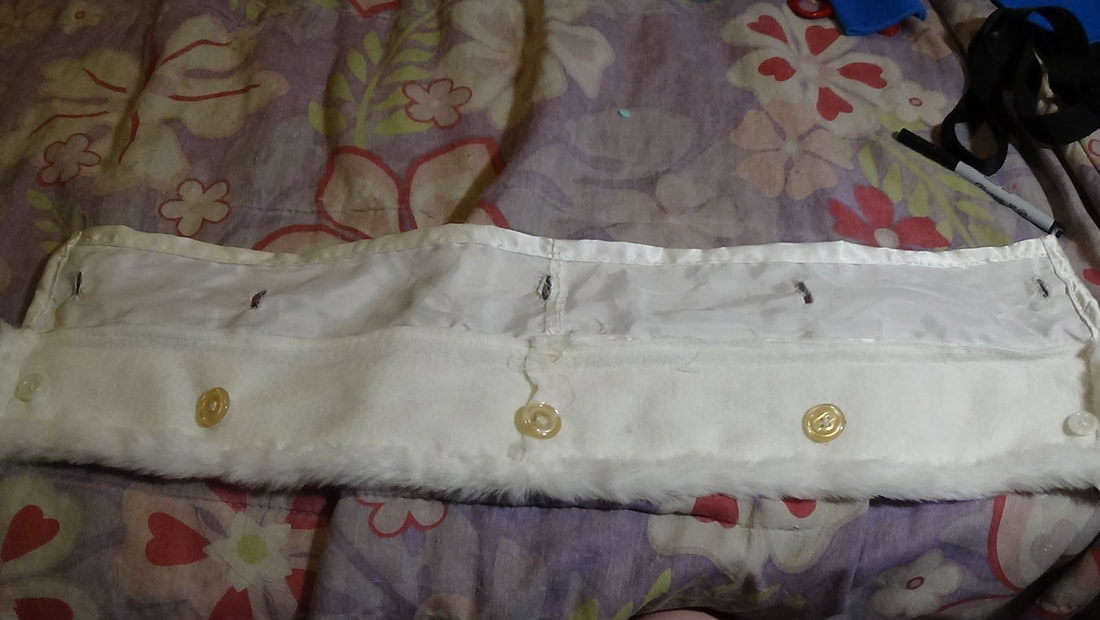
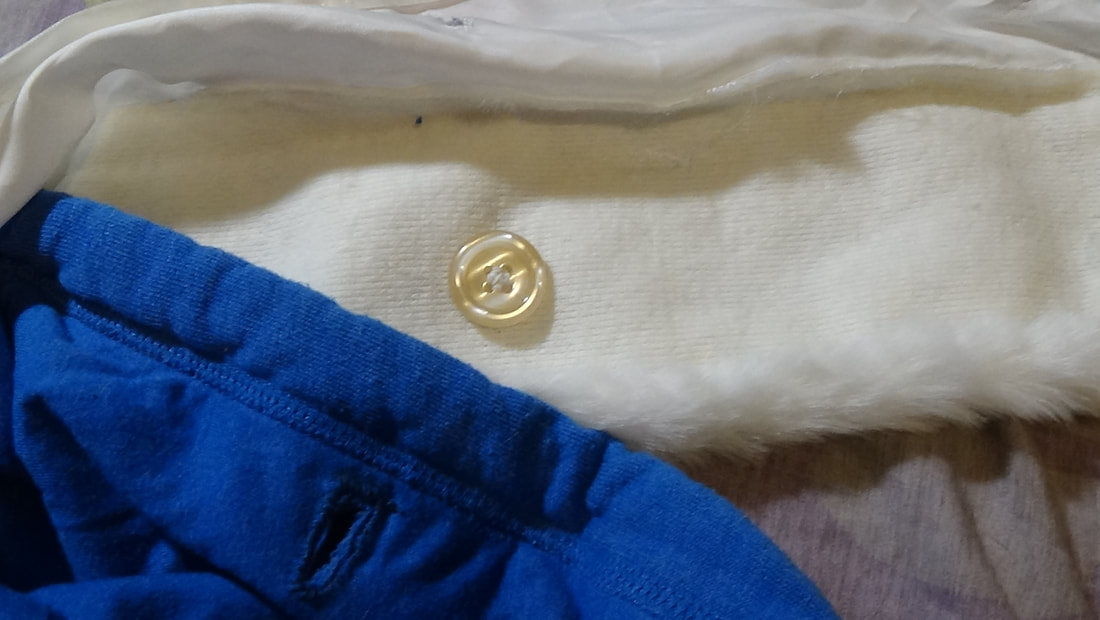
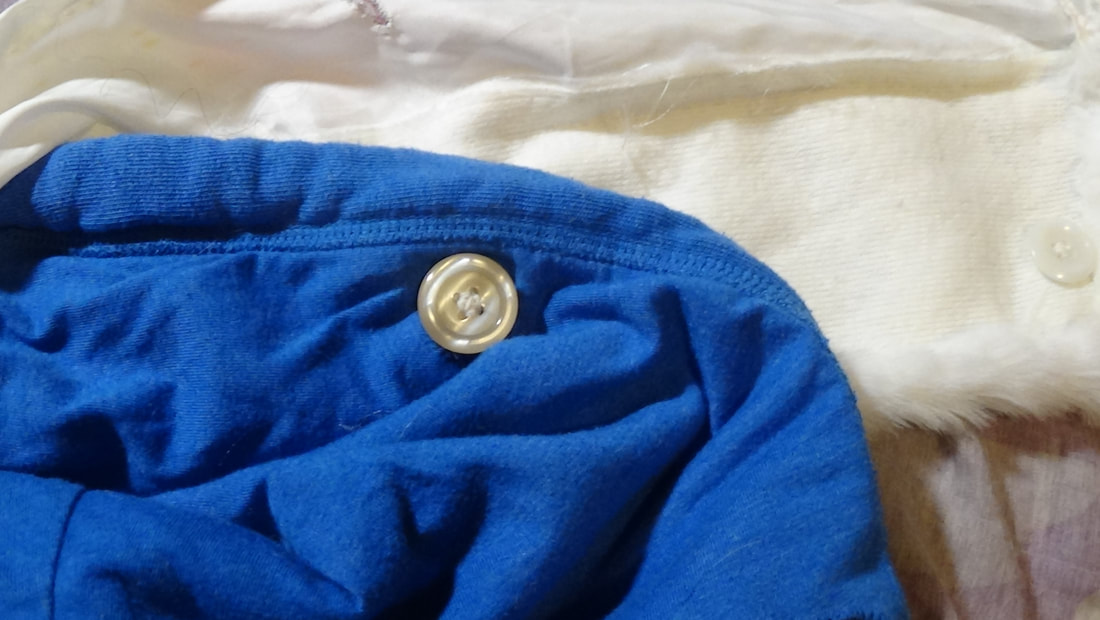
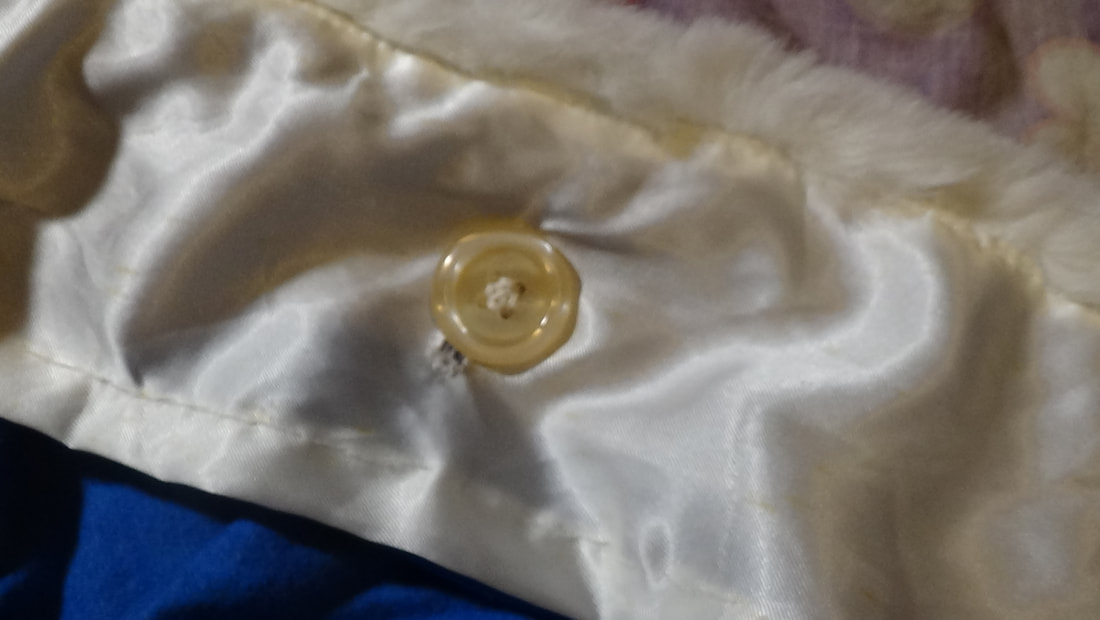
Next I measured and marked where I wanted to place my buttons on the underside of the fur. All of my buttons are about 1/2 inch in from the hemline, and the 2nd buttons are around 7 inches away from the middle button, and then the last buttons are 1/2 inch in from the edges. Once those were sewn in place (make sure you go slow while sewing so that you can fluff your fur back up and the stitches won't be visible) I then flipped over the lining, marked where the buttons were and sewed button holes.

Finishing
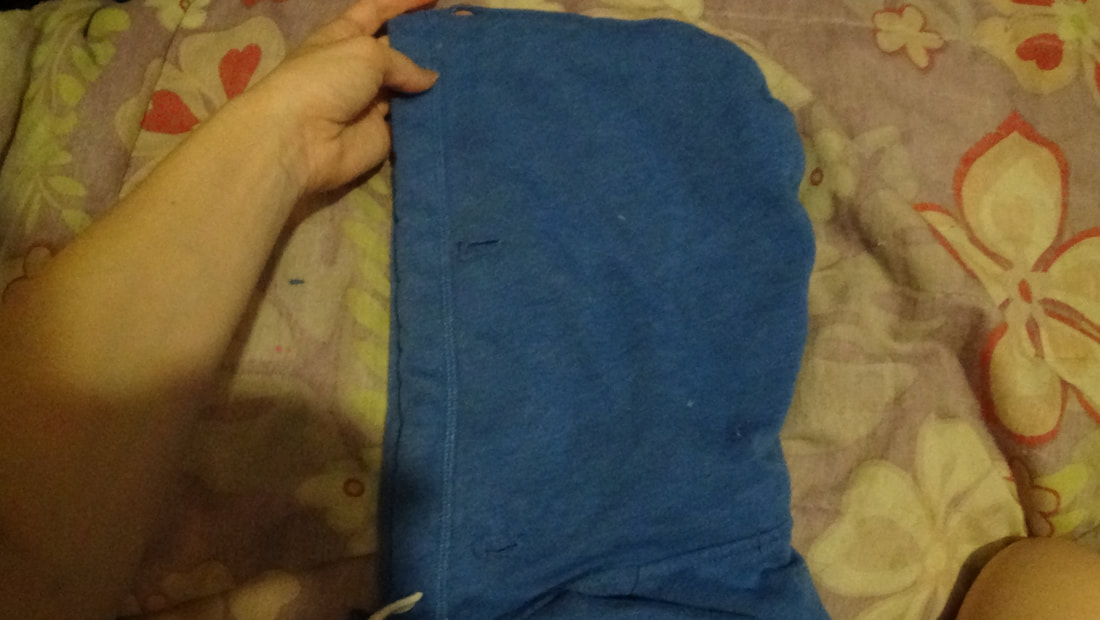
I also laid the trim onto the hood to mark out where the buttonholes on the jacket should be, and once I had all of the buttonholes sewn up, I was finished. Now my Niece's Sans hoodie has a removable fur trim so she can easily wash the jacket, without messing up the fur! ^_^
I hope this tutorial helped anyone who needed it. Feel free to check out my Youtube channel, and other social medias. If you have any questions, please feel free to message me on there, or email me (email on contact me page)