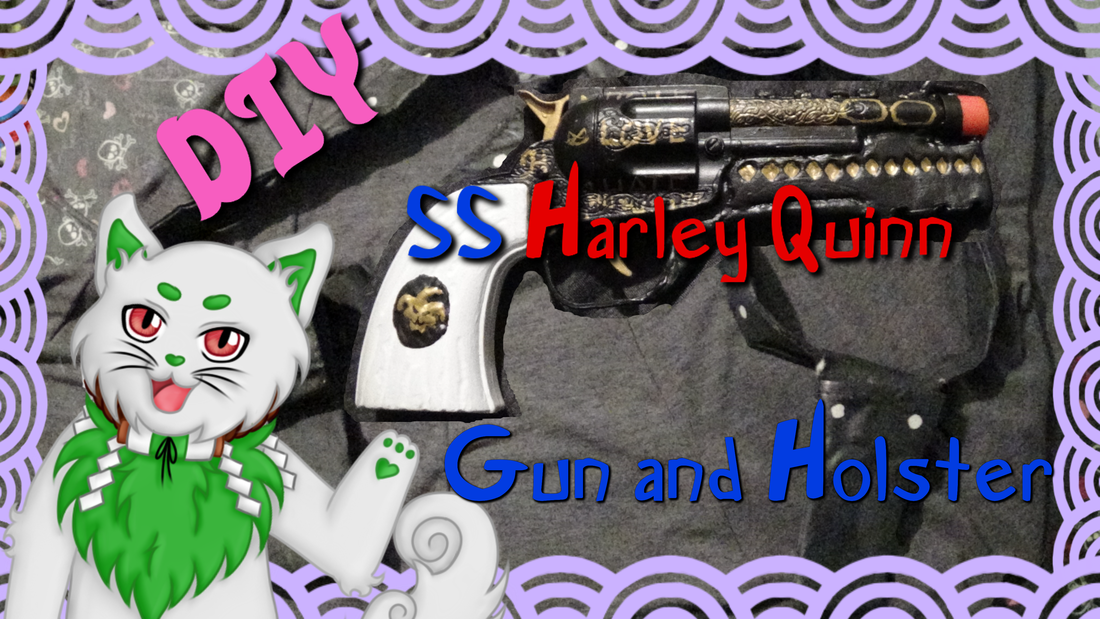
Gun
This project cost me about $4 since all I had to buy was the gun.
This project was based off of another tutorial by another youtuber, sadly though, the video is now set to private. But the youtuber was TahneeHarrison.
Supplies
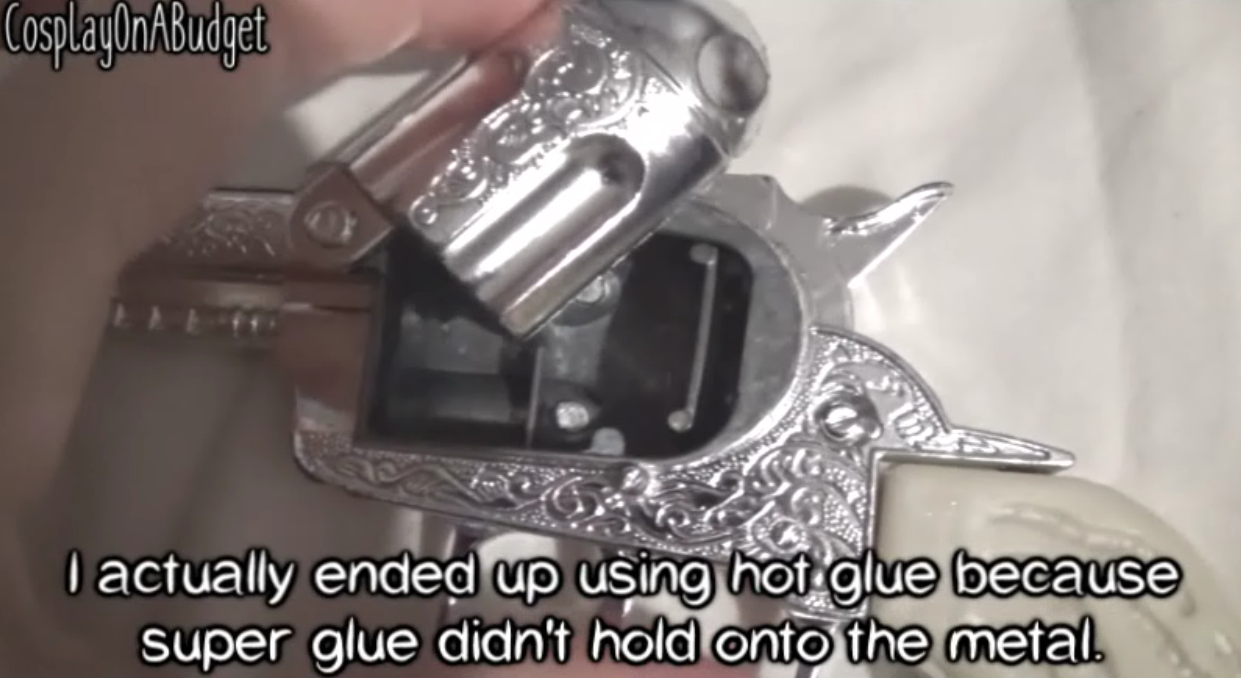
Step 1
I started off by trying to use super glue to glue the door of the gun down, but because it was metal, the super glue didn't work and I ended up using hot glue instead.
step 2
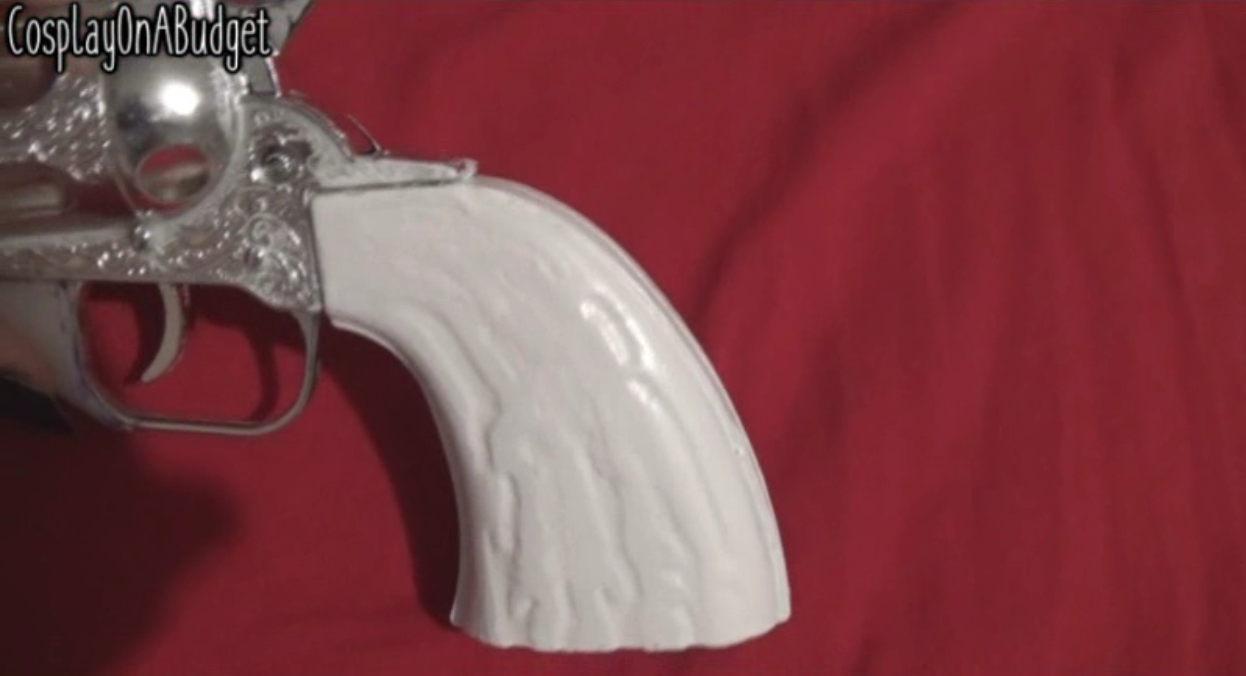
Next, because my gun had grooves on the handle, I started filling them in with fabric paint, but later switched to tacky glue.

step 3
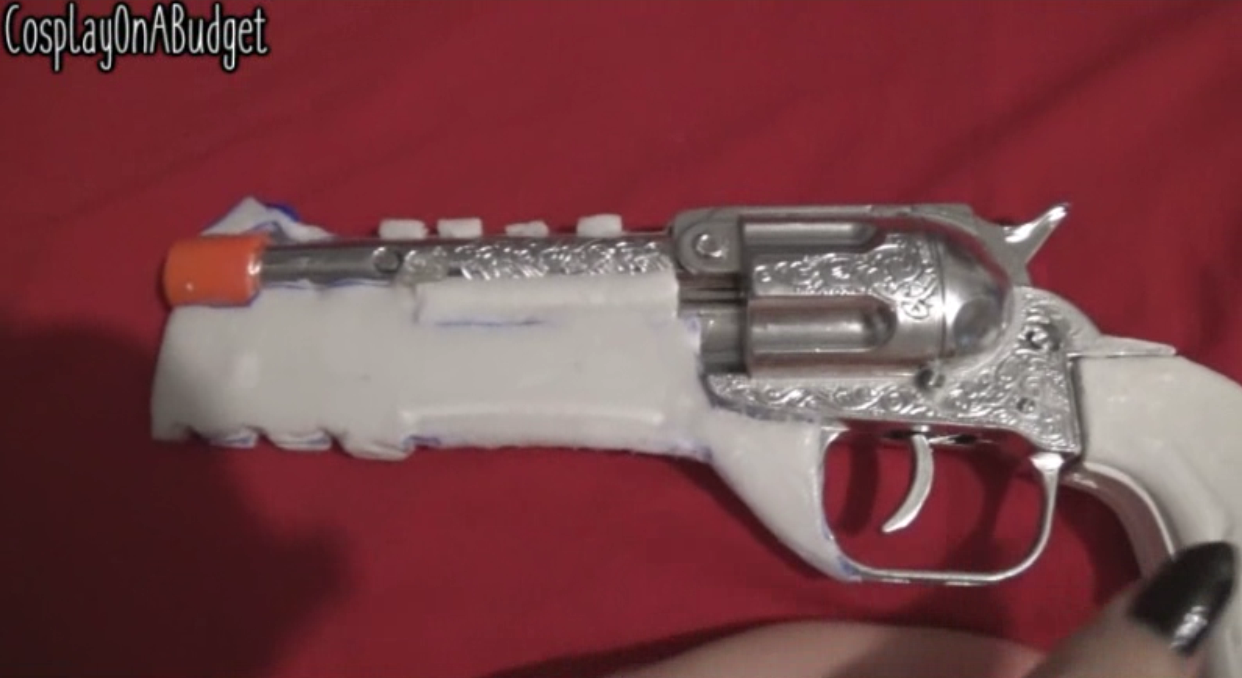
Then I painted the handle white
step 4
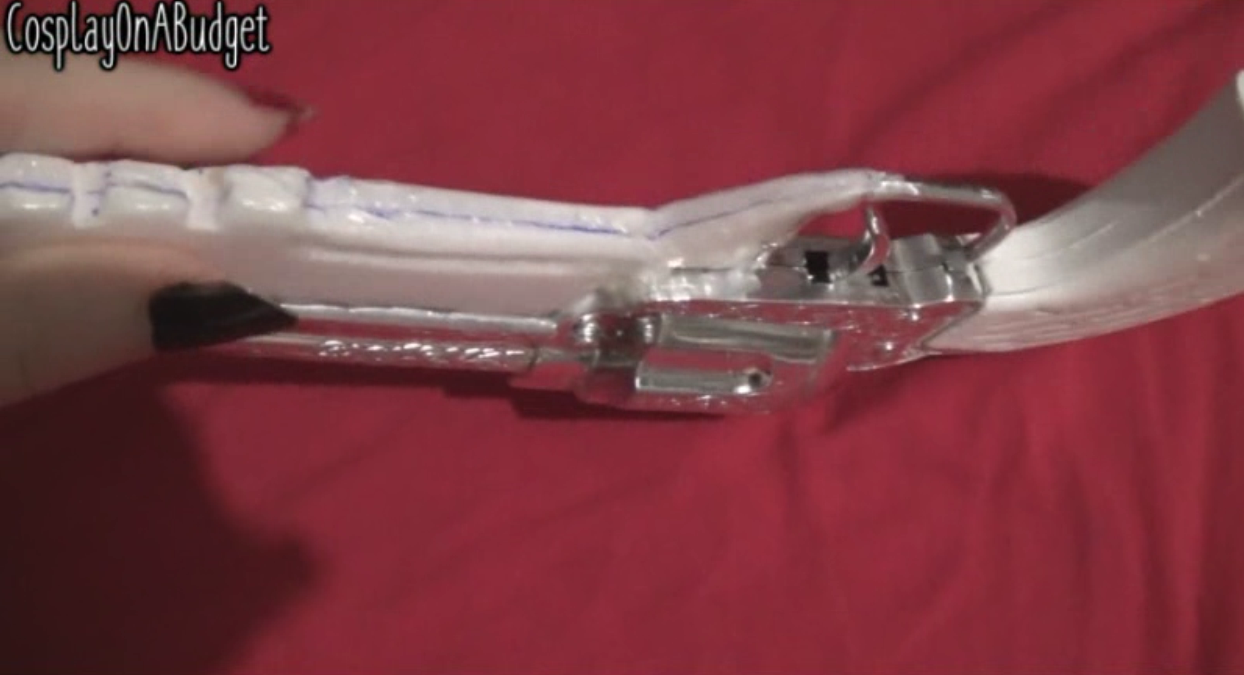
Next I took two pieces of foamboard and glued them together, then I carved them to the desired shape and glued them to the gun. Make sure you have a LOT of reference pictures. I also went ahead and covered the foam in tacky glue to help seal it a bit.
step 5
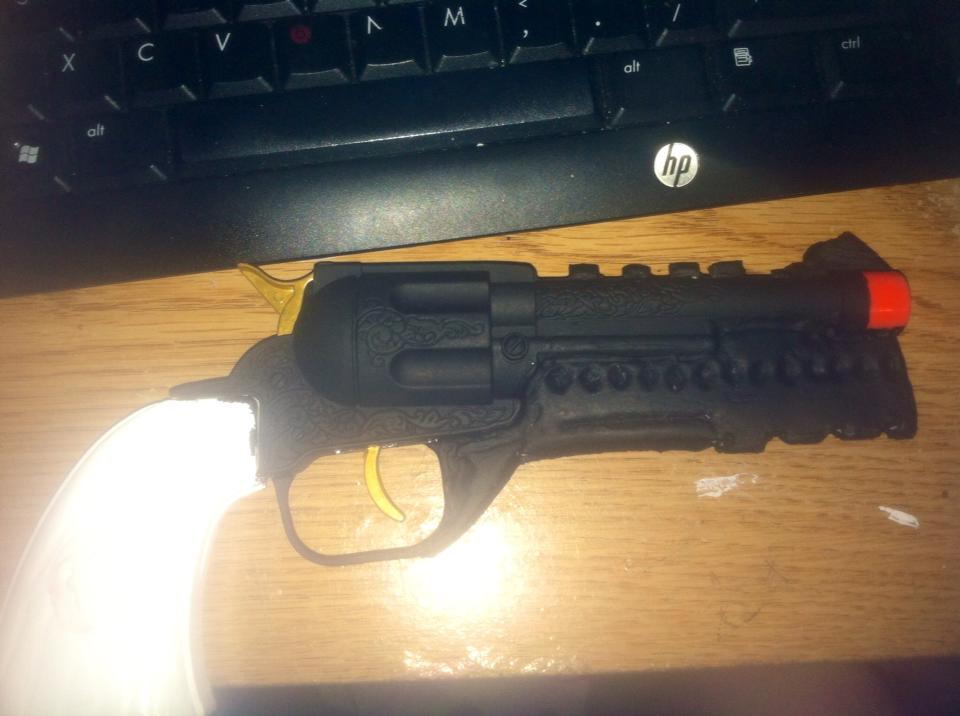
Then I painted it all black except for the trigger and hammer, which I painted gold. I also left the orange of the gun just to be on the safe side lol.
step 6
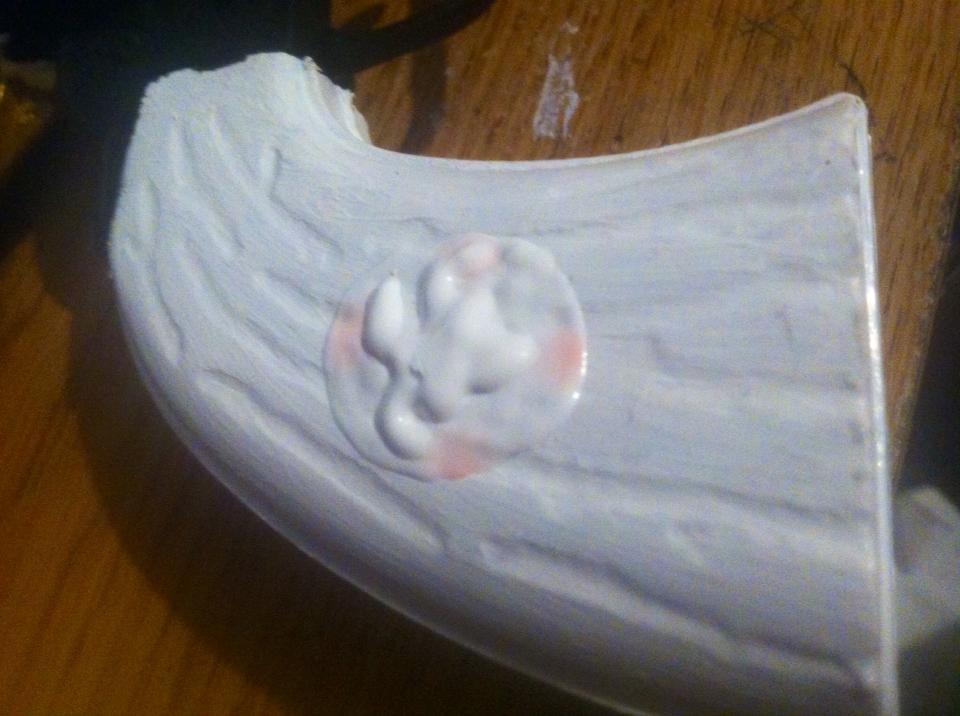
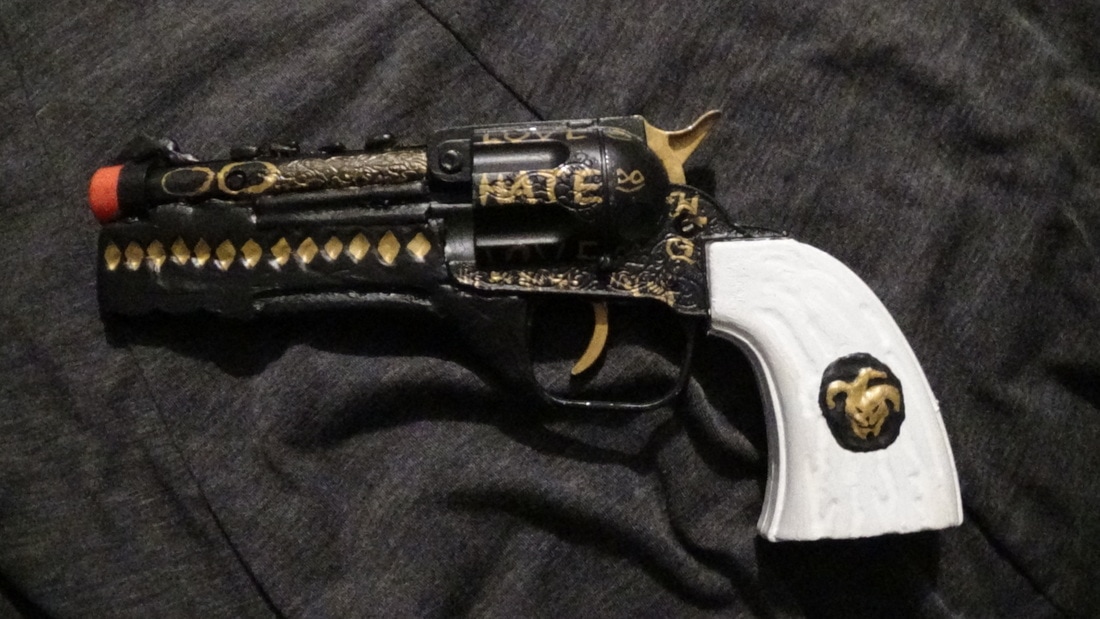
Next I started on the jester emblem on the handle, I did this by layering up fabric paint in the desired shape.
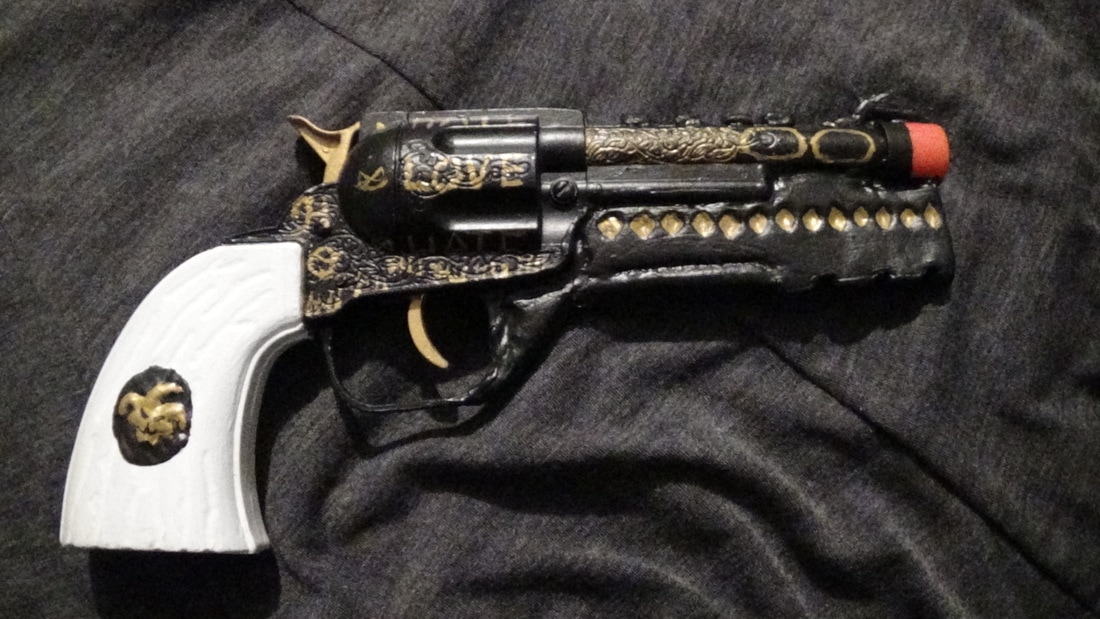
finishing
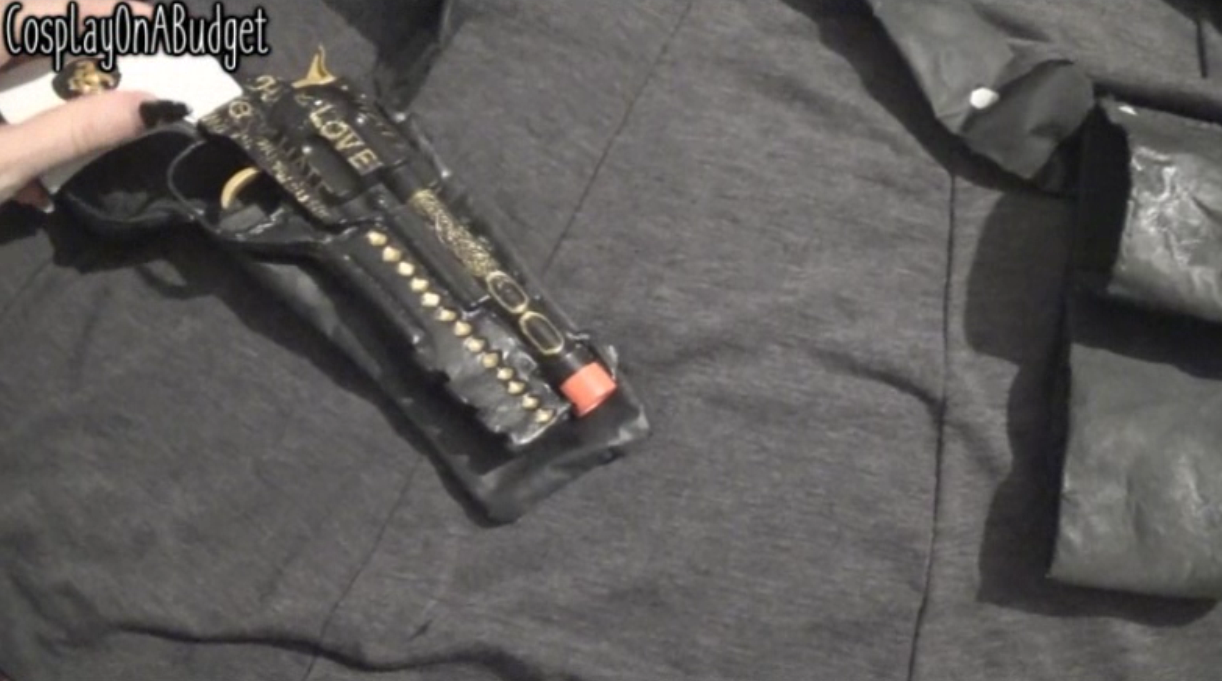
Now it was time for details, again, make sure you have a LOT of reference pictures. I painted the jester emblem black and gold, as well as writing the Love and Hate on the cylinder. For the diamonds I actually took the back of a paintbrush and kinda indented the design into the foam before painting it. I also did the faces beside the Love and Hate, as well as the HQ and tally marks. Now because I couldn't actually carve ovals out of the barrel, I just painted some on. I also took a bit of gold paint and put it on the designs that came on the barrel of the gun and wiped it off of the top so it was only in the designs. A few coats of sealer and I was done ^-^.
gun HOLSTER
tHIS PROJECT DIDN'T COST ME ANYTHING BECAUSE i ALREADY HAD ALL OF THE MATERIALS.
sUPPLIES
step 1
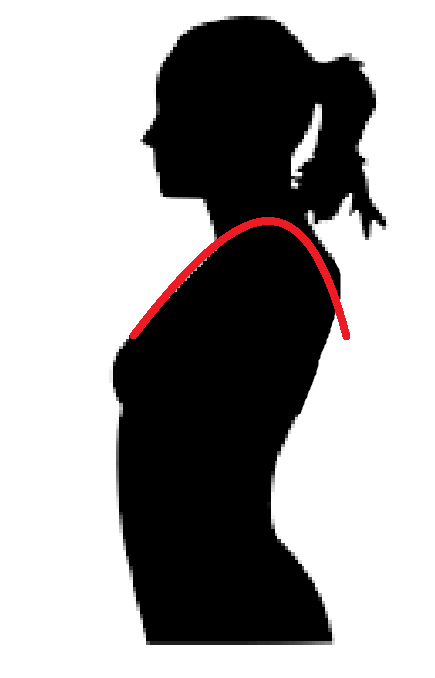
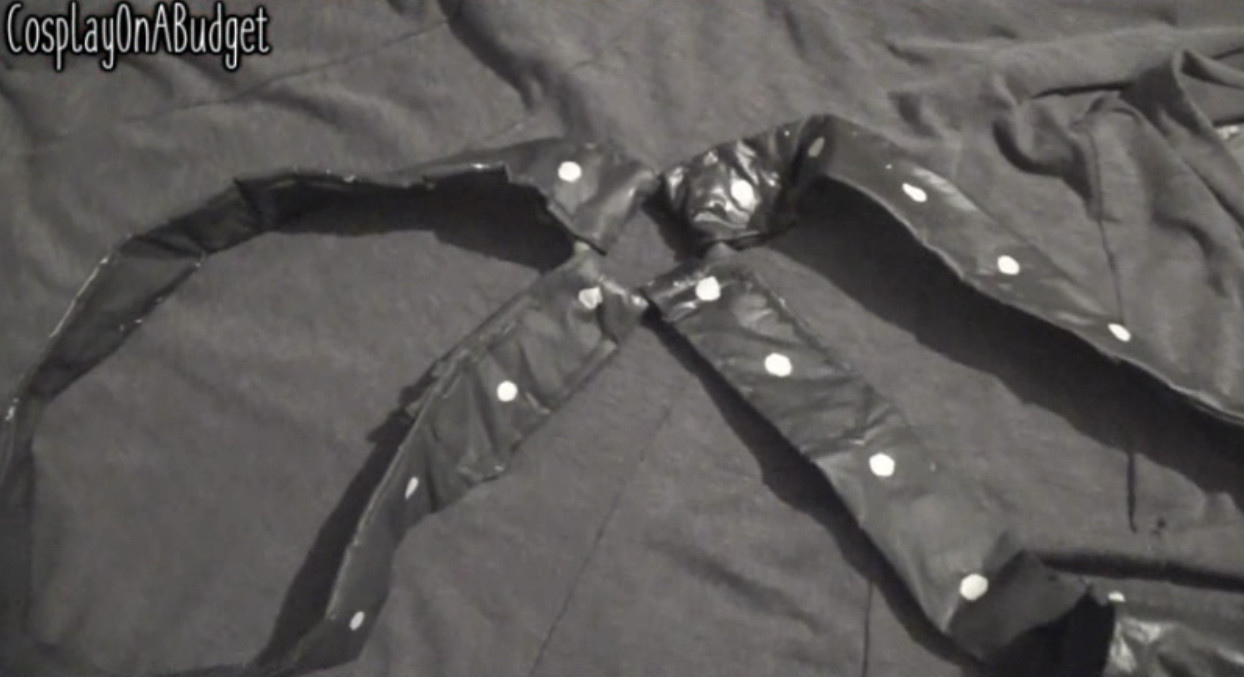
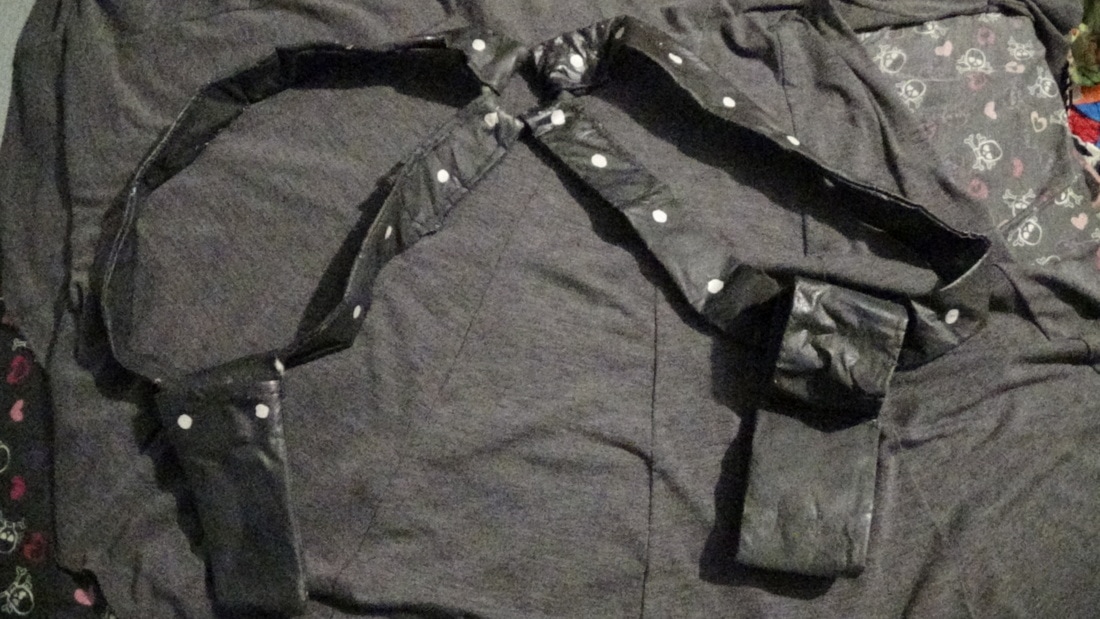
First I measured from the middle of my chest, to the middle of my back, and then doubled that measurement. Then, using that measurement I cut four pieces of my fabric that were also about 3 inches wide (counting seam allowance)
step 2
Once I had stitched the pieces together to make 2 solid straps, I then looped the ends through my ring, and stitched them into place.
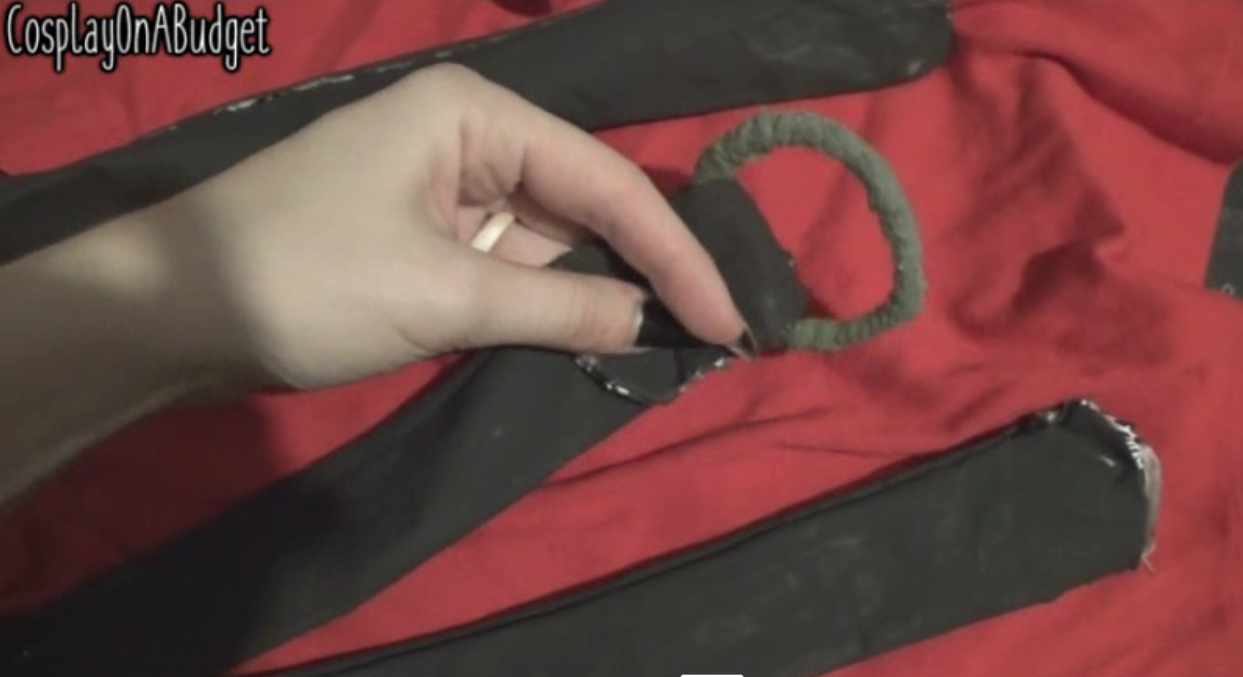
I also went ahead and painted the dots with the silver paint along them, but you could use round studs if you like.
step 3
Next I took the gun and traced around it from the hammer to the middle of the trigger guard, then, allowing for a seam, I cut out two pieces. Sewing them together along 3 of the sides to make a pouch, I stitched it to one of the straps.
finishing
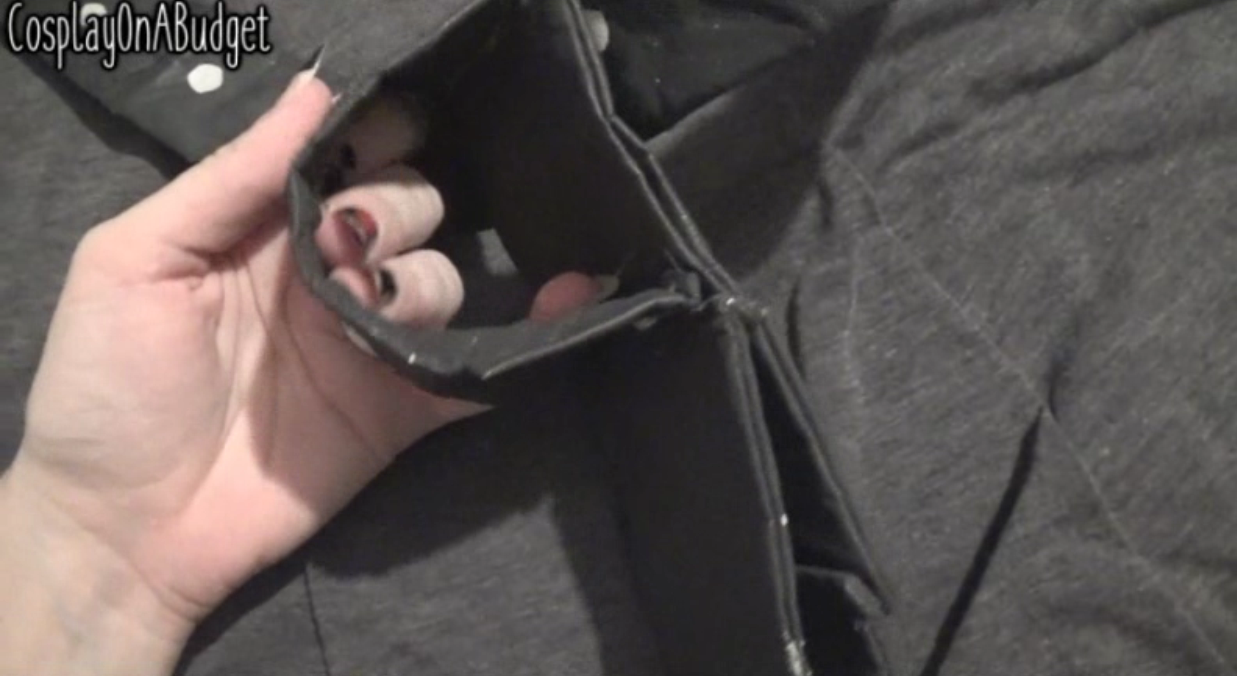
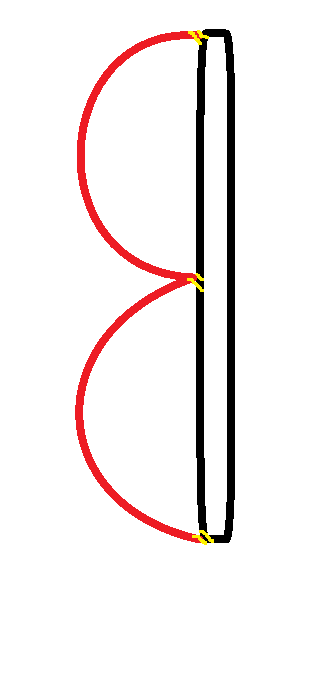
Then I cut out two pieces that were about 7 inches long by 3 inches wide (not counting seam allowance), and four pieces that were 5 1/2 inches long by 3 inches wide (not counting seam allowance). I stitched them together to create 3 solid pieces. Then I stitched one of the smaller pieces to the top and middle of the bigger piece, and then took the other small piece and stitched it to the middle and bottom of the bigger piece, creating a B shape. I then stitched the top of the bigger piece to the holster strap. And then I was done!
I hope this tutorial helped anyone who needed it. Feel free to check out my Youtube channel, Facebook, or Instagram. If you have any questions, please feel free to message me on there, or email me (email on contact me page)