

Shirt
This project only cost $5 for me because of the shirt, I already had all of the paint.
Supplies
Step 1
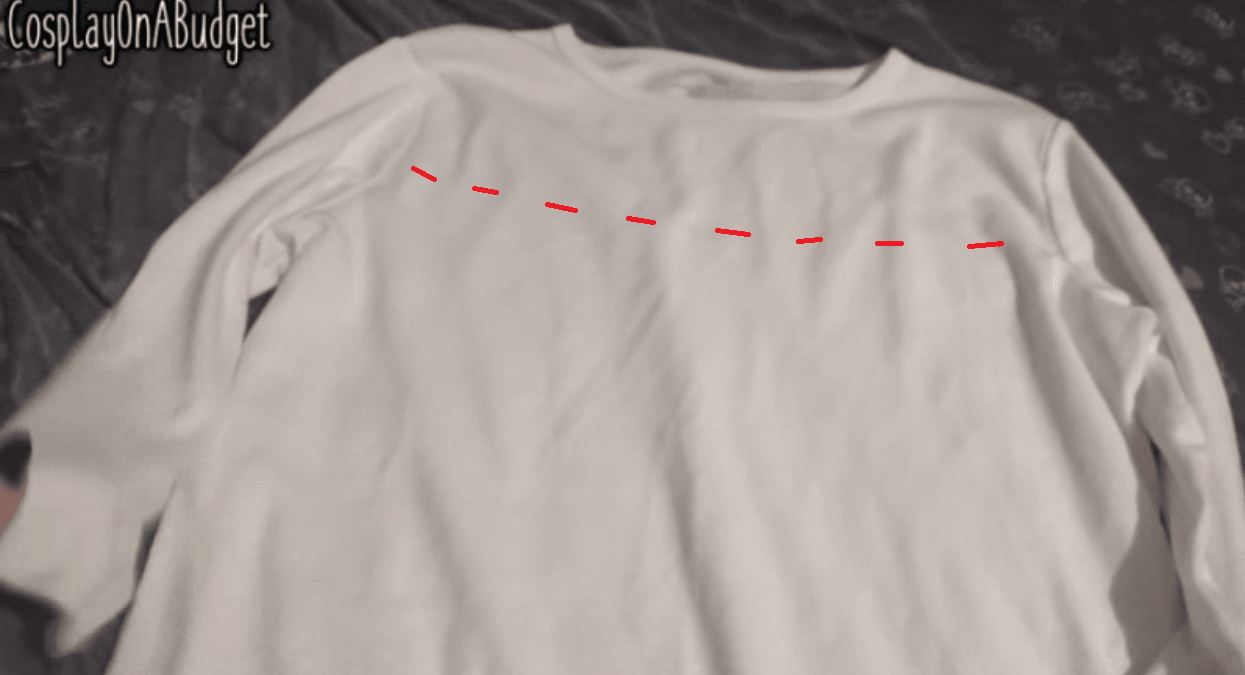
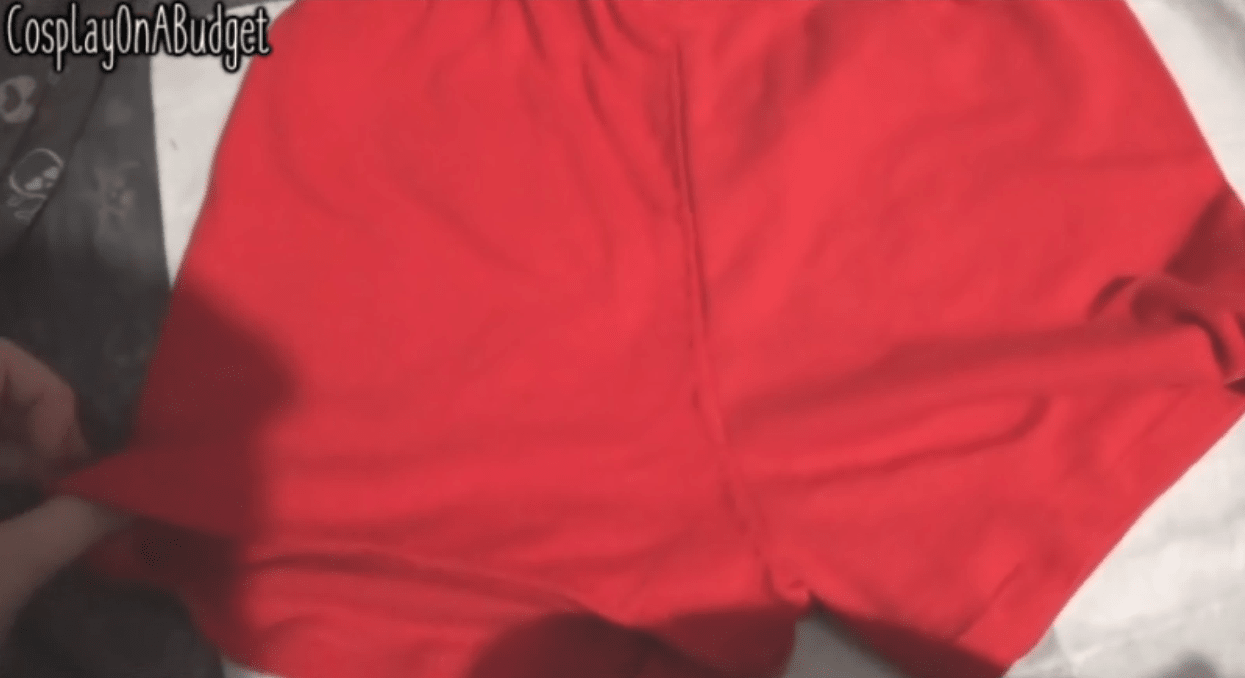
Start off by figuring out where you want the "cut" between the red and white to go. I say "cut" because I won't actually be cutting the shirt, only making it look like it has been cut and sewn back together.
Step 2
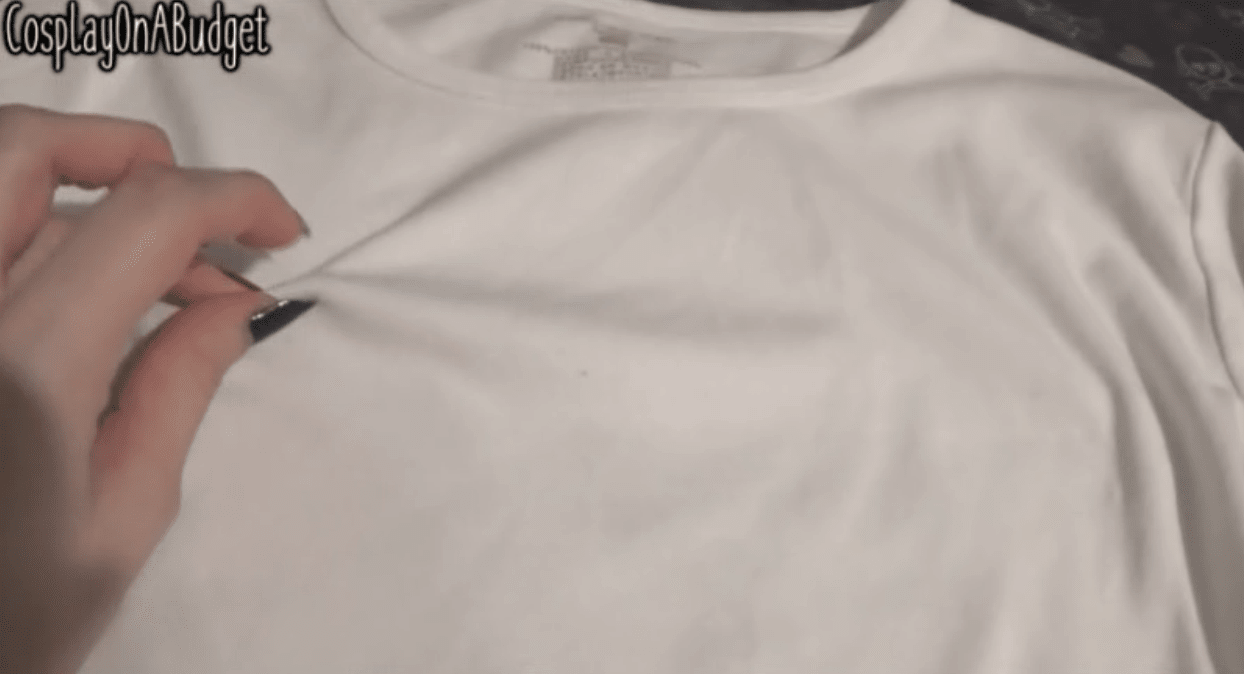
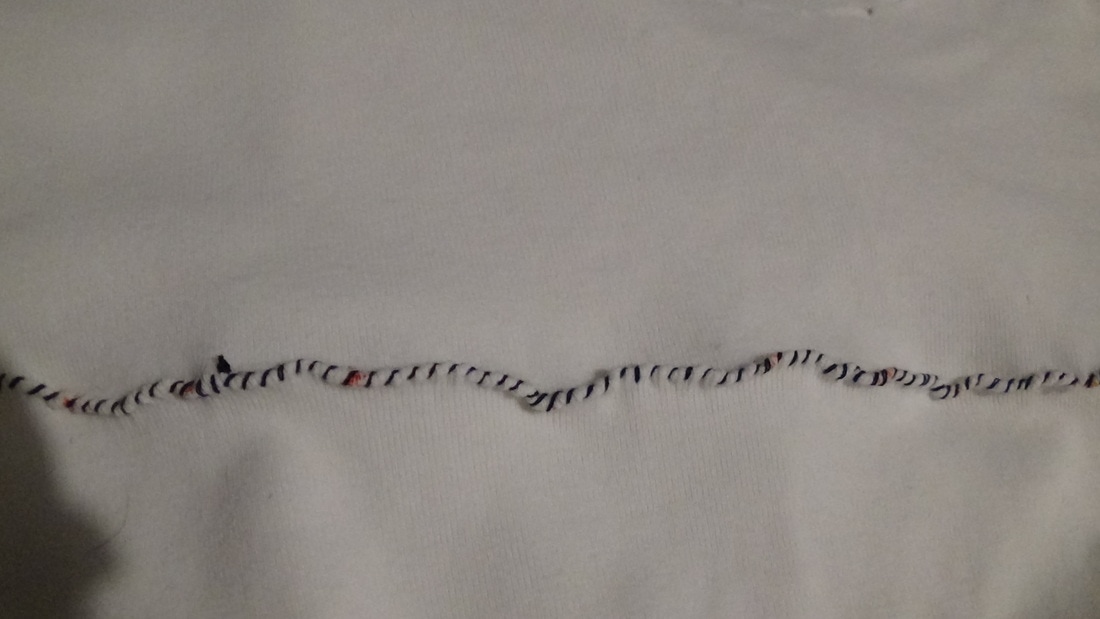
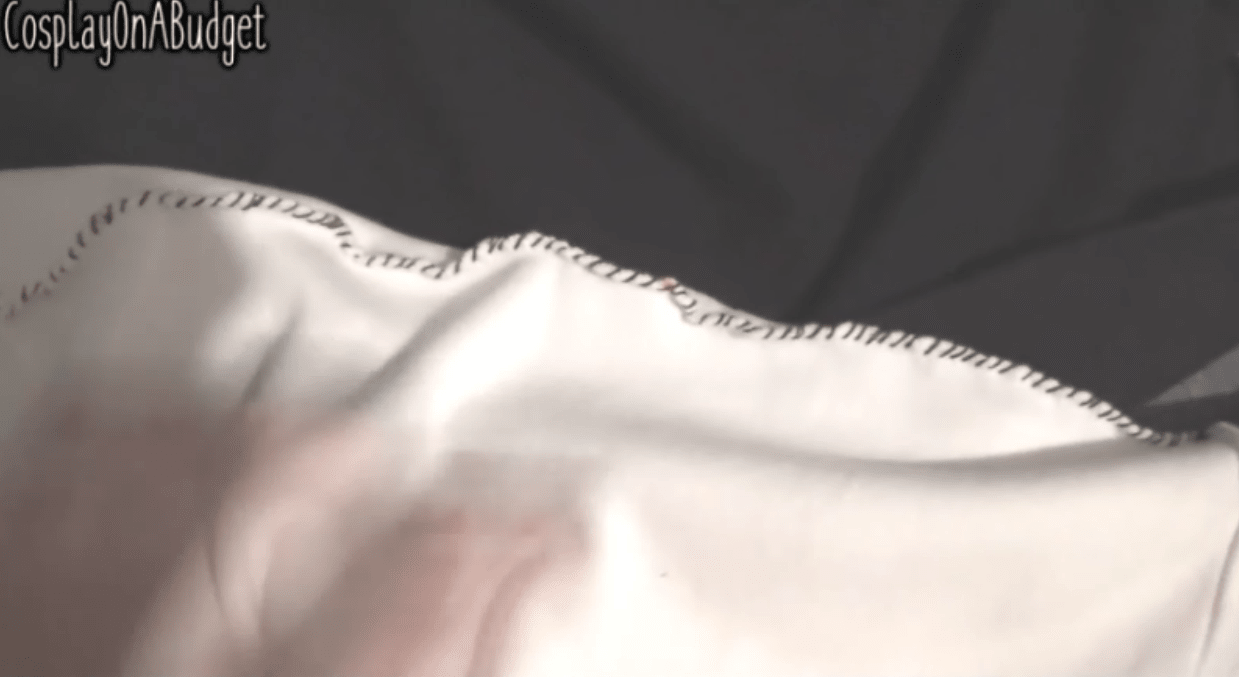
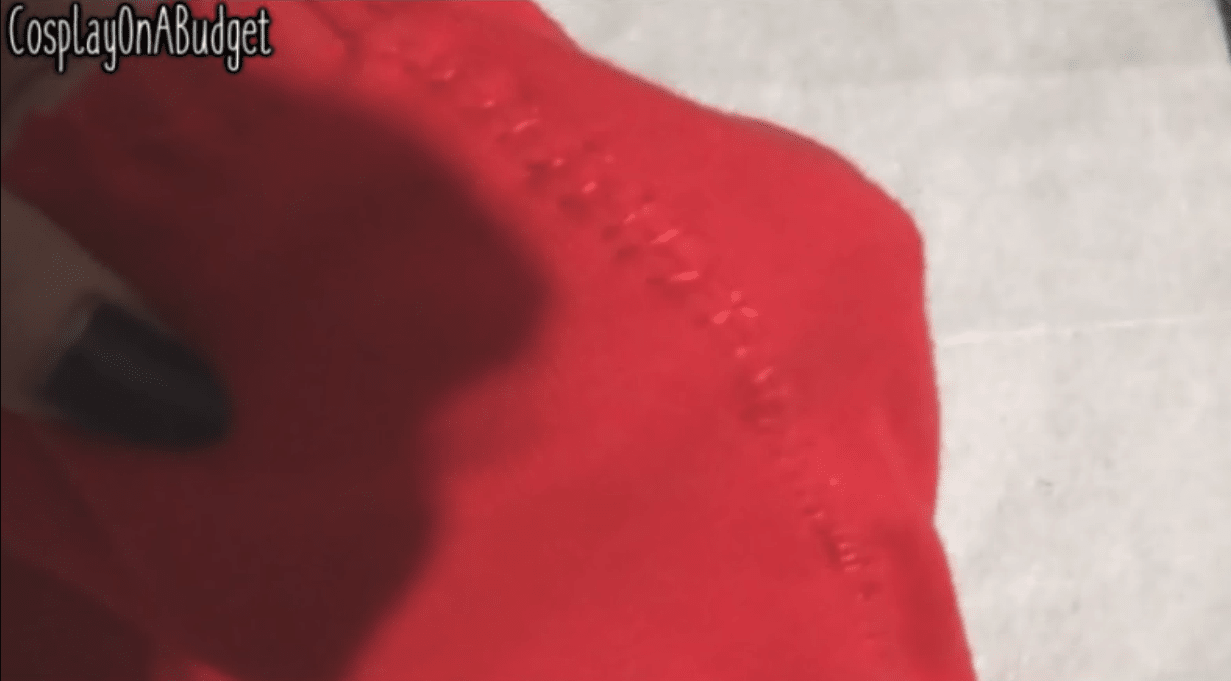
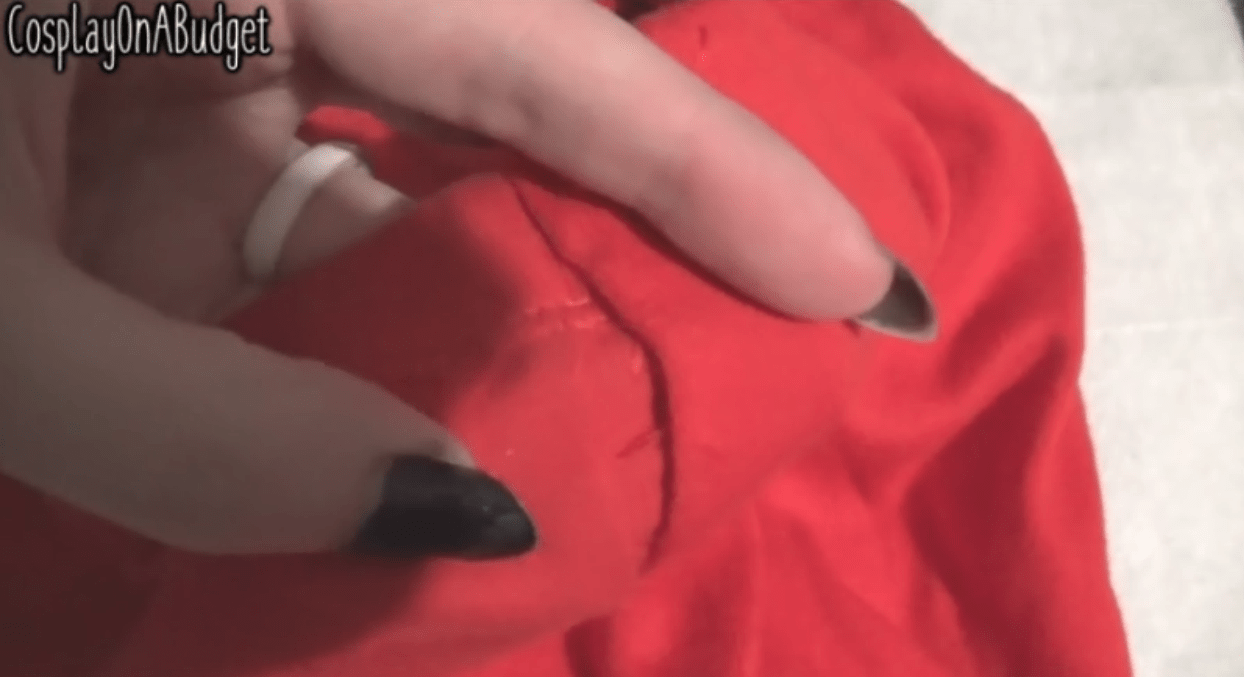
Next, pinch the fabric on the marks you have made, then using an overcast stitch, stitch along the fold.
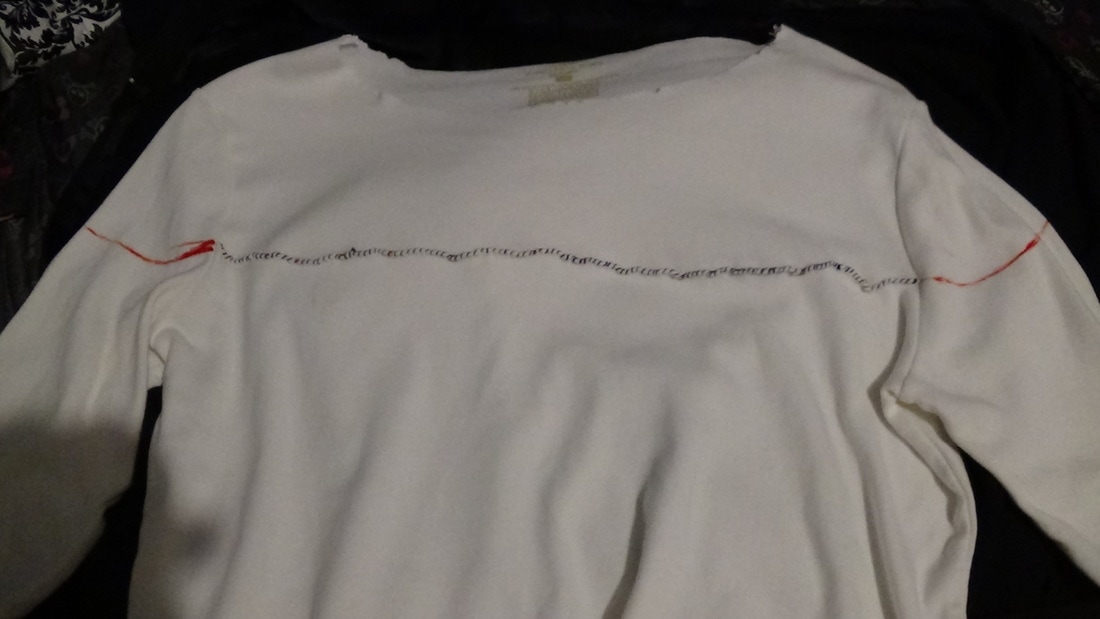
This is what you should have when you're done. I also sketched out where I wanted the red to stop on the sleeves, as well as cut the neckline a bit bigger.
I also did it on the back of the shirt
Using the same method I also added the other "cuts" along the sides and front

Step 3
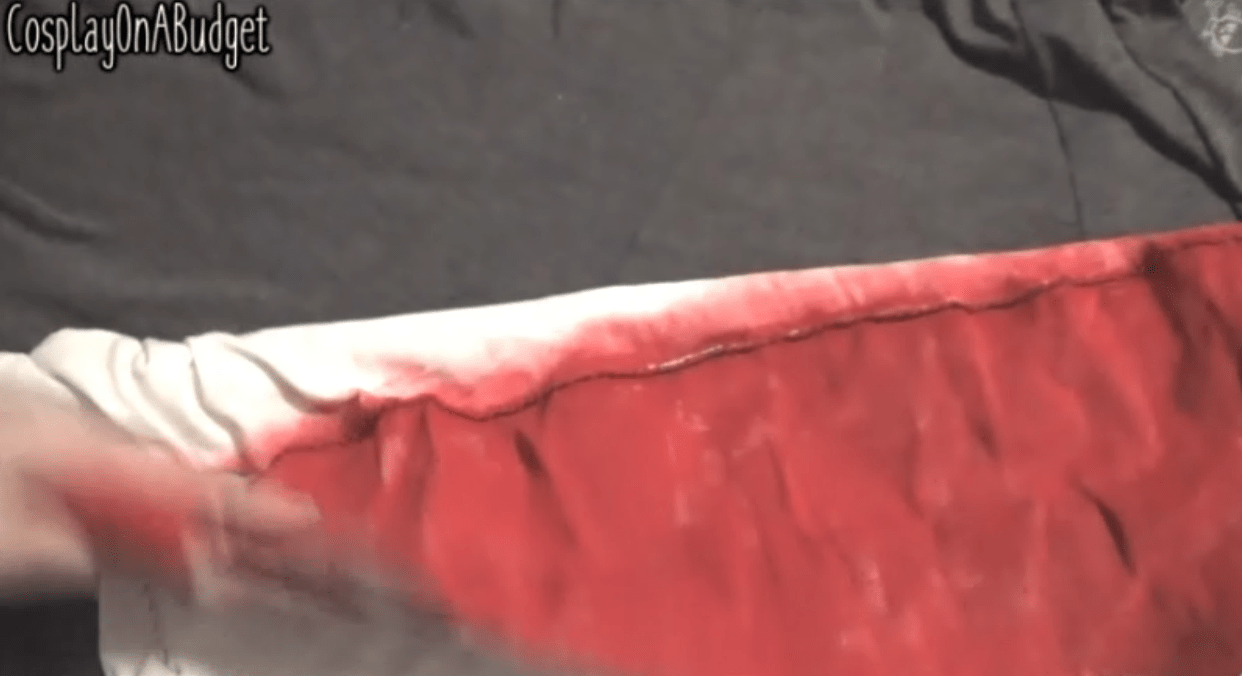
Next I painted all of the red, and dry brushed some red under the seam. I would actually advise using dye or fabric markers for this, because the amount of paint I had to use left the shirt a bit stiff.
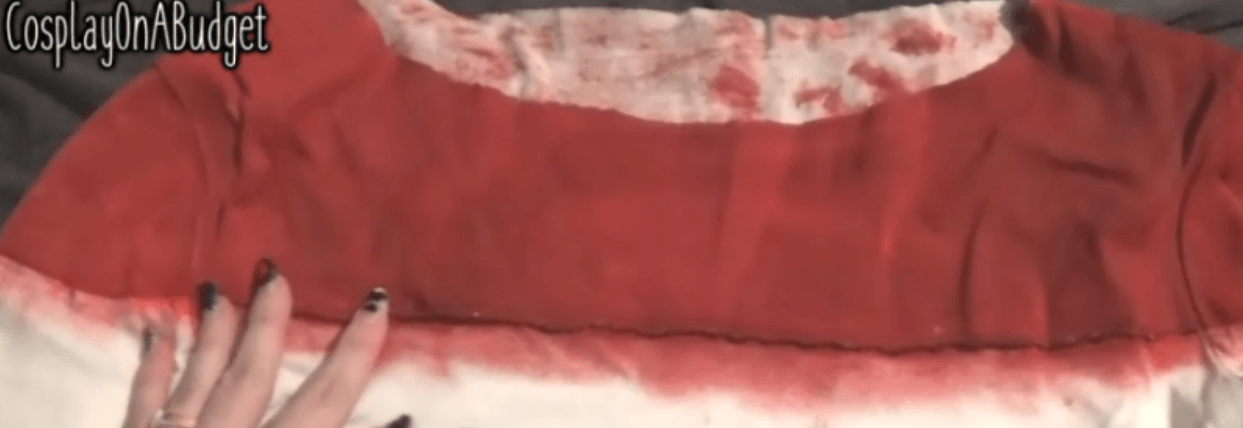
I did it to the back as well
Step 4
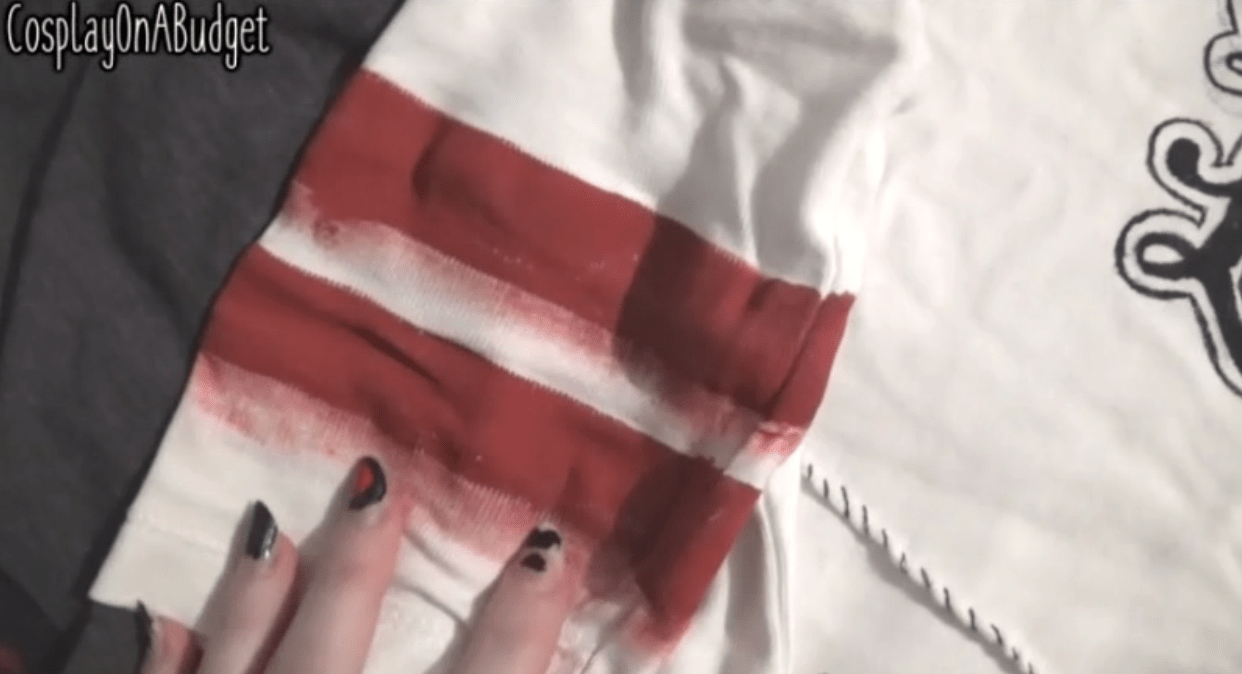
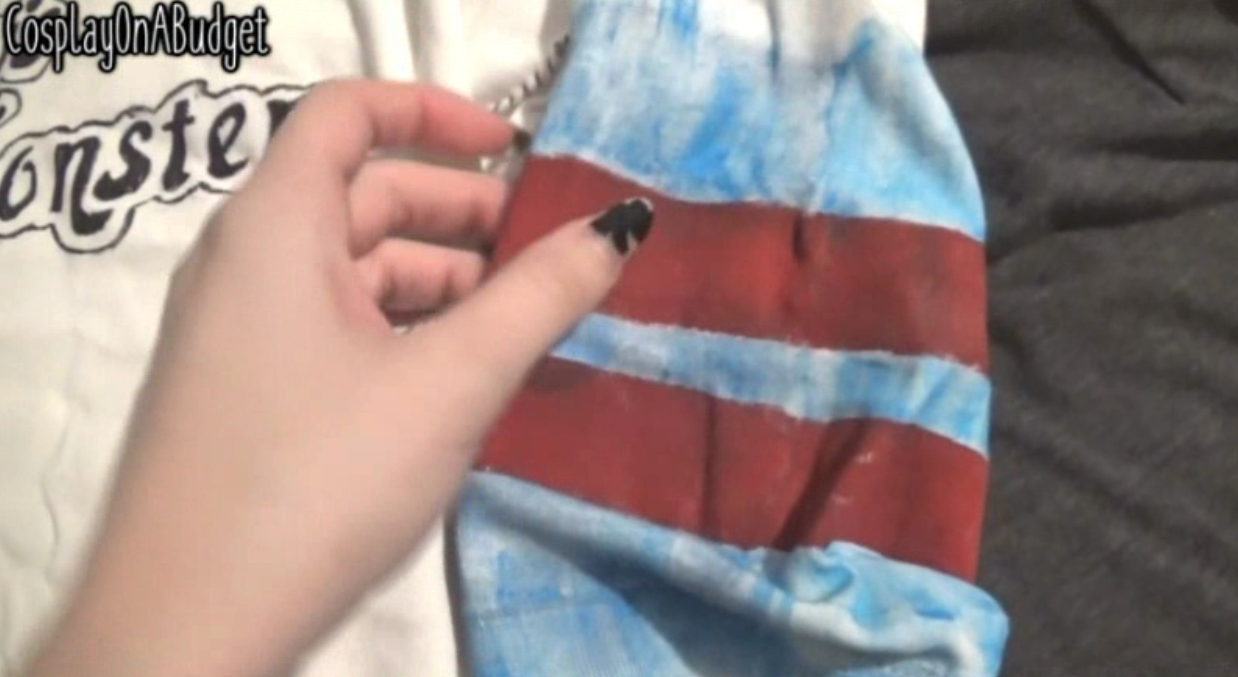
For the sleeves I used some tape to tape off where to put the lines and painted them on. For the right sleeve I dry brushed some red downwards off of the stripes.
And for the left I dry brushed some blue on, even going over the red a bit.
Step 5
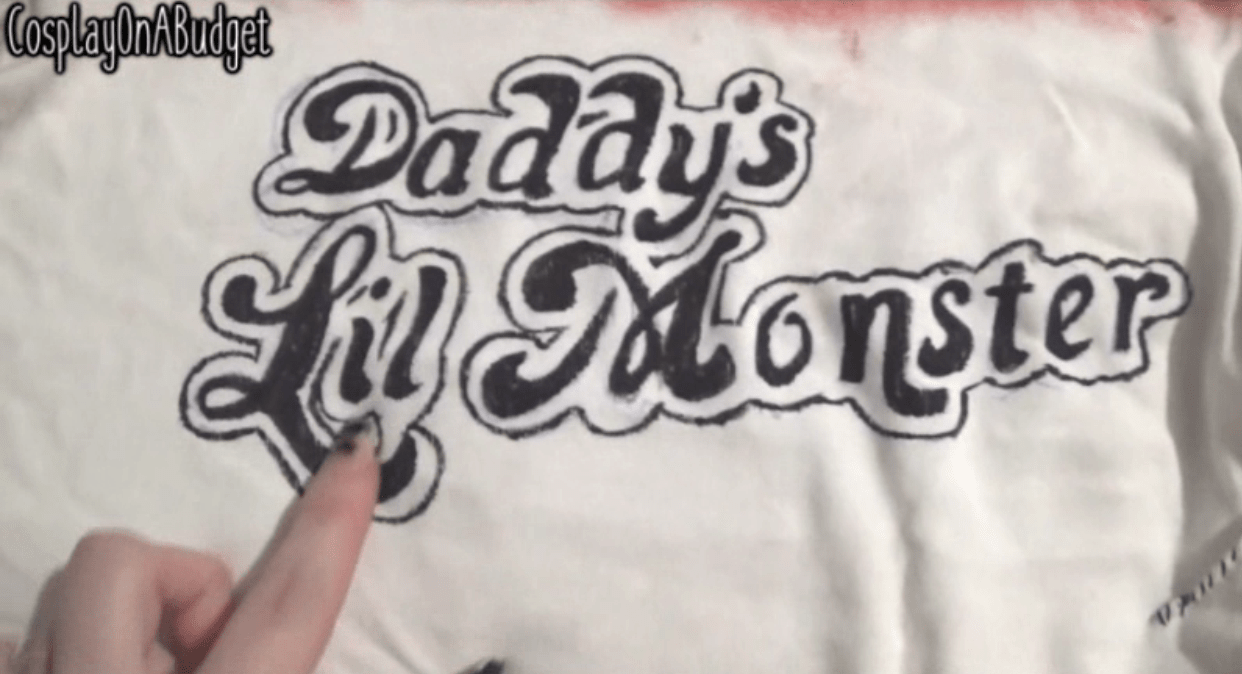
For the text, I traced it on and then painted over it with some black.
step 6
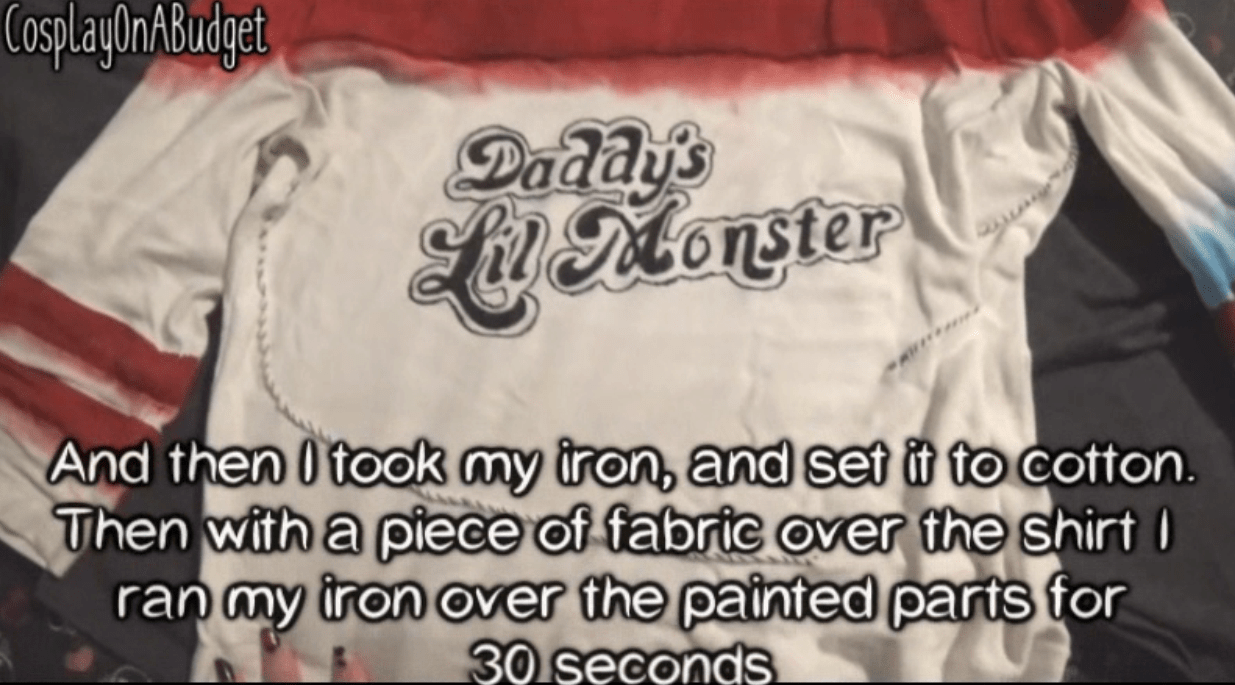
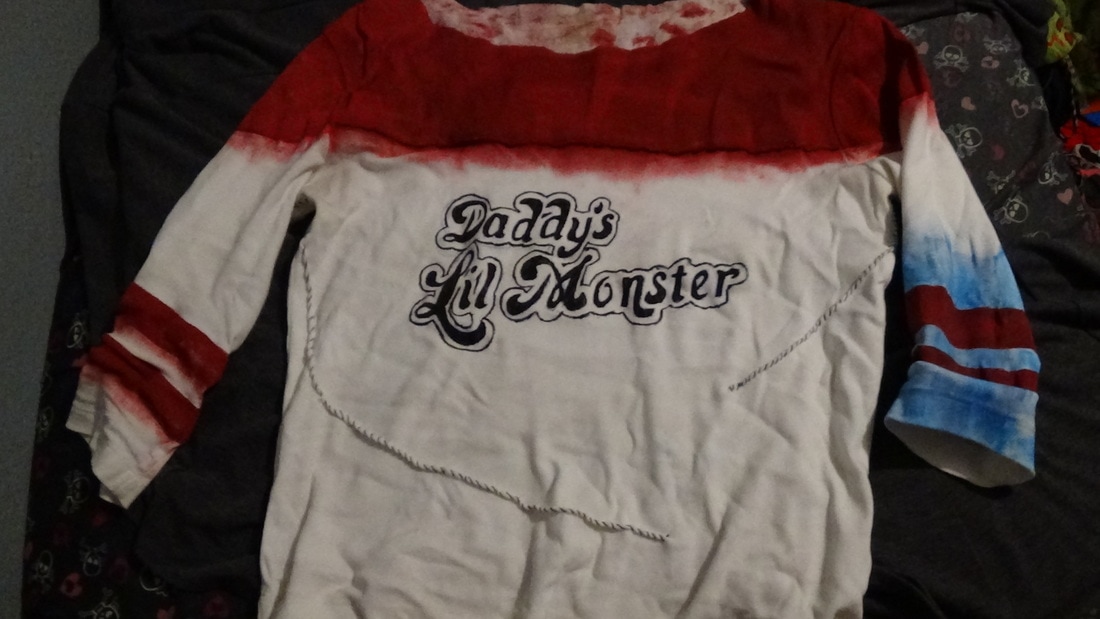
And this is what you should have when you're done!
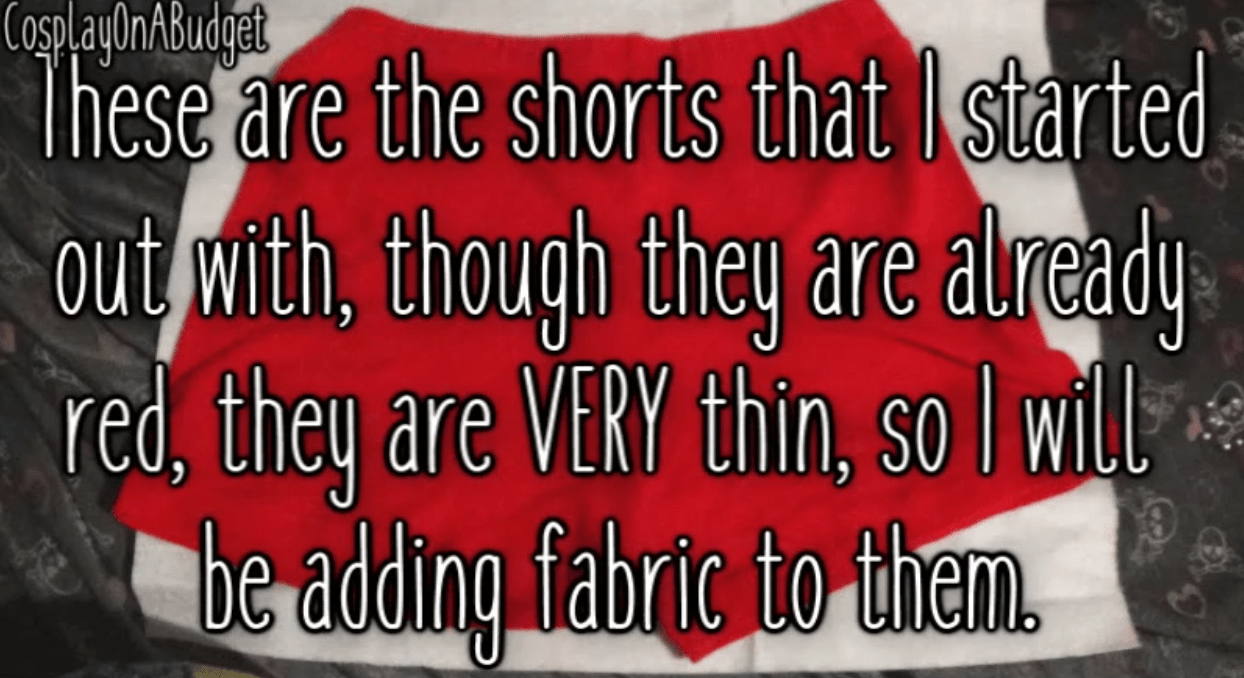
shorts
The shorts costed about $4 total, $2 for the shorts and $1 each for the shirts I used as fabric.
Supplies
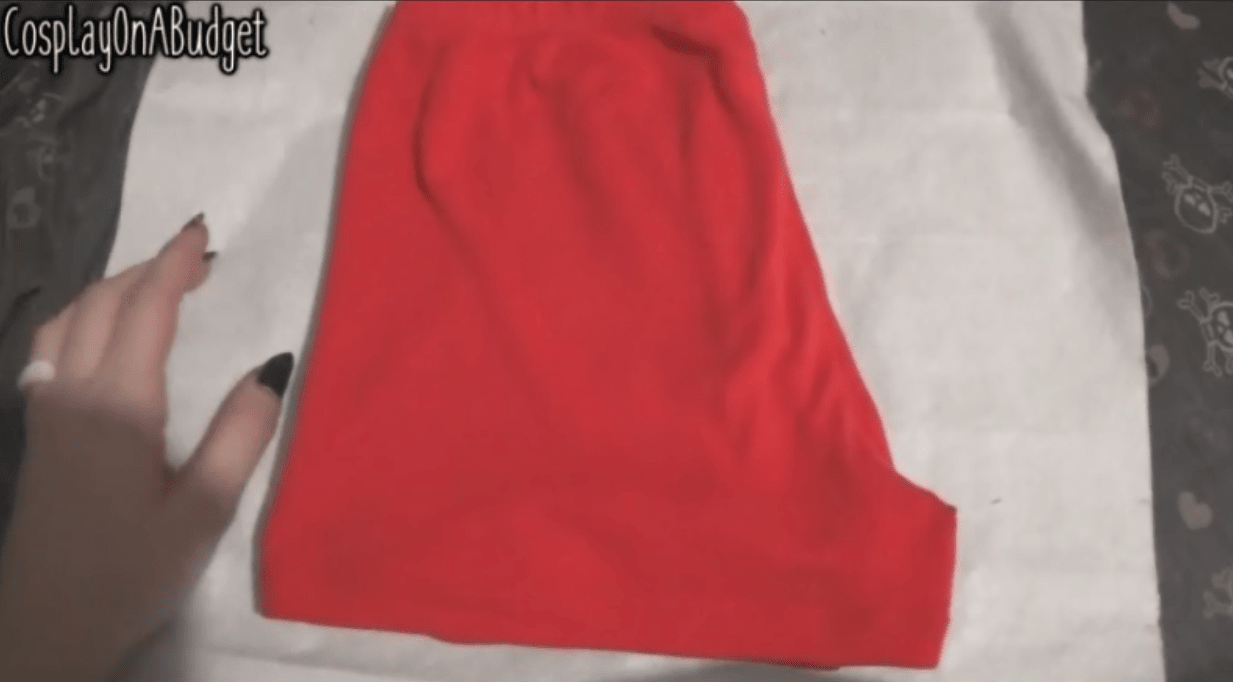
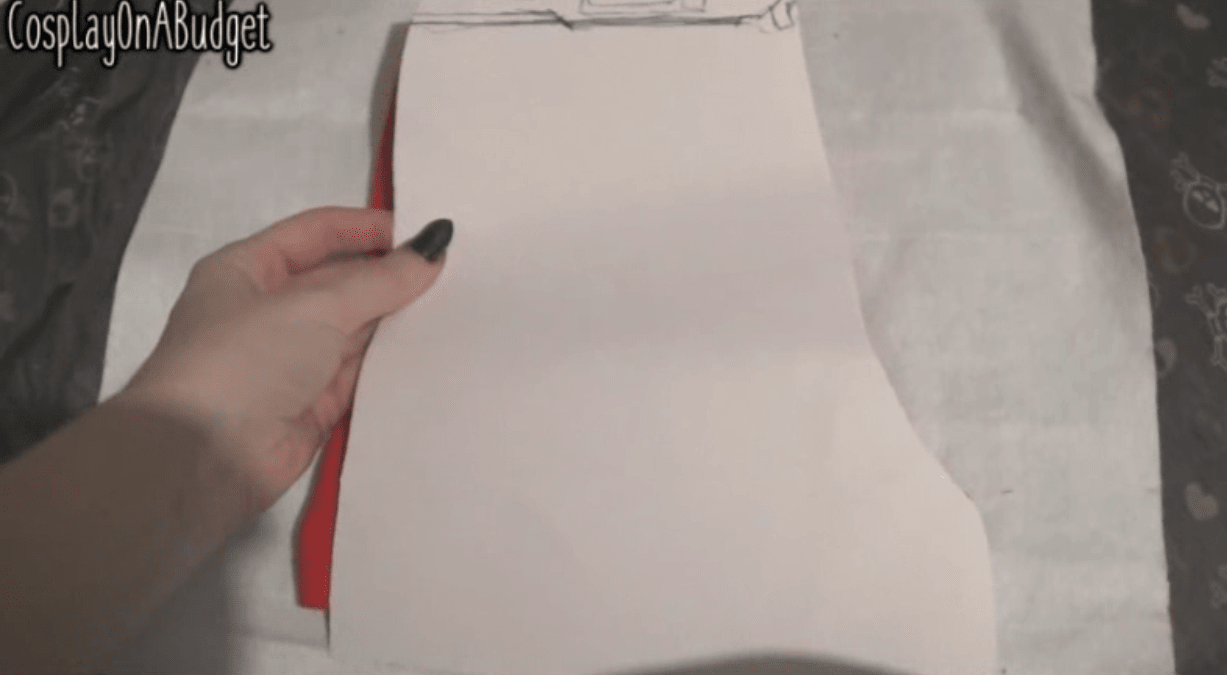
Step 1
Start off by folding your shorts in half and tracing the shape onto a piece of paper (I used posterboard because it's thicker)
Step 2
Next, trace the pattern twice onto your red fabric, make sure you reverse it for the 2nd piece.
Step 3
Now fold over the edges and using a back stitch, sew along the middle seam of your shorts, if your shorts don't have a middle seam, find the middle of the shorts and mark it. The red fabric will be going over the right side of your shorts.
Step 4
The other side should meet the middle of the side as well. My shorts didn't have a middle seam on the sides so I had to make one. To figure out the middle seam for the sides, put the shorts on and mark it. It will want to do this to ensure you won't have to unsew it and redo it again. Do these steps for the other patter piece as well.

Now I also had to use a overcast stitch on the side seams.
Because with just a backstitch, the shorts fabric was showing through.
Step 5
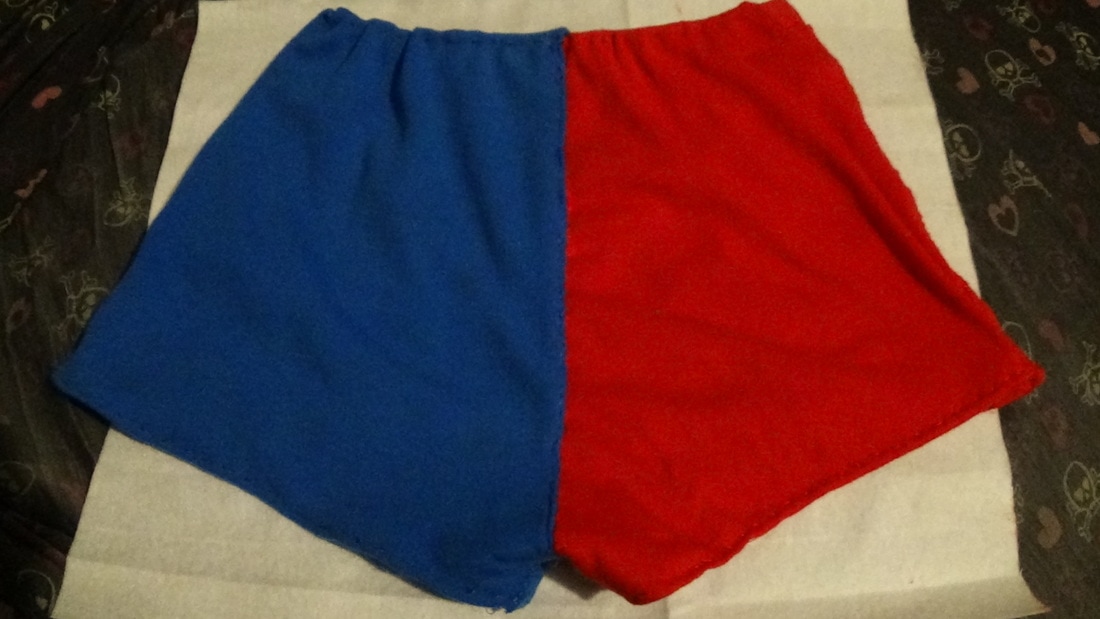
Now grab your blue fabric and repeat steps 2-4 for the left side of the shorts.
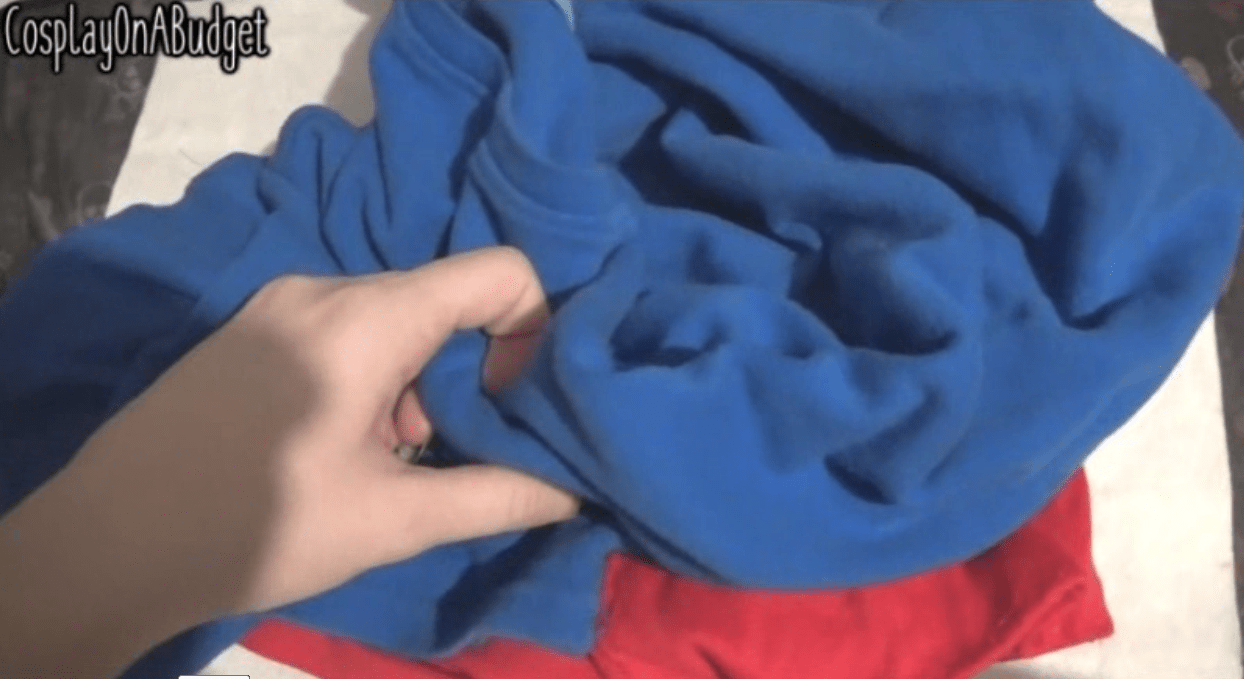
And this is what you should have when you're done!
I hope this tutorial helped anyone who needed it. Feel free to check out my Youtube channel, Facebook, or Instagram. If you have any questions, please feel free to message me on there, or email me (email on contact me page)