This project cost me about $13
Supplies
Step 1
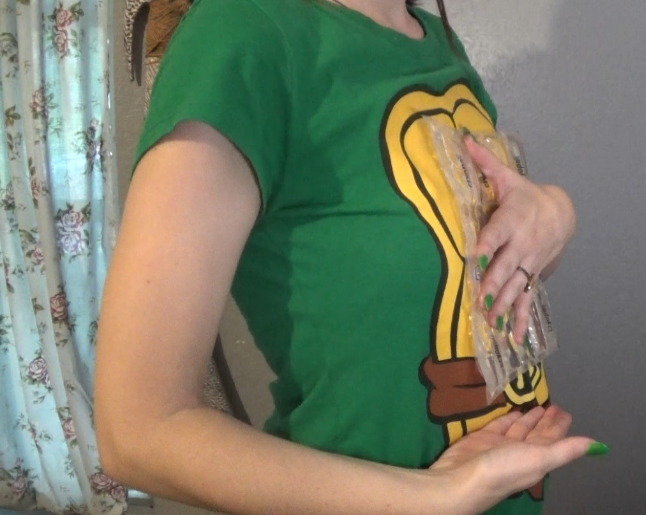
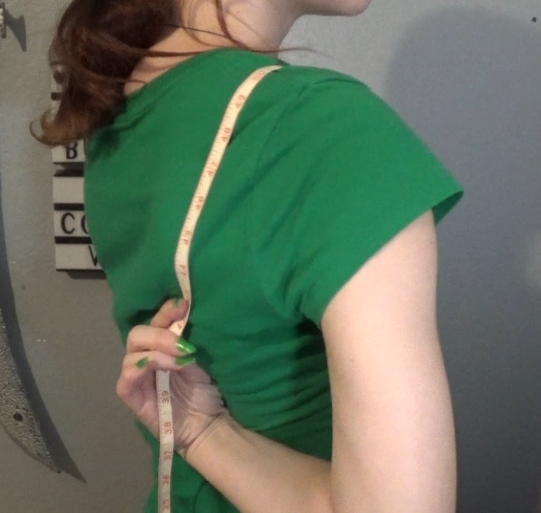
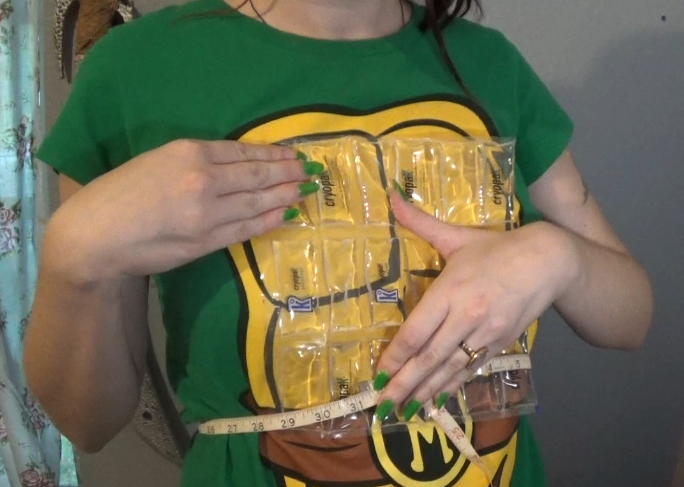
Hold the ice pack to your chest to see where you want it to sit. I didn't want mine too low so that it didn't dig into my stomach when I bent over. First I found that point on my stomach, and then placed the ice pack a bit higher. Next you are going to measure from the ice pack, over your shoulder, to the middle of your shoulder blade. Don't be afraid to make this measurement a bit smaller than you think you will need it, the ice packs will pull down on the elastic. I also added 2 1/2 inches on either end, because I wanted the elastic to come down onto the pouch I'm going to make, so I know it's held on tight.
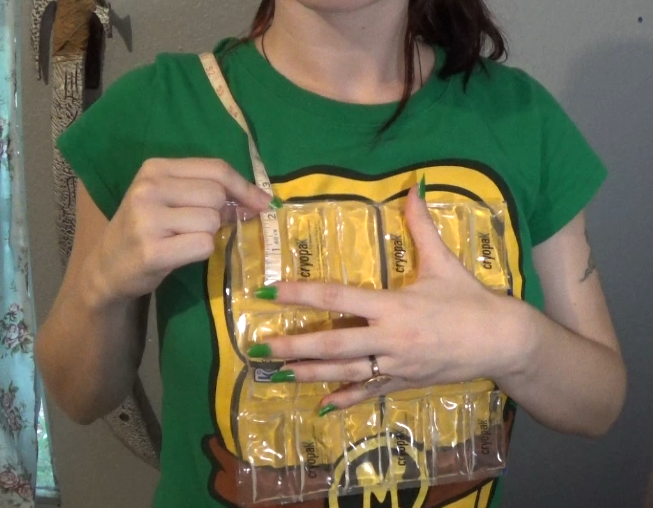
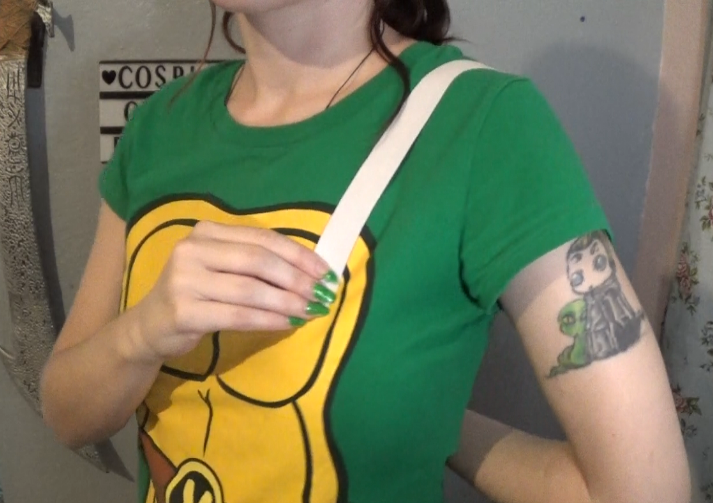
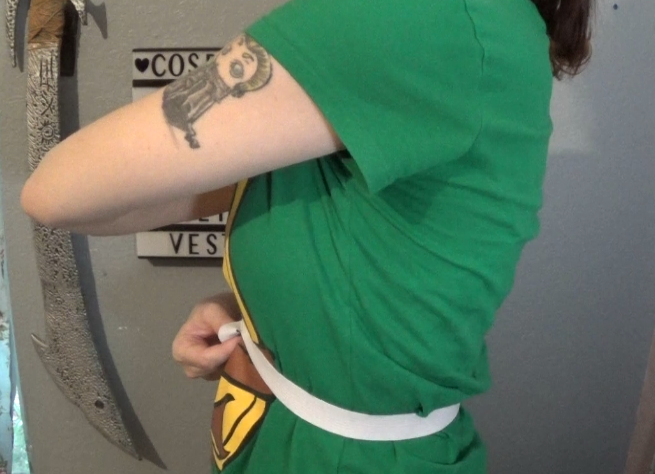
I also measured around my stomach, now I held the ice pack against me on my chest, but couldn't hold the one on my back too, so to figure out how much to add for that one as well, I measured where I wanted the elastic to be without the ice pack, then measured again while holding the front ice pack. This let me know that the ice pack only added an extra inch. I also add 2 1/2 inches on either end of the elastic to attach the buckle later on.
I also measured around my stomach, now I held the ice pack against me on my chest, but couldn't hold the one on my back too, so to figure out how much to add for that one as well, I measured where I wanted the elastic to be without the ice pack, then measured again while holding the front ice pack. This let me know that the ice pack only added an extra inch. I also add 2 1/2 inches on either end of the elastic to attach the buckle later on.
Step 2
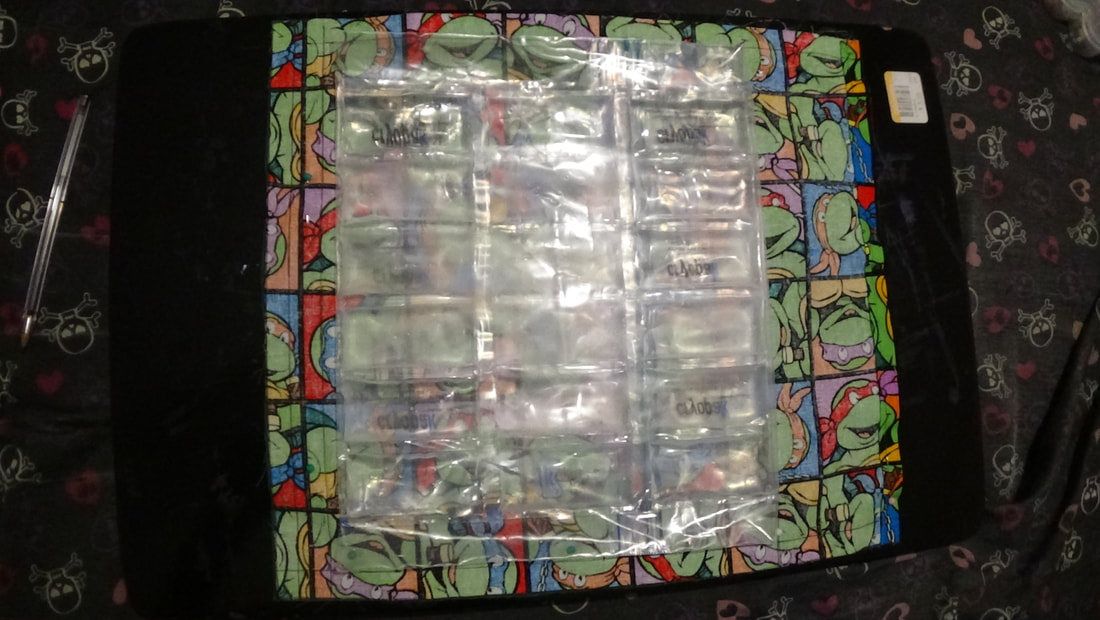
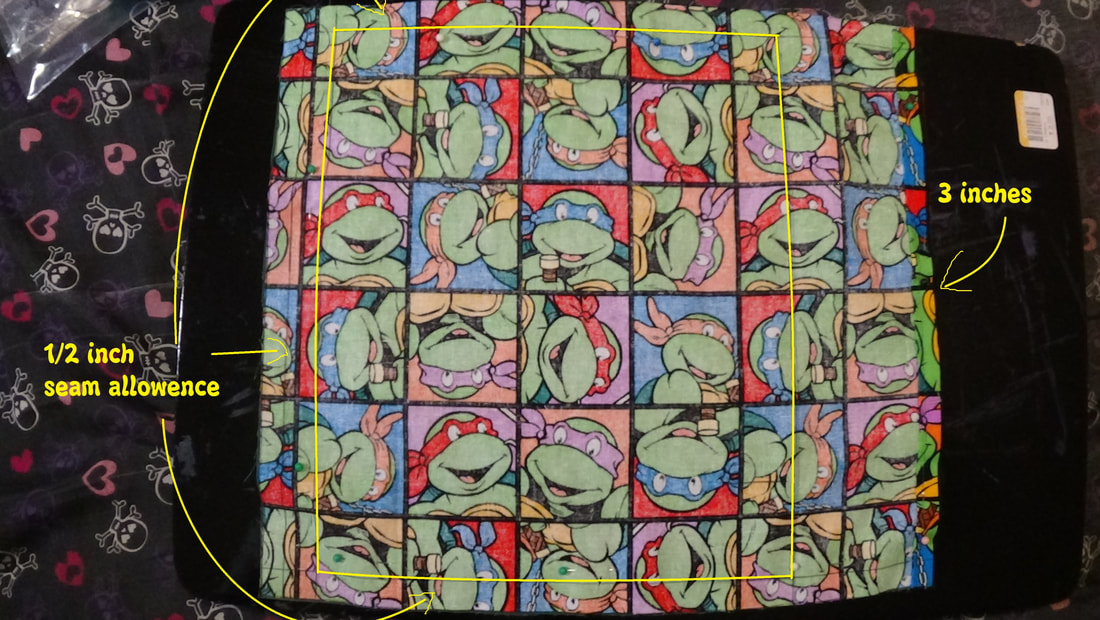
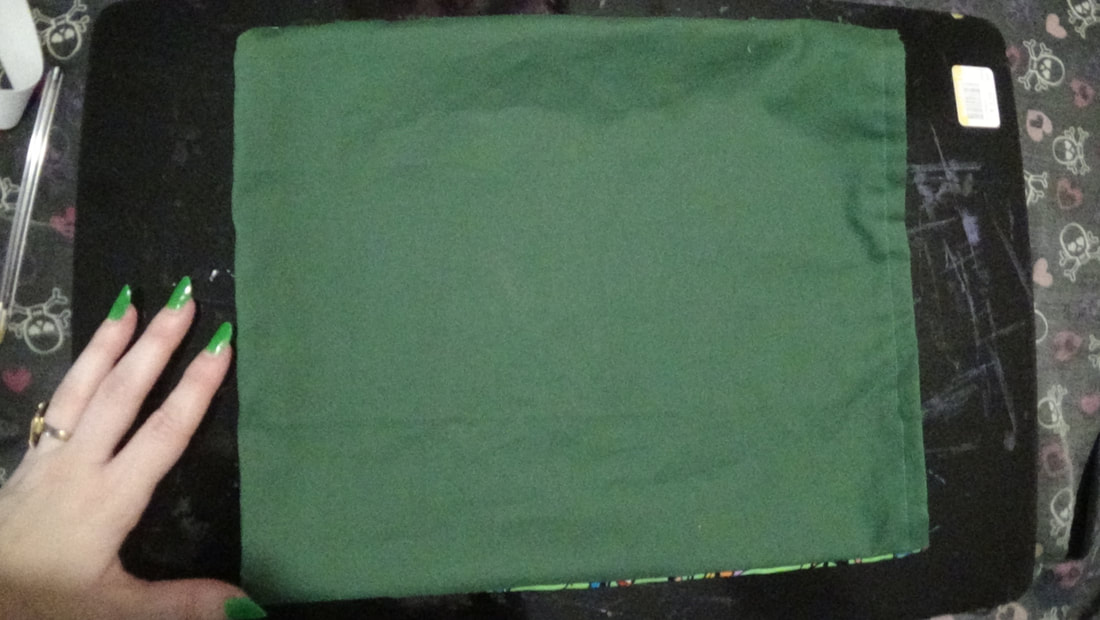
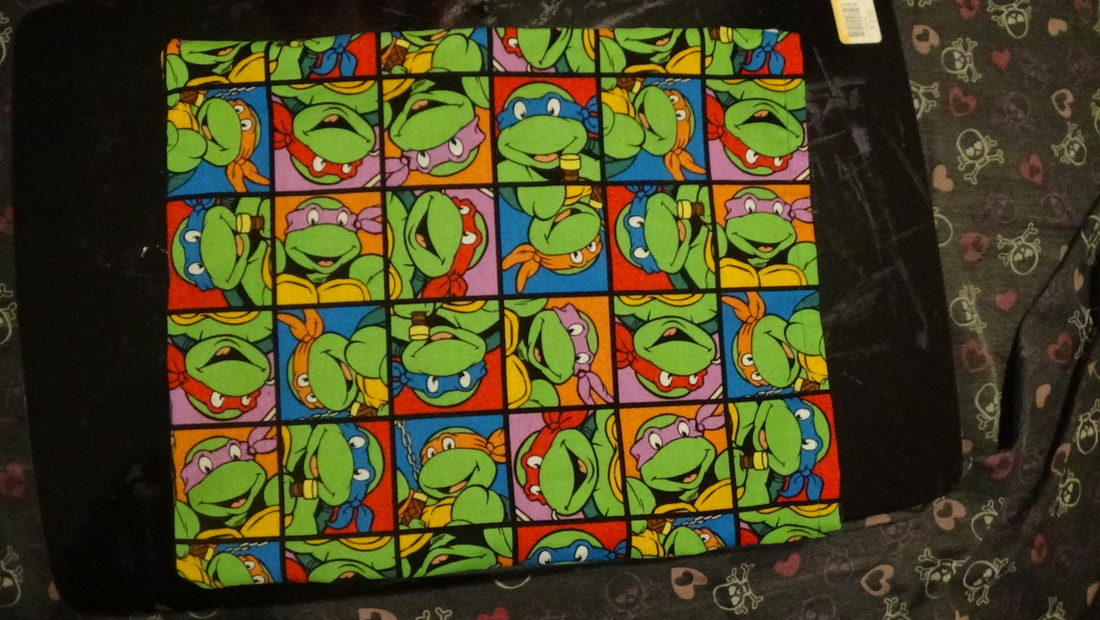
Next I cut my fabric. Now first I put the ice packs in a gallon freezer bag, this way not only would they stay colder longer, but the wetness would not go through the fabric. I then laid the freezer bag onto the fabric and traced around it. I added 1/2 inch seam allowance to both of the sides, as well as the bottom. I then added 3 inches to the top, this would be my flap. I also hemmed the top edge.
Step 3
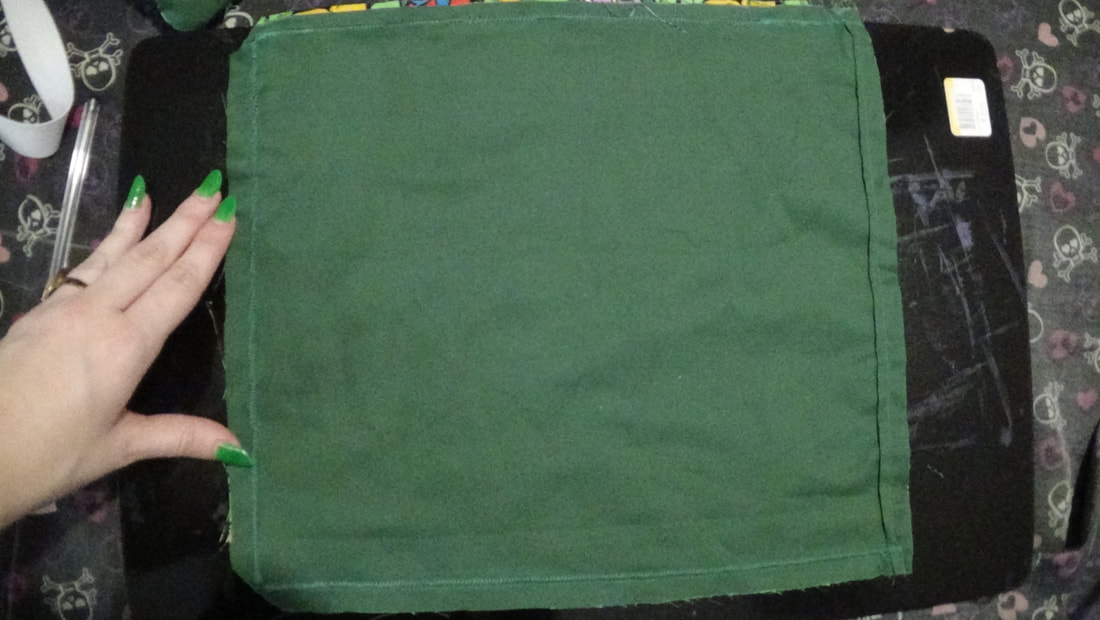
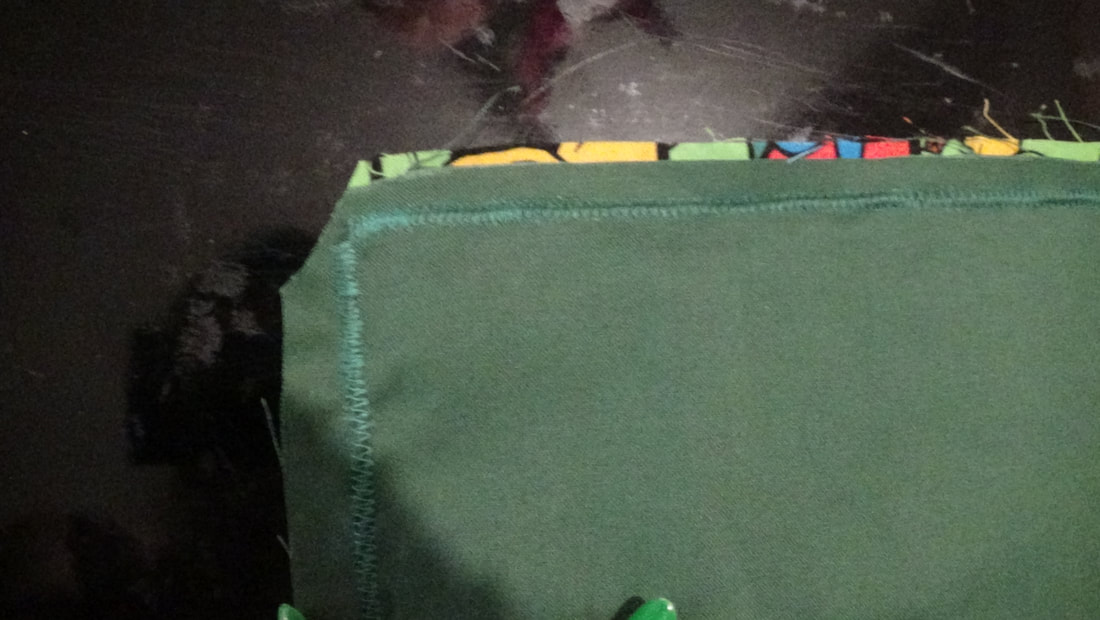
Then using my machine, I ran a zigzag stitch along all 3 sides, I also trimmed the corners so that I could turn it right side out easier.
Step 4
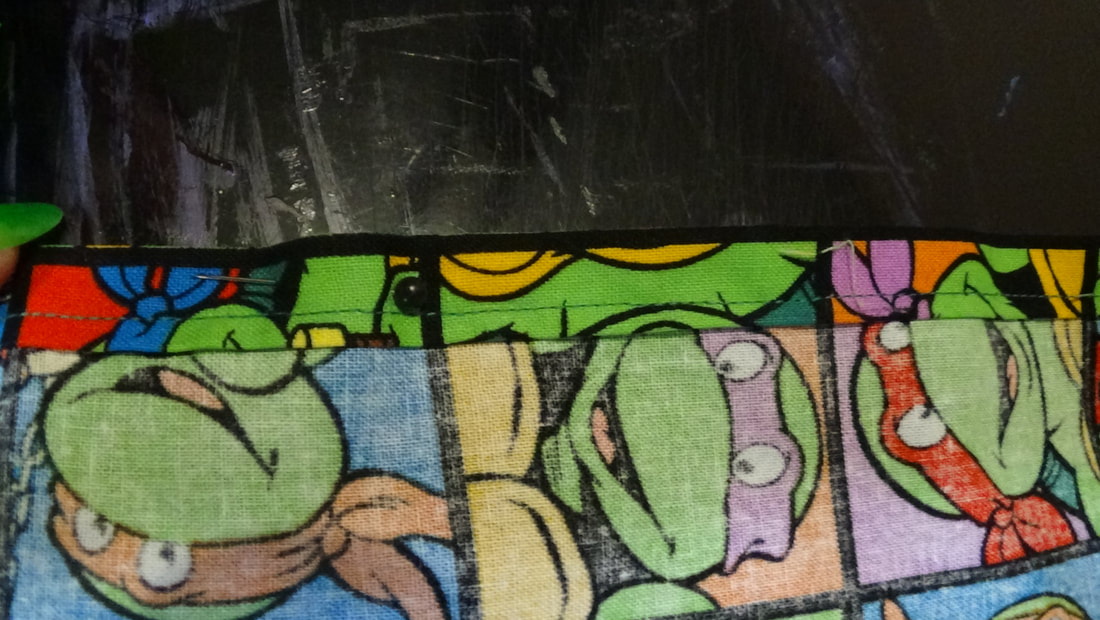
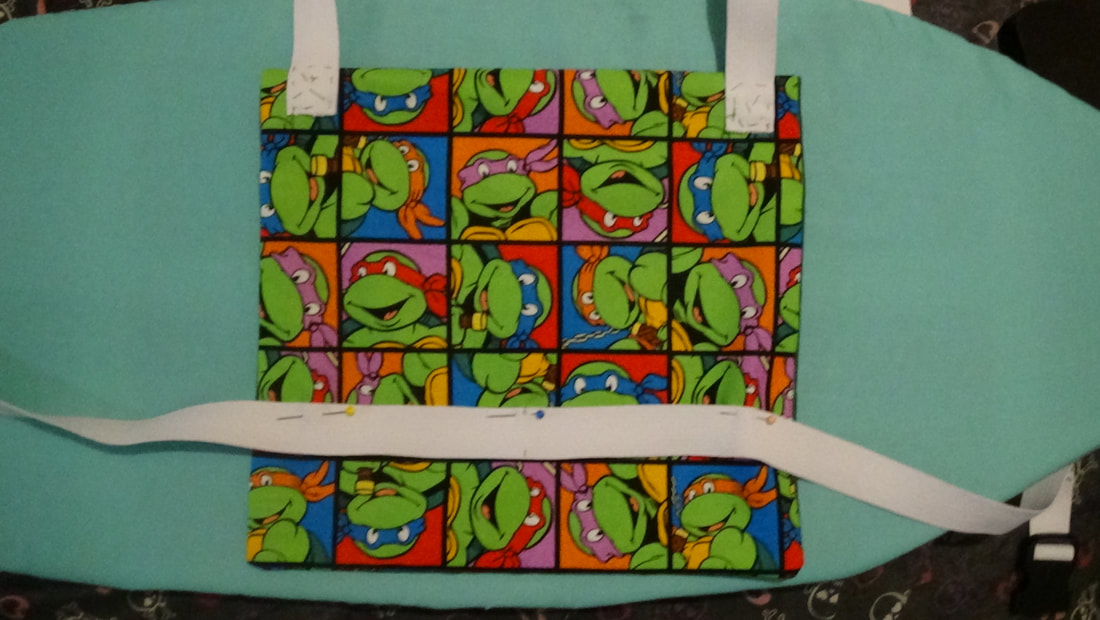
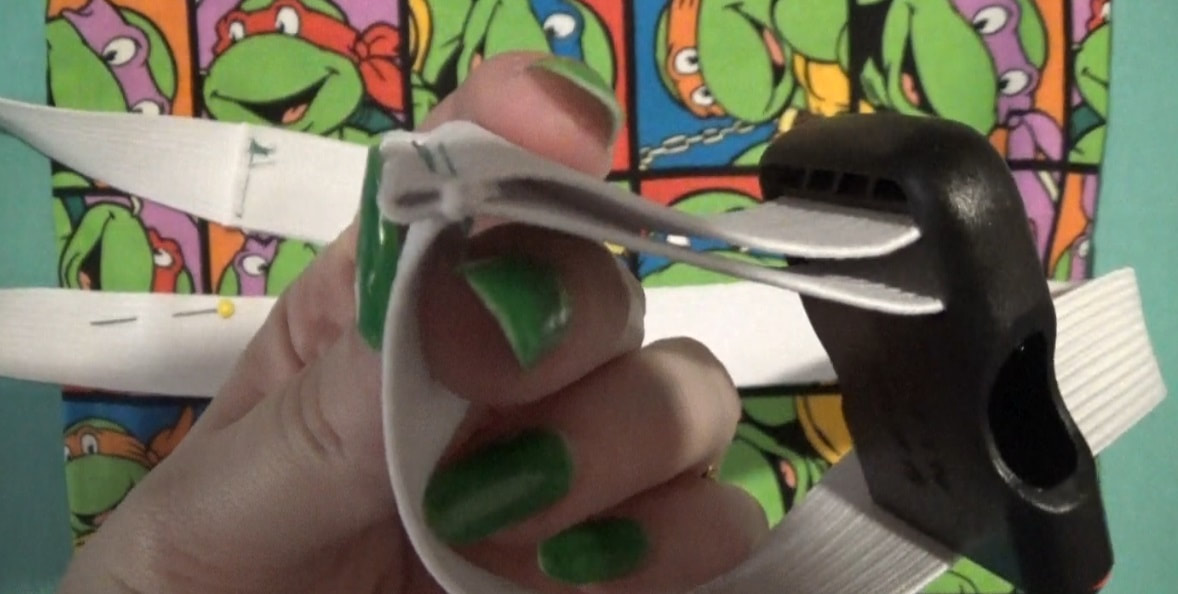
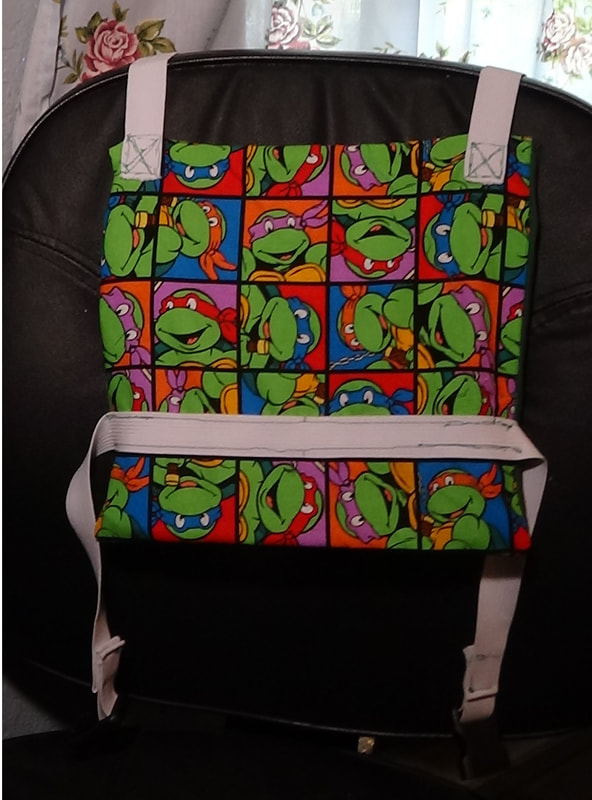
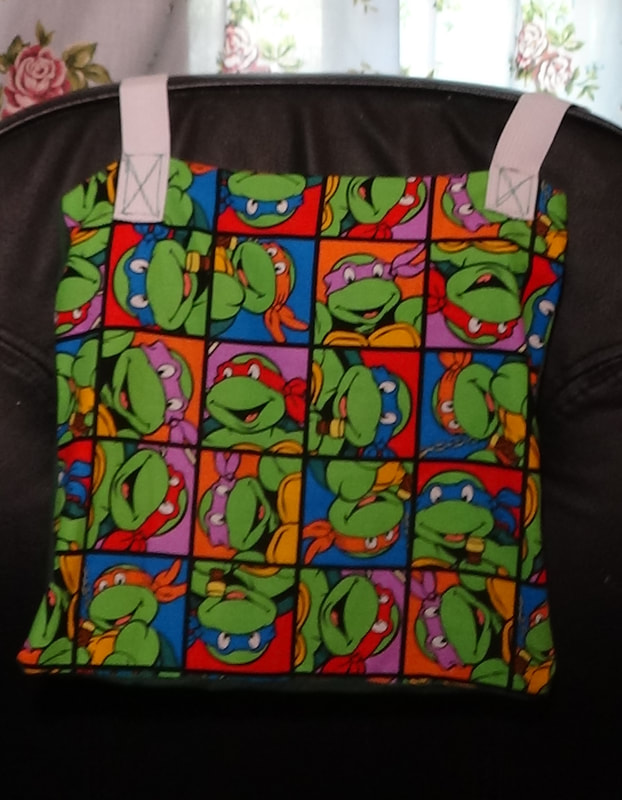
Next it was time to add the elastic. I pinned the bottom elastic on after sewing on the buckle, I did this by looping the elastic through the buckle, folding the edge over, and running a straight stitch along it. For the shoulder straps, first I folded my 3 inch flap over, and ironed it down, this way I had a nice crease to see where to line up the top edge of my elastic, then I lightly hand sewn them on just to hold them in place, I then went over them with my machine using a straight stitch in the same square with an X in it pattern. I also ran a straight stitch along the top and the bottom of the stomach strap. I sewed the other end of the shoulder straps to the other pouch.
Step 5 (optional)
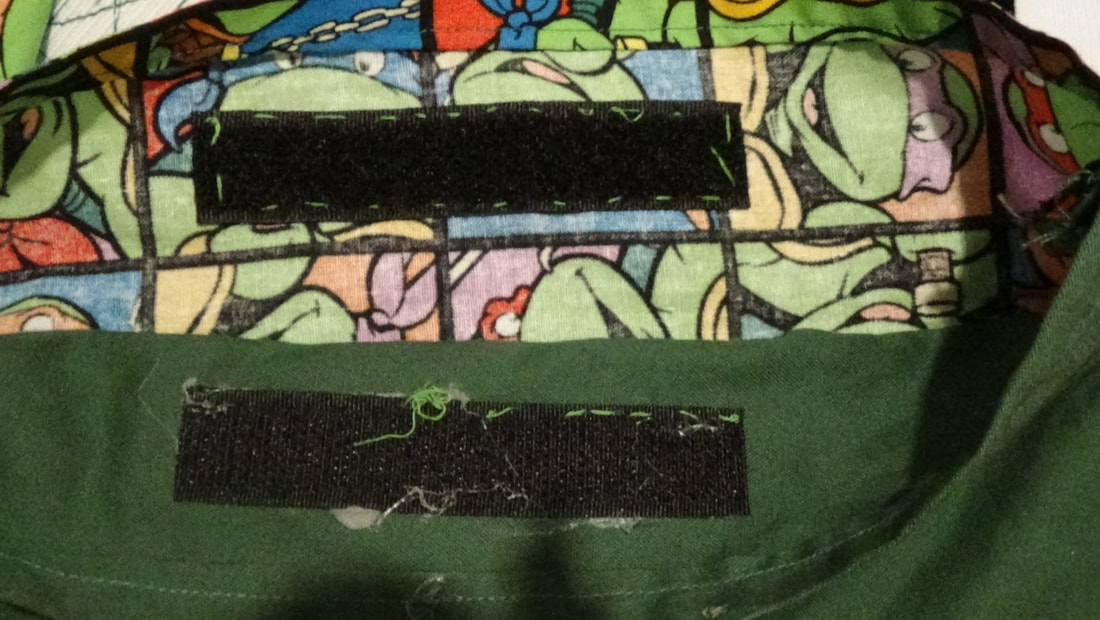
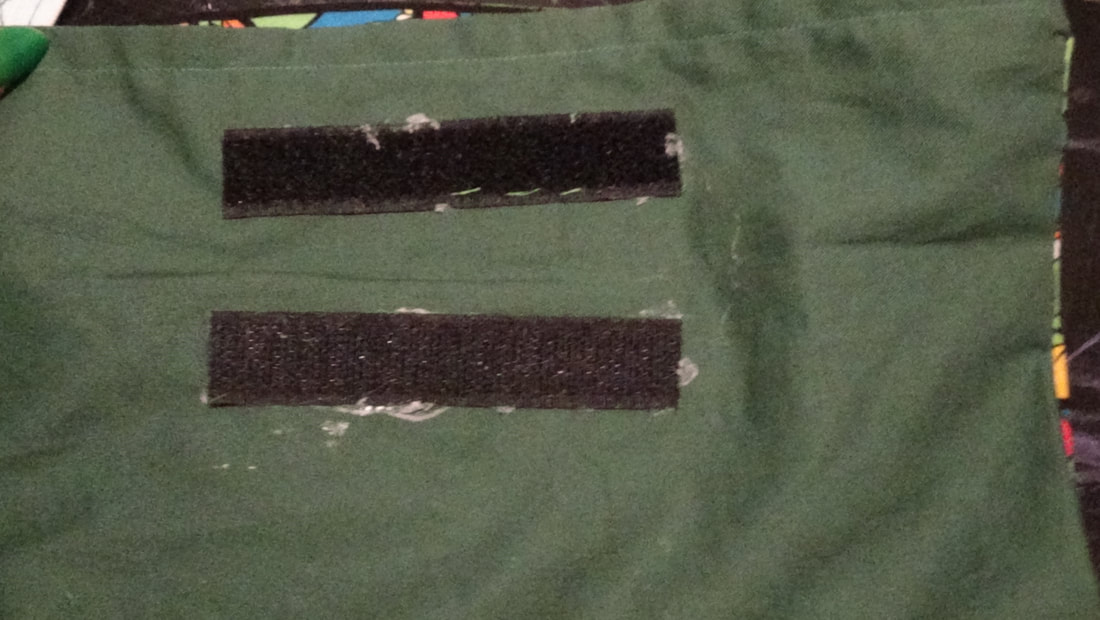
To help me close up my pouch I added some velcro to the inside of the pouch, as well as on the back of the flap so that I could just fold over the flap and it would stay. (I recommend getting sew on velcro and not sticky back, I only had sticky back and it ruined a sewing needle, so I had to hot glue it on lol.)
And your totally customizable cooling pack is done! Don't forget to always bring extra ice packs to whatever event you're going to so that when these thaw out, you can just replace them. Always stay cool, and drink plenty of water when you are out in the heat!
I hope this tutorial helped anyone who needed it. Feel free to check out my Youtube channel, Facebook, or Instagram. If you have any questions, please feel free to message me on there, or email me (email on contact me page)