This project only cost me $1 for the lights since I had everything else
Supplies
Step 1
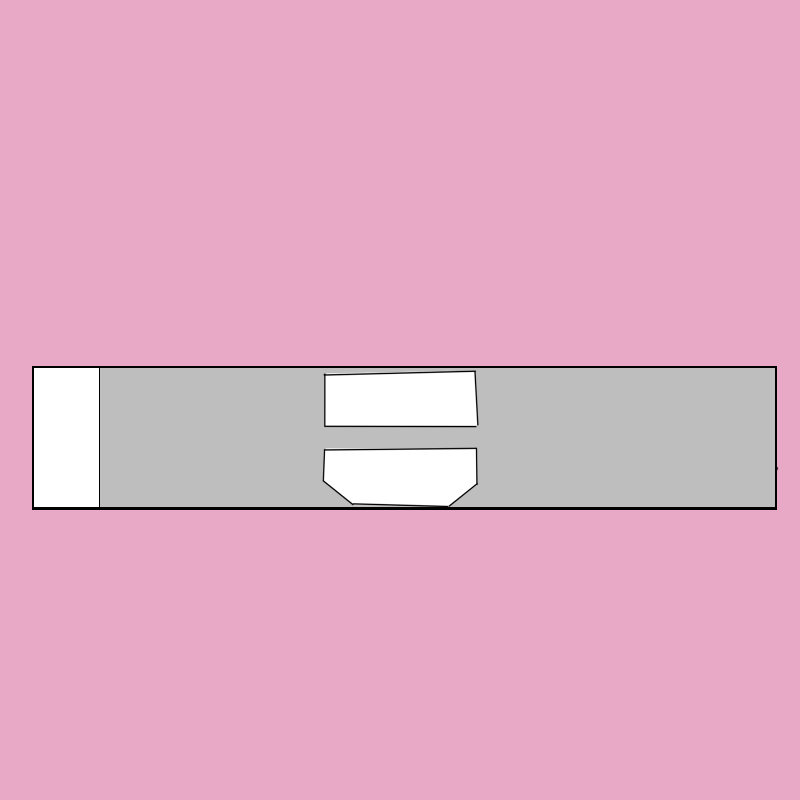
First I started off by measuring around my waist/where I wanted the belt to sit. I then cut out a piece of fabric that was that long, and 7 inches wide.
Step 2
Next I cut out strips of craft foam that were just as long as my belt, and 2 inches wide
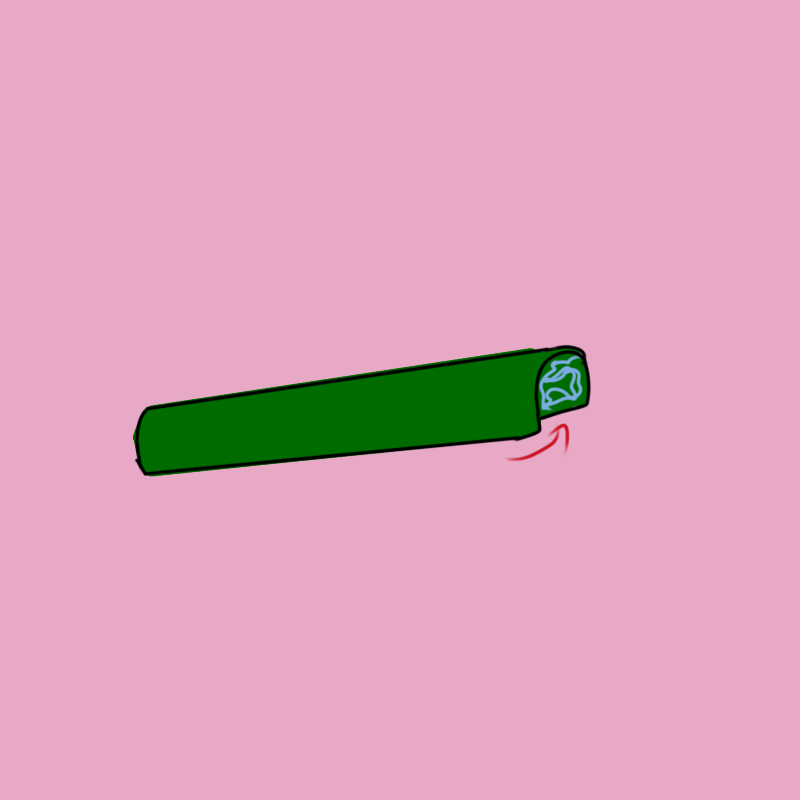
Step 3
I then folded them in half and glued them together so that the foam would be a bit thicker.
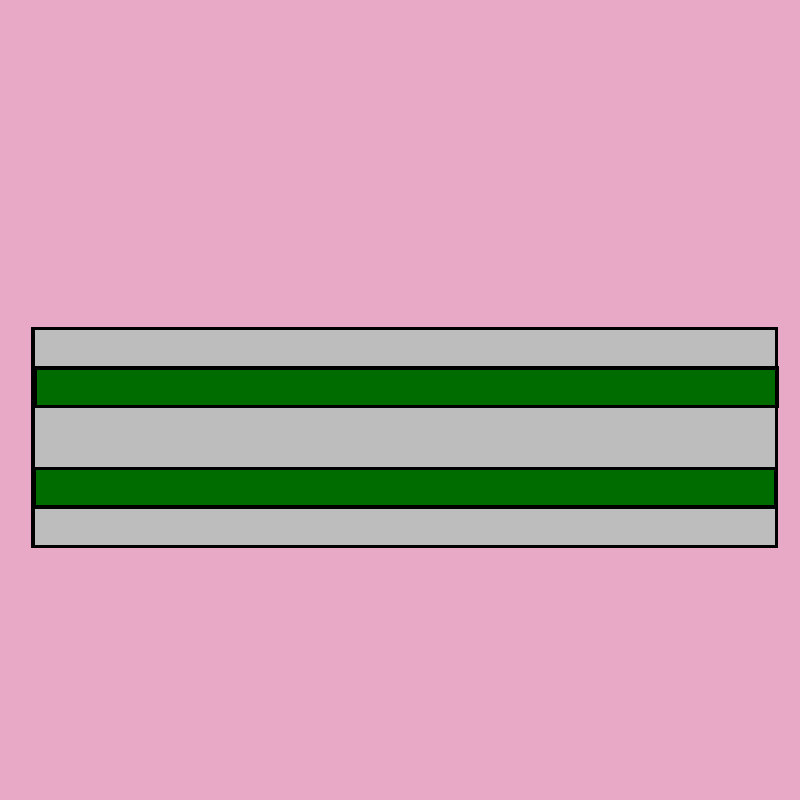
Step 4
Next I laid them on the backside of my belt, 1 inch from the edge and tacked them down on either end with a tiny bit of hot glue, just to hold them for the next step.
Step 5
Next I folded the edges of my belt over the foam.
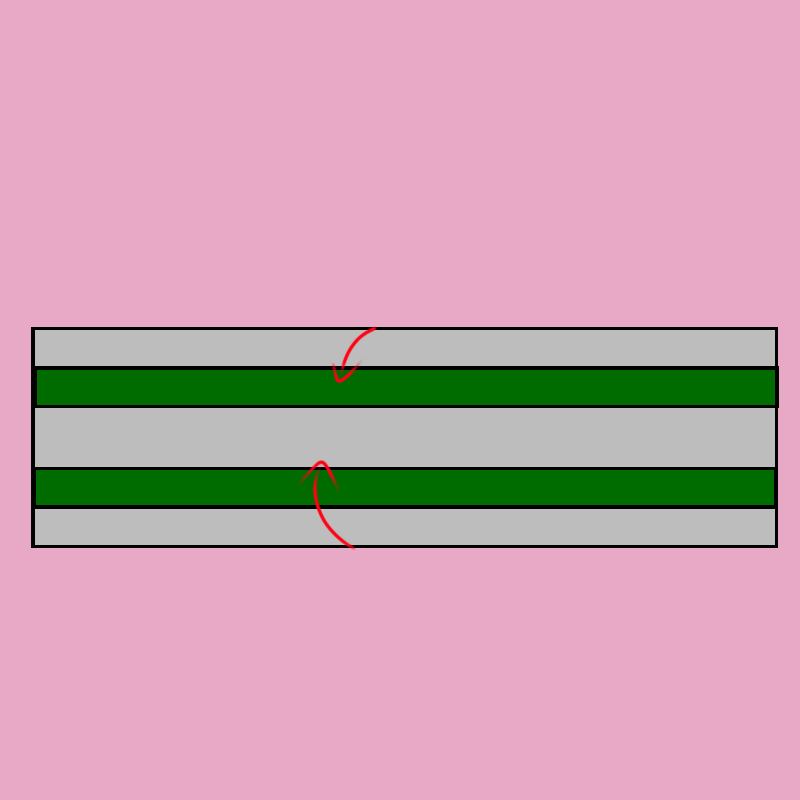
Step 6
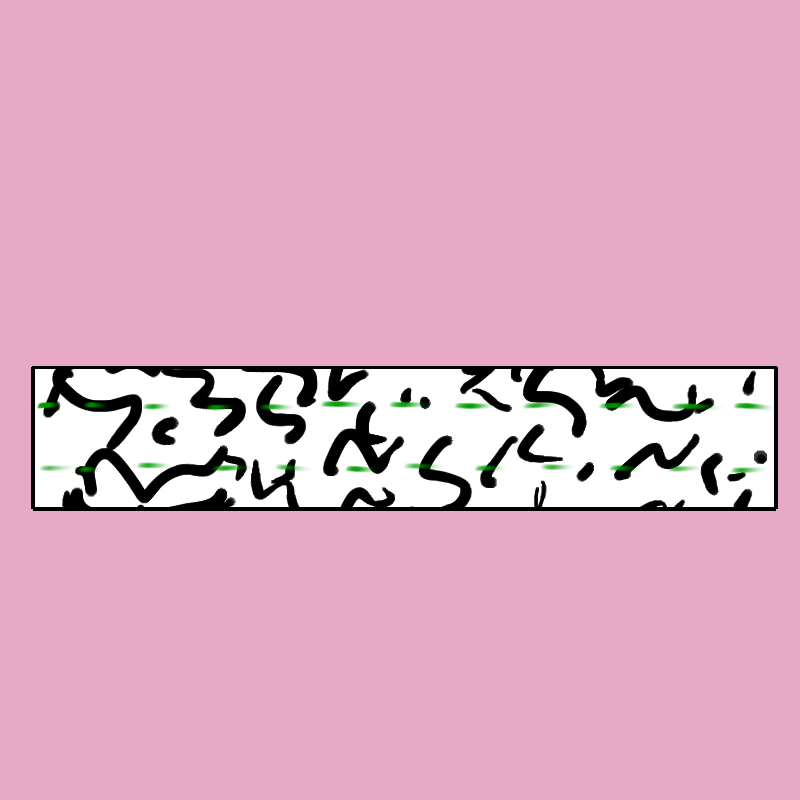
And then I stitched along the bottom of the foam, so that the raised parts due to the craft foam would be more visible.
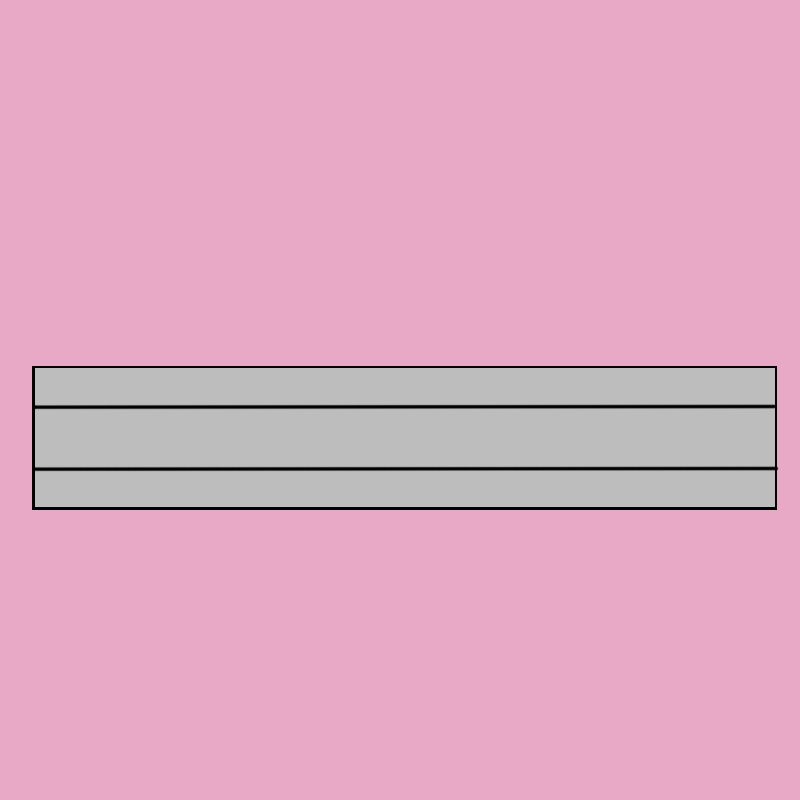
Step 7
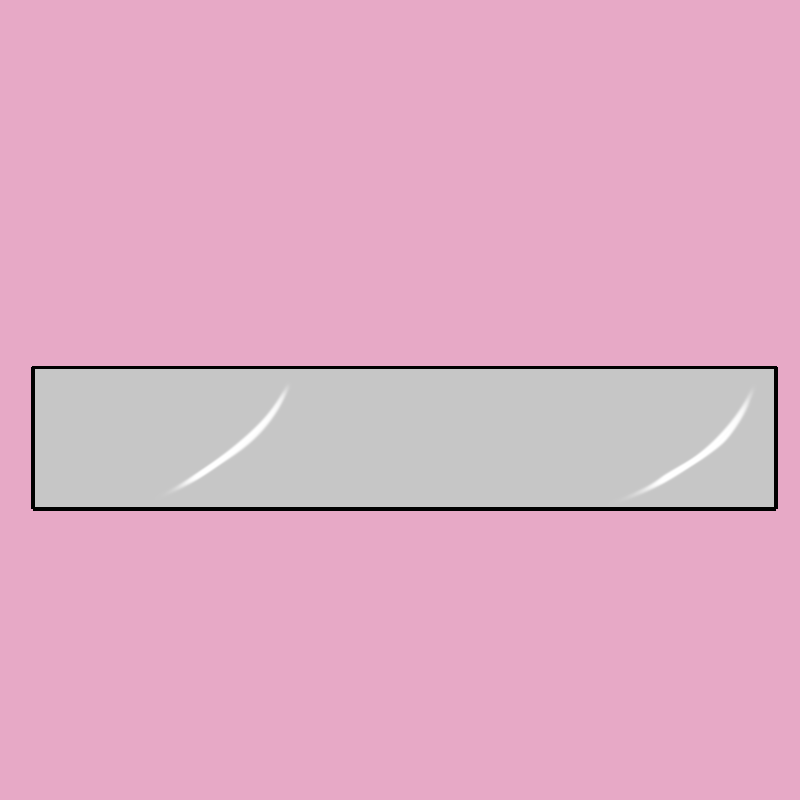
I then painted the belt silver. Once again, I would suggest acrylic paint for this unless you are using a stiff silver fabric. I painted mine with spray paint, but by the end of the con the paint had chipped off in a lot of places.
Step 8
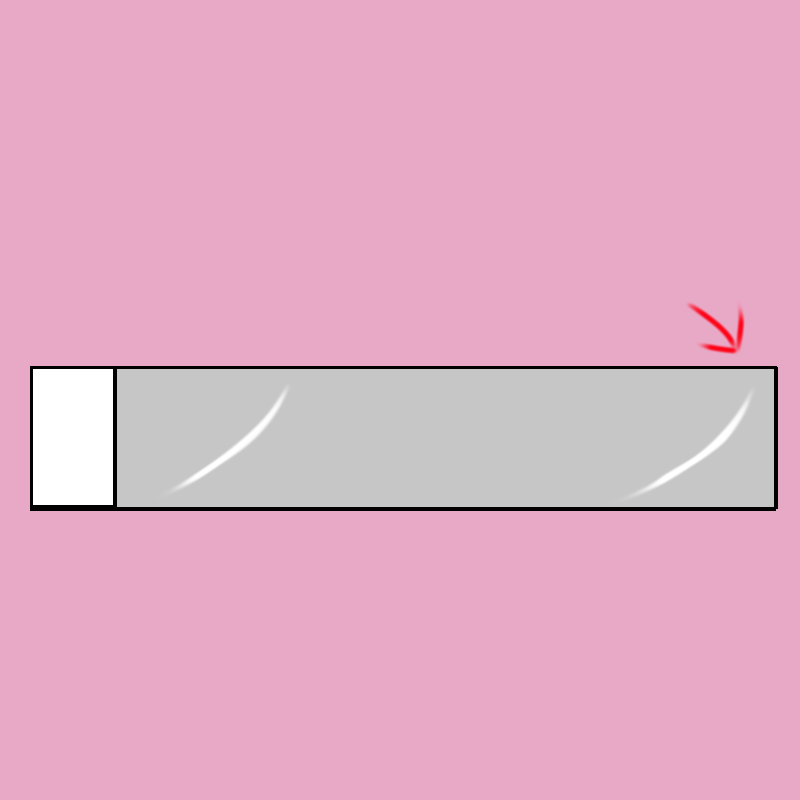
Next I added velcro to the outside of one in, and inside of the other.
Step 9
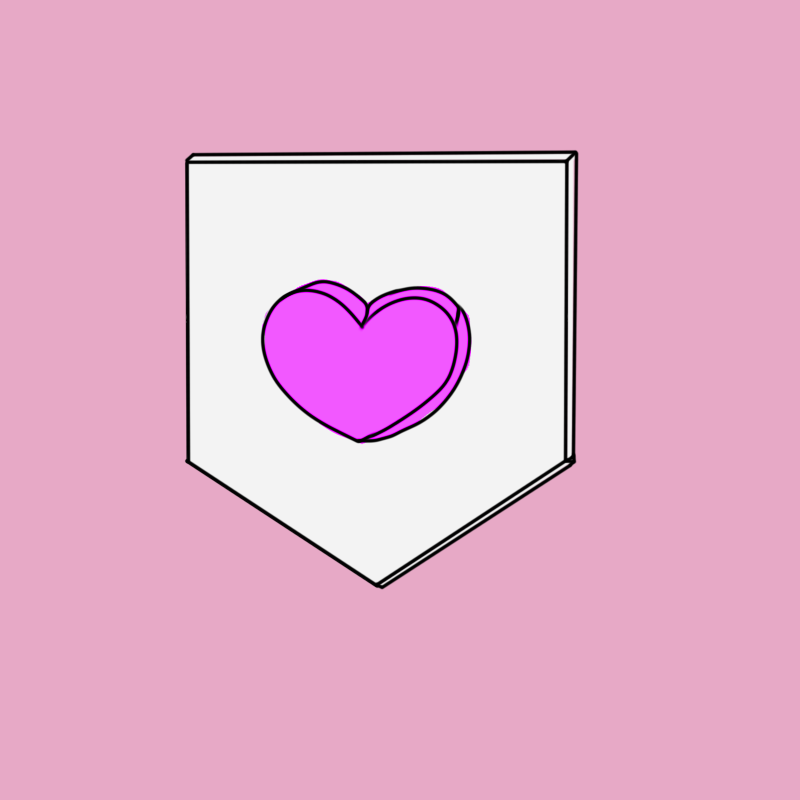
Now time for the SOUL. This is where your silicone heart mold will come in. Fill your heart mold with hot glue until you get the desired thickness you want for the heart. I did the glue in layers, putting a little, then letting it cool, then putting some more. Be very careful with this! And do not try to hold your mold while doing this, the silicone will become very hot until the glue dries and cools.

Step 10
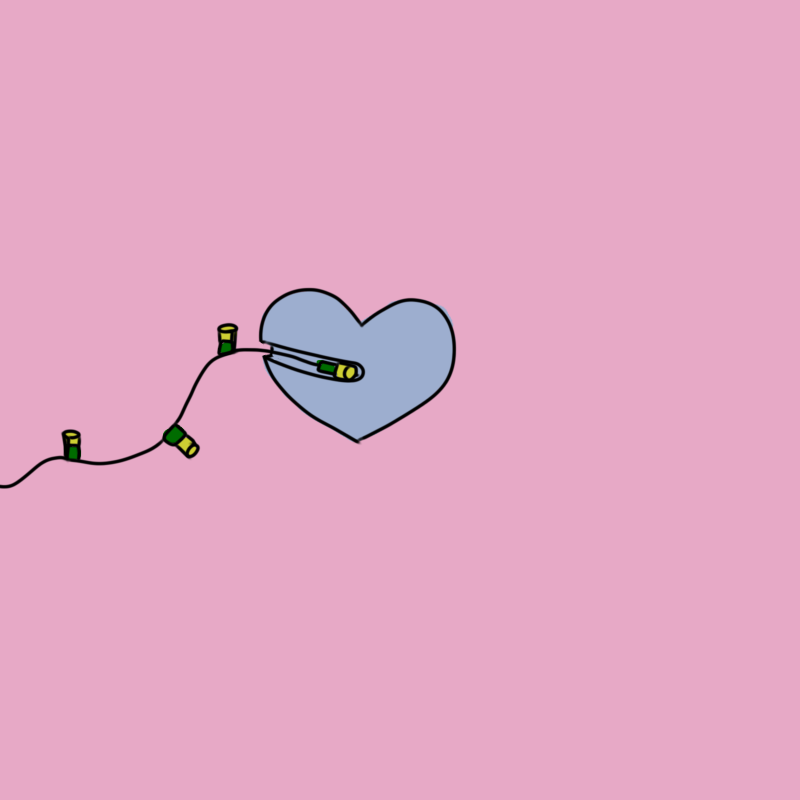
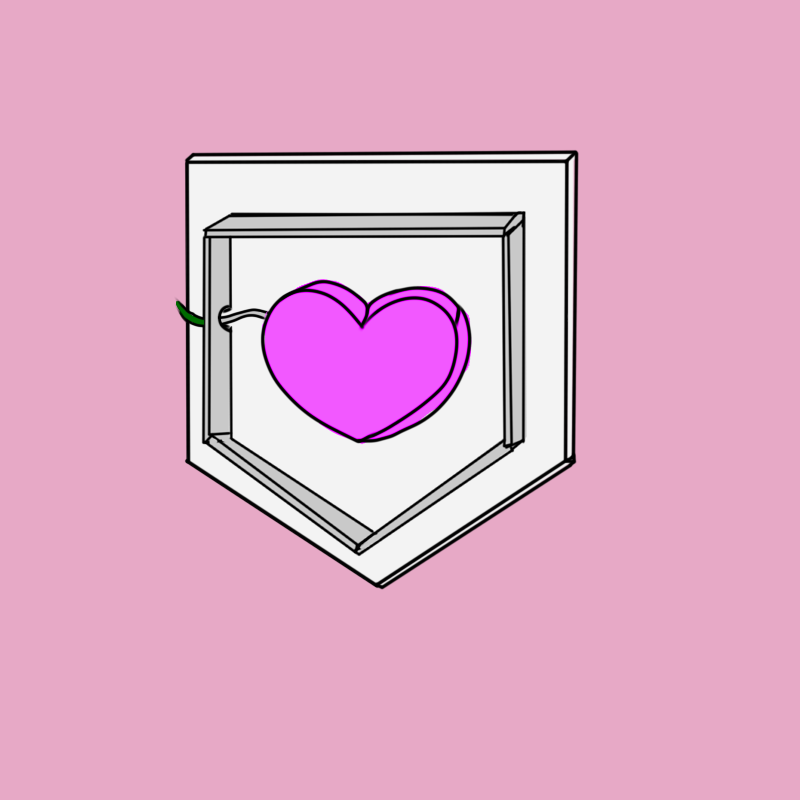
Next cut out a little bit on the back of your heart, just enough for the light to fit in. I cut from the middle out, that way my light sat in the middle of the heart.

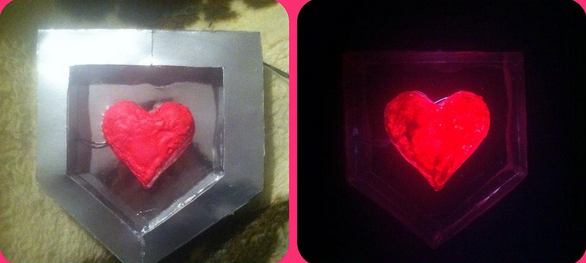
Step 11
Test out the fit, you can either glue the light in now, or wait until after the heart is painted.
Step 12
I painted my heart with neon pink acrylic paint, but thinking about it, glass paint, or suncatcher paint might also work for this project, and the light would probably show through better than with acrylic paint.

Step 13
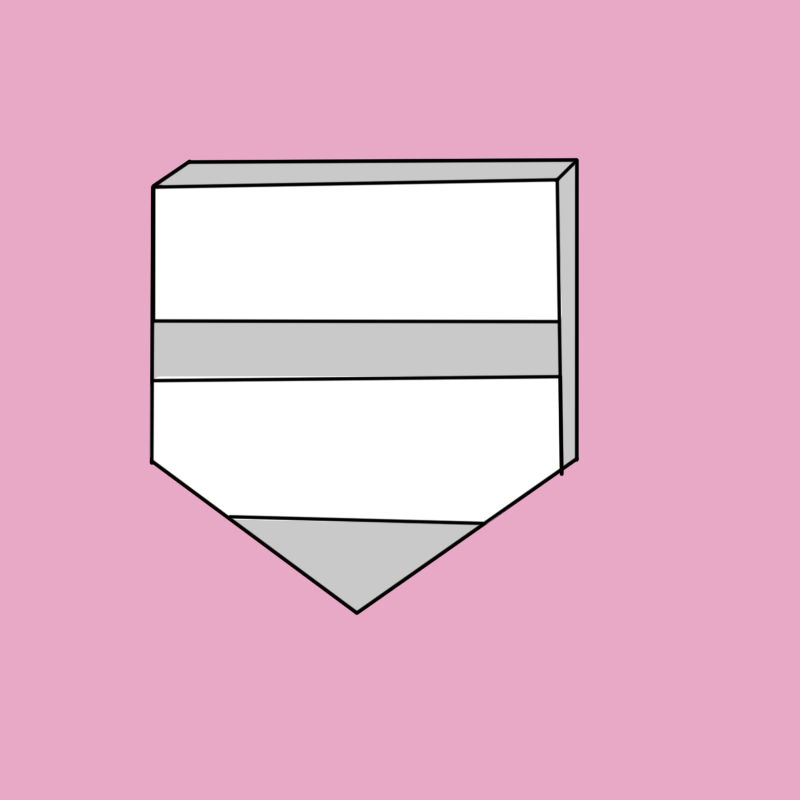
Now time for the box. I started out with a cool mirrored cardboard, it was the back piece of a makeup kit box I had gotten for Christmas. My box measured 5 1/2 inches wide, by 6 inches long, with the sides being a little over 1 1/2 inches from the heart. But you will want to adjust your box to the size of your heart.

Step 14
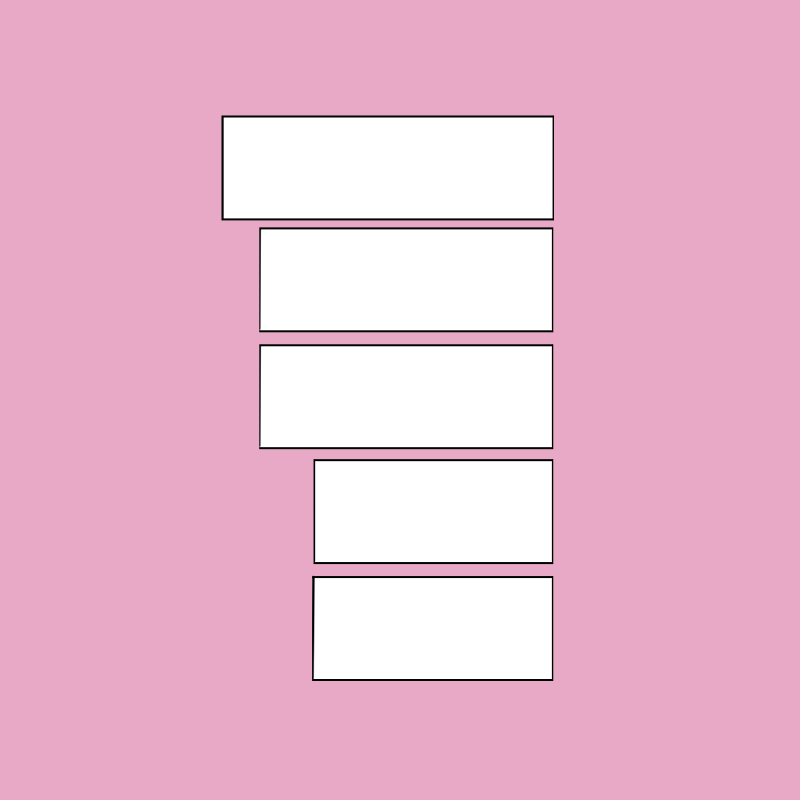
Next I cut out 5 outer walls from my foam board, these walls fit around the very edge of my back piece.
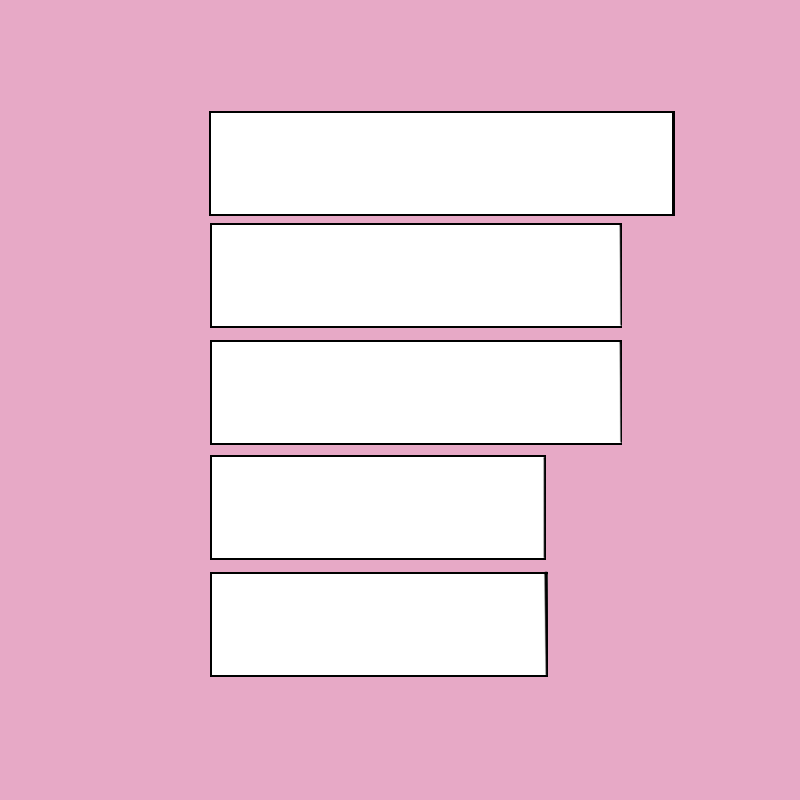
Step 15
I then measured an inch in from the edge of the back piece and cut out inner walls from my foam board.
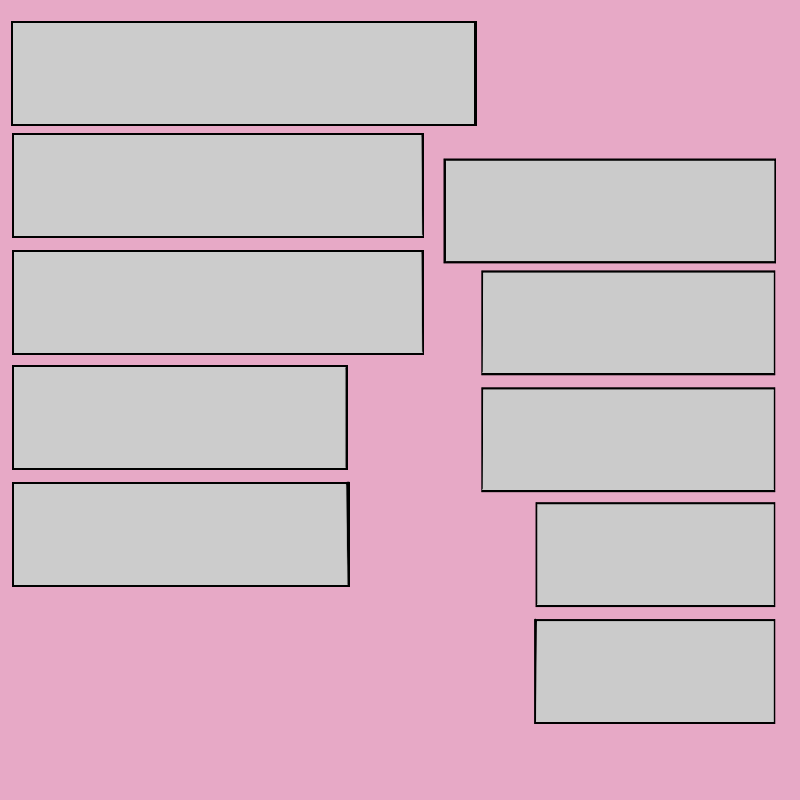
Step 16
Next I painted them all silver with my silver spray paint. (I had to cover them with poster board first or the spray paint would have eaten away the foam, but if you are using acrylic paint, you won't have to)
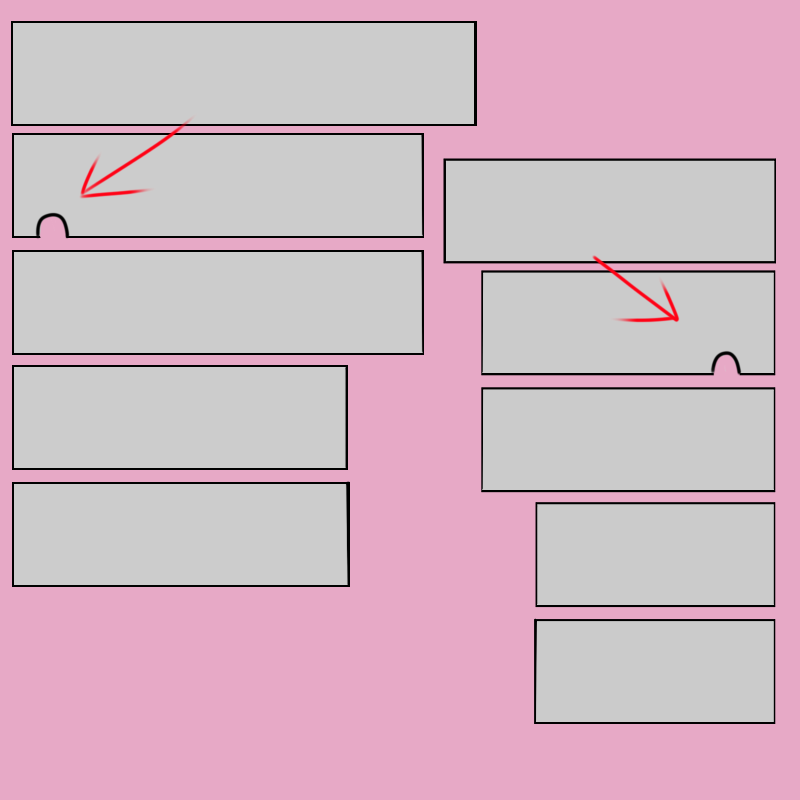
Step 17
Now on one of the longer pieces of both the outer and inner walls, I cut out a little notch for my led light cord to go through.
Step 18
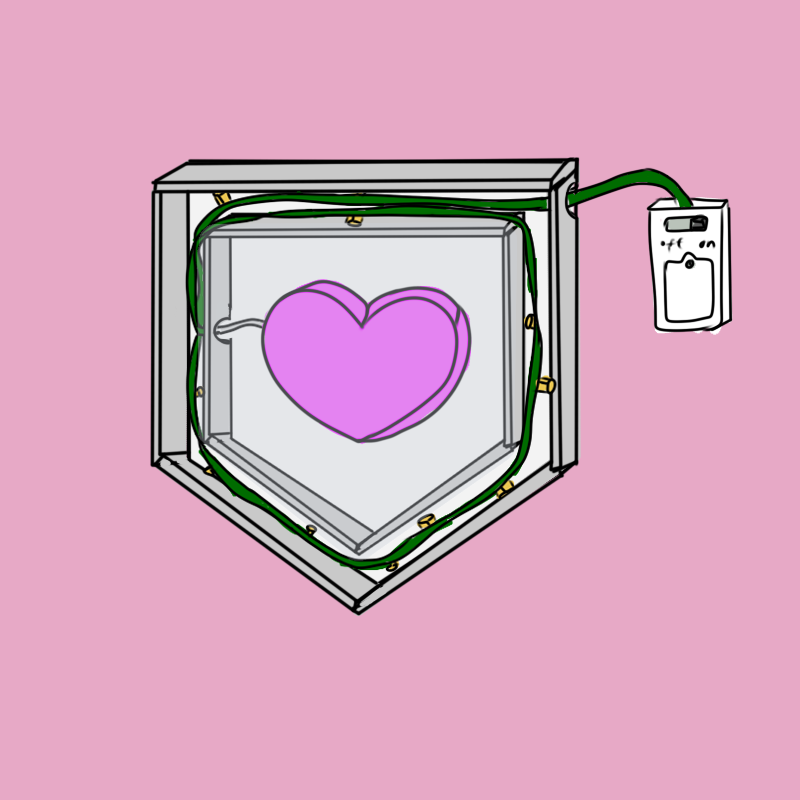
Now that I had all of my pieces, it was time to put it all together. I started by hot gluing the heart down to the back piece, making sure that my light was glued into the heart.
Step 19
Then, while holding my light cord down, I glued the first piece of the inner walls in place, the one I had taken the notch out of, making sure that the cord was through the hole. I also went ahead and painted what cord was showing next to the heart with some silver nail polish.

Step 20
Next I glued the rest of the inner wall pieces in place.
Step 21
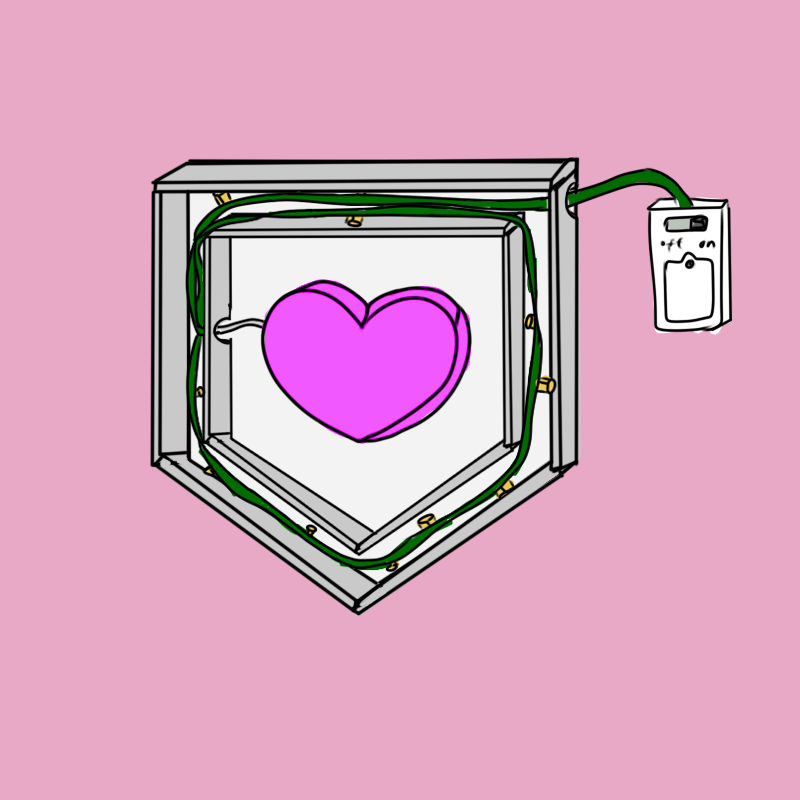
Then I wrapped the rest of the lights around the inner walls and started gluing down my outer walls. I wrapped the lights first this way I would know which side I had to put the piece I had taken the notch out of.
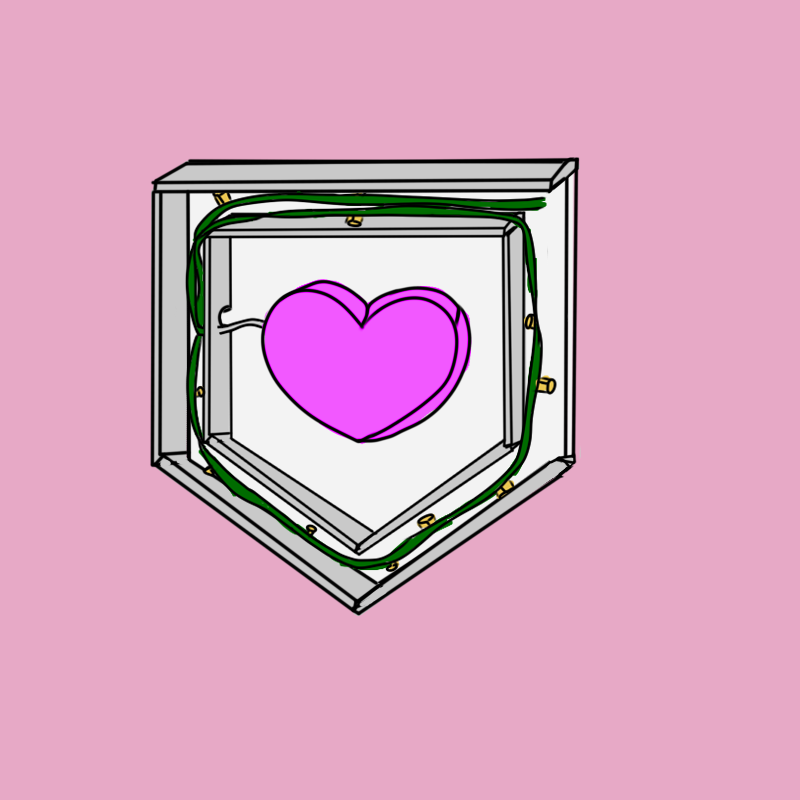
Step 22
Just like I did with the inner wall, I held my light cord down and glued the final piece in place, making sure the cord was through the hole.
Step 23
Next I cut out a piece of some hard clear plastic (It was the plastic from the makeup kit box) and glued it to the inner walls above the heart.
Step 24
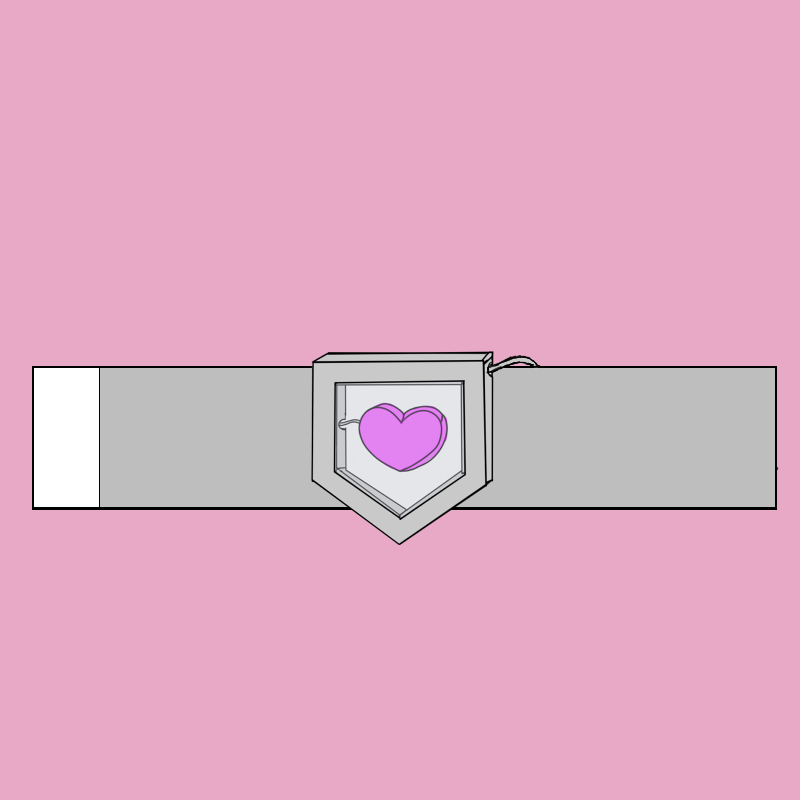
Then I took and traced the box shape onto some poster board, and cut it out, then I cut out the middle so the heart would show through. I then painted it silver and glued it on top of both in inner and outer walls.
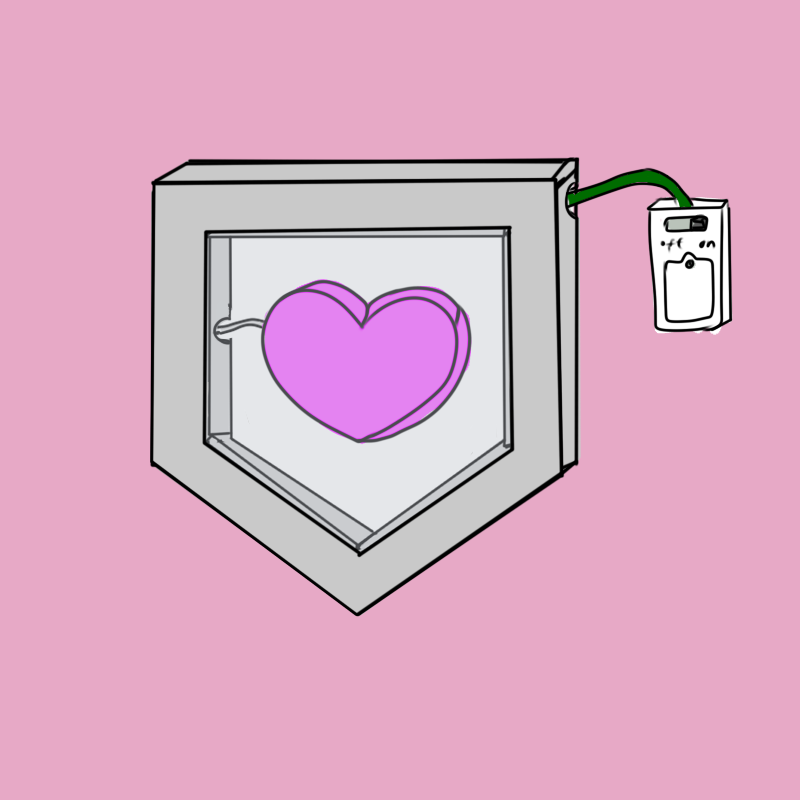
Step 25
I added some velcro to the back
FINISHING
And to the middle of the belt.
And I was done! I could just stuff the battery switch in the inside of my belt while I was wearing it.
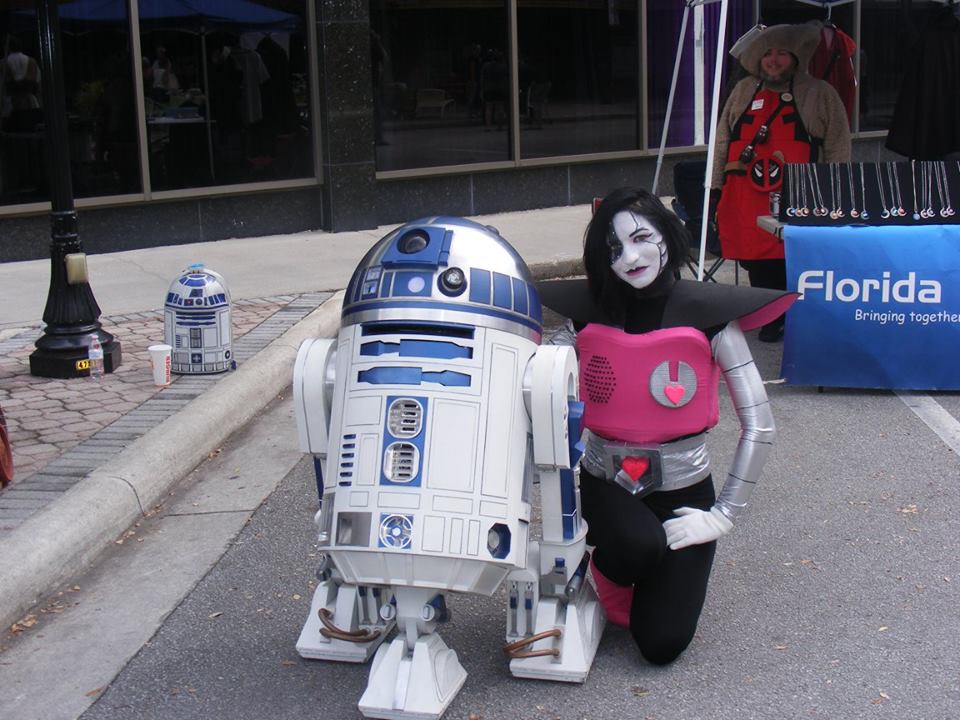
I hope this tutorial helped anyone who needed it. Feel free to check out my Youtube channel, Facebook, or Instagram. If you have any questions, please feel free to message me on there, or email me (email on contact me page)