This project cost $8
Supplies
Step 1
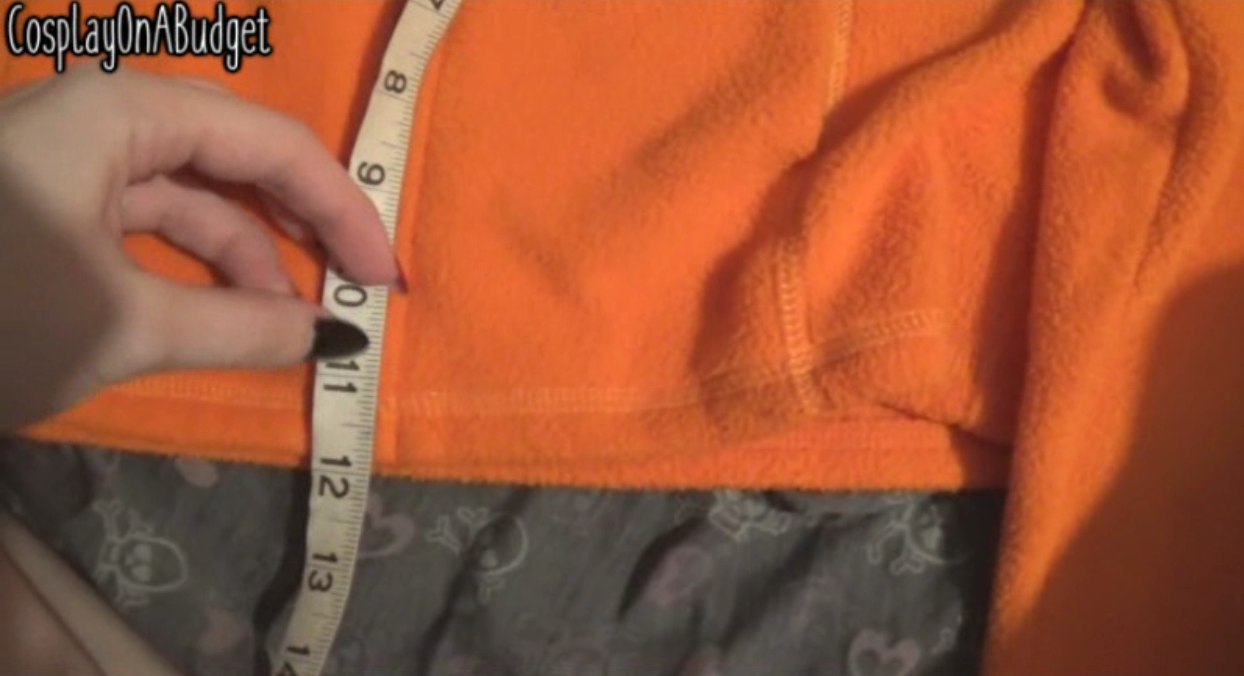
First I started out by making a pattern piece for the belly. I did this by measuring 12 inches up from the bottom, and 6 inches out from the zipper. I then created an arch shape from the measurements.
Step 2
Once I had my pattern piece, and had also marked where the pockets were. I folded my yellow fabric in half, and put the straight side of my pattern piece along the open fold of the fabric, be sure to leave some room for seam allowance.
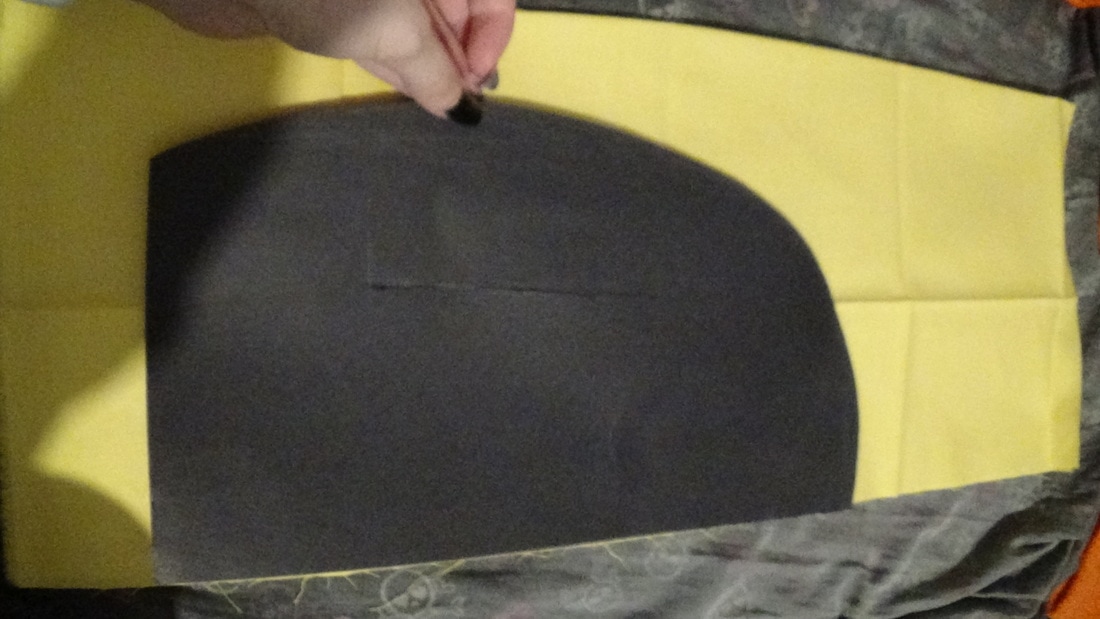
I then pinned the pieces in place, making sure I folded the fabric along the edge of the zipper and pockets so that they were still accessible.
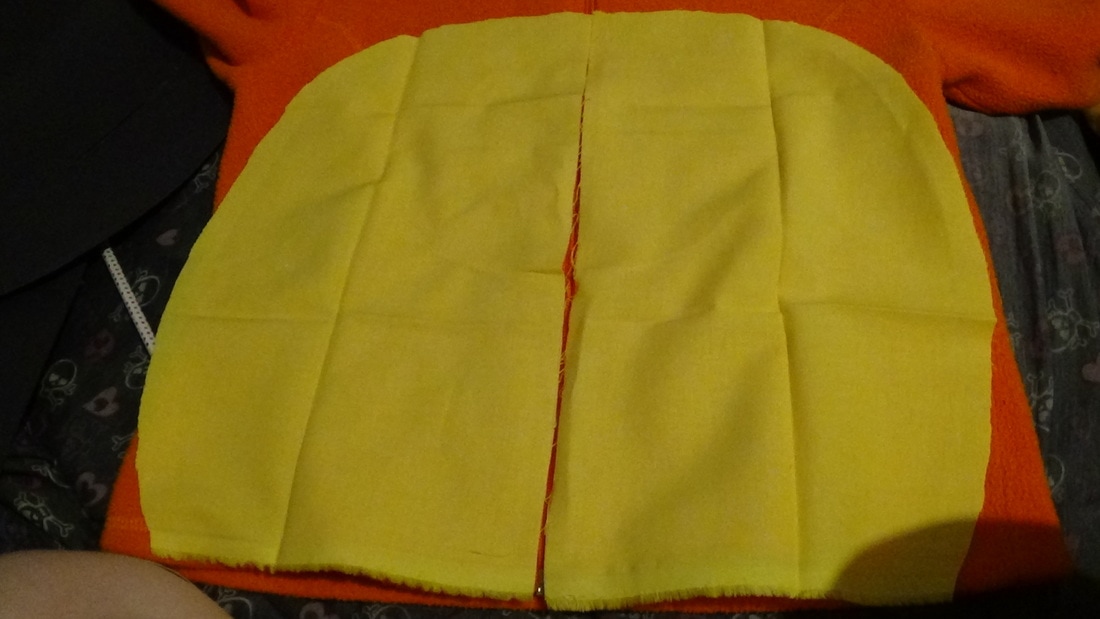
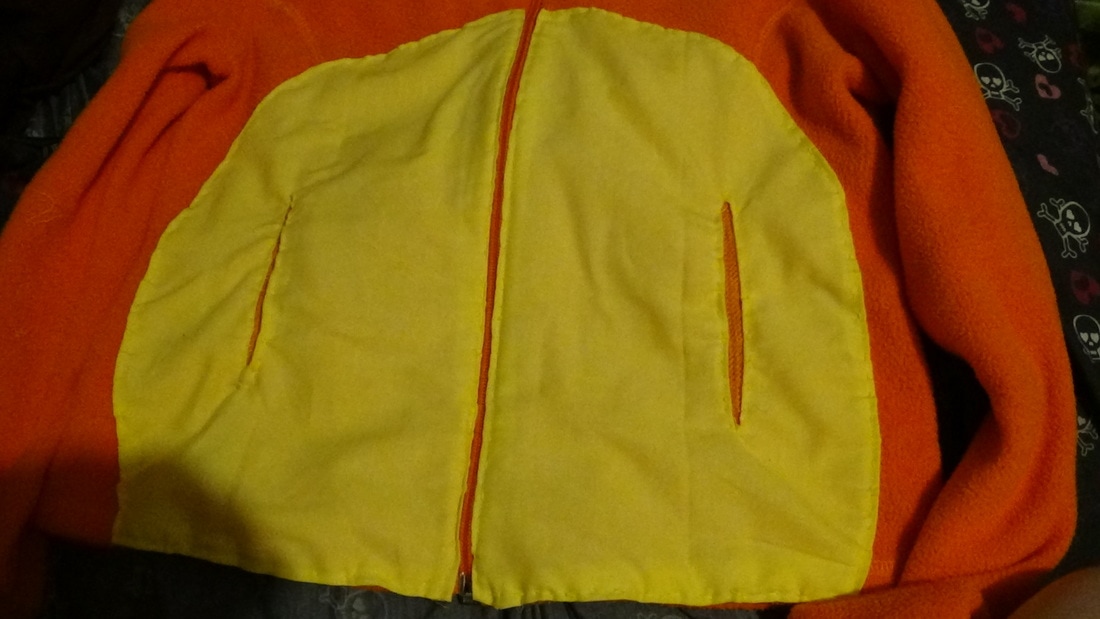
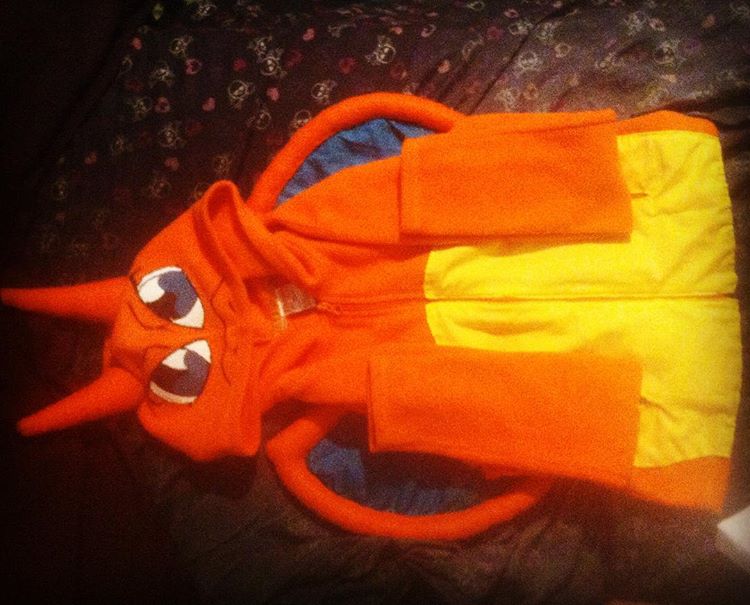
Step 3
This is what it should look like once it's all sewn
Step 4
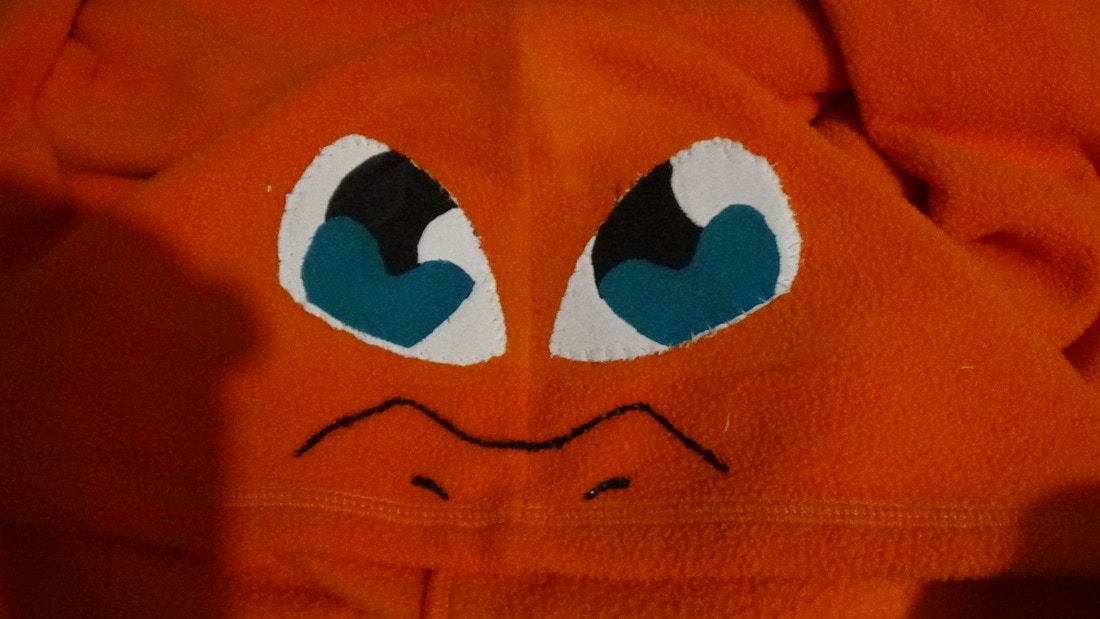
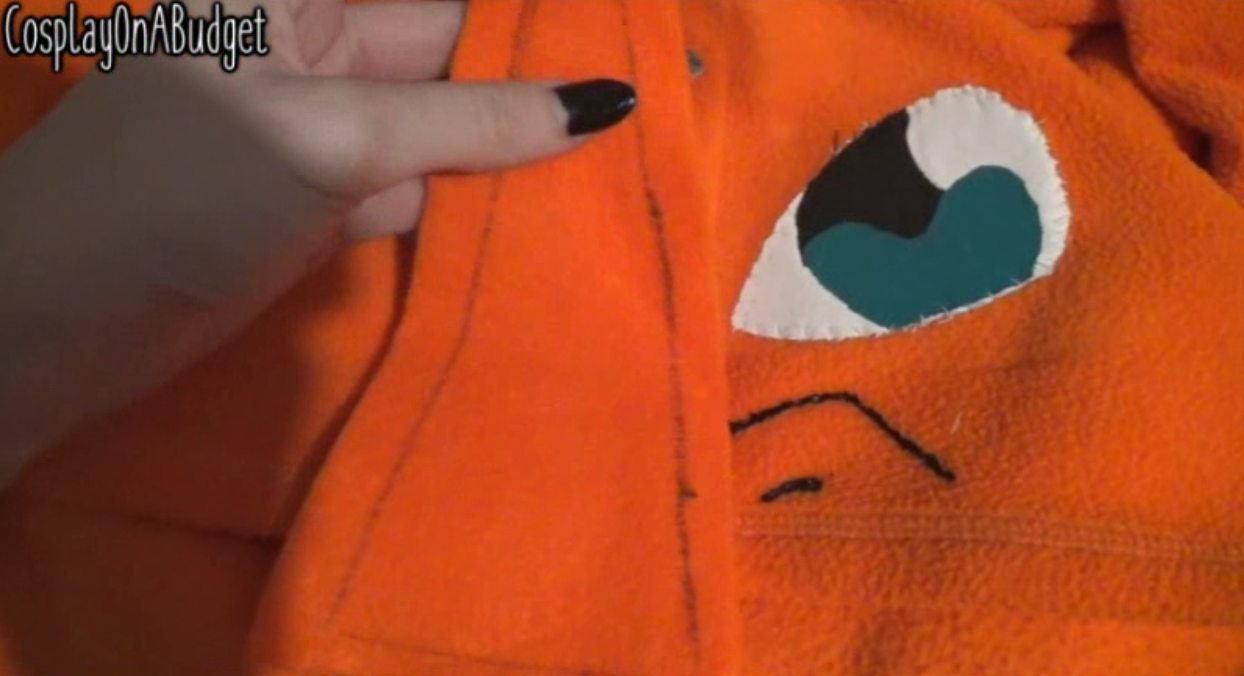
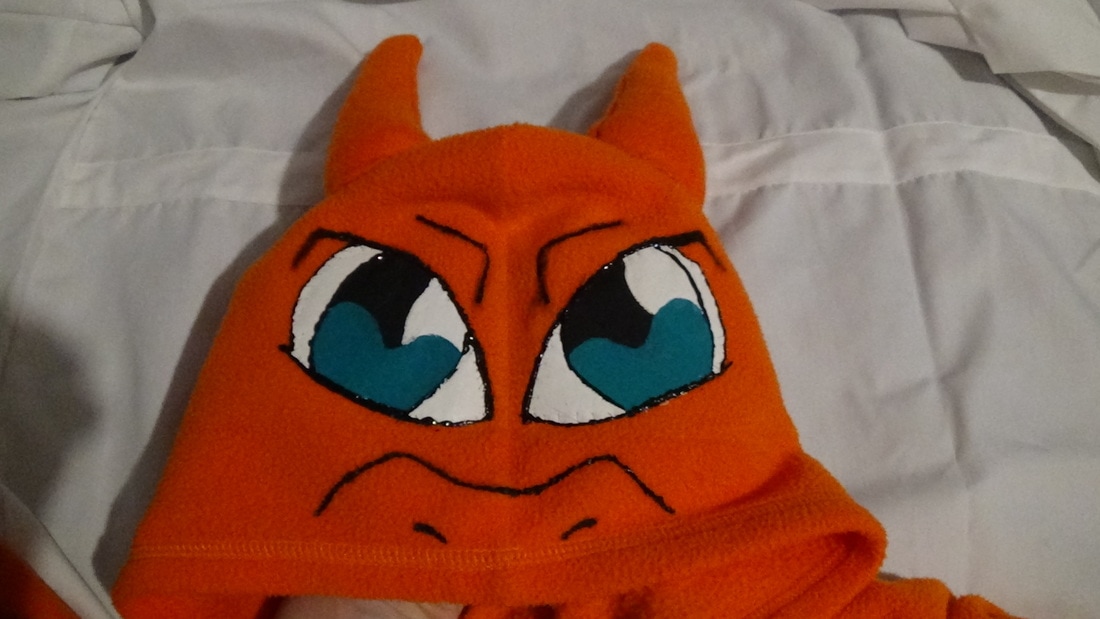
For the face of the hood I cut two eye shapes out of the yellow fabric and painted them with some white acrylic paint, if you have white fabric go ahead and use that, I didn't so this is what I had to do. I then cut out the rest of the eye shapes from more of the yellow fabric that I then painted black, and some of the teal fabric. After heat setting everything, I stitched the eyes on with a loop stitch, and then added the snout with some black fabric paint.
Step 5
Next I used some of my orange felt and cut out four of the horn/antler shapes.
Step 6
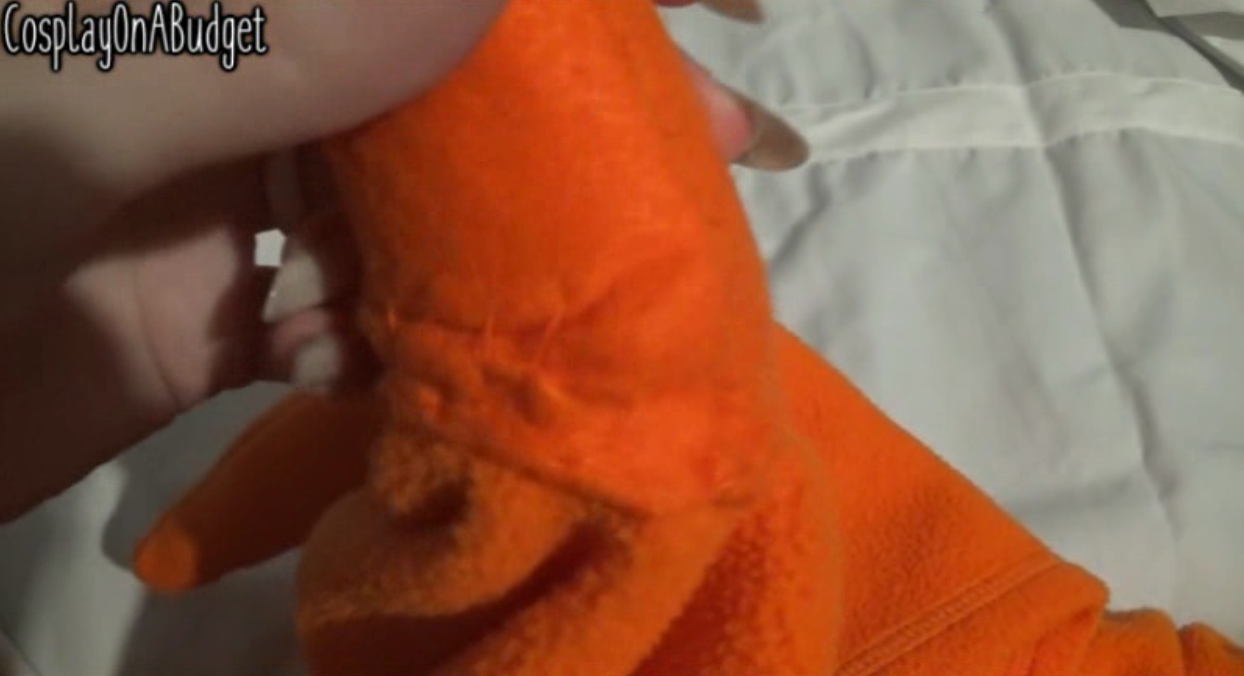
I sewn them together and stuffed them with a little bit of poly-fil. I then attached them to the top of the hood. I also pinched them a bit at the back and stitched to make them so they were tilted back instead of sticking straight up. I also went ahead and used the black fabric paint along the eyes and added some eyebrows/eye ridges
Step 7
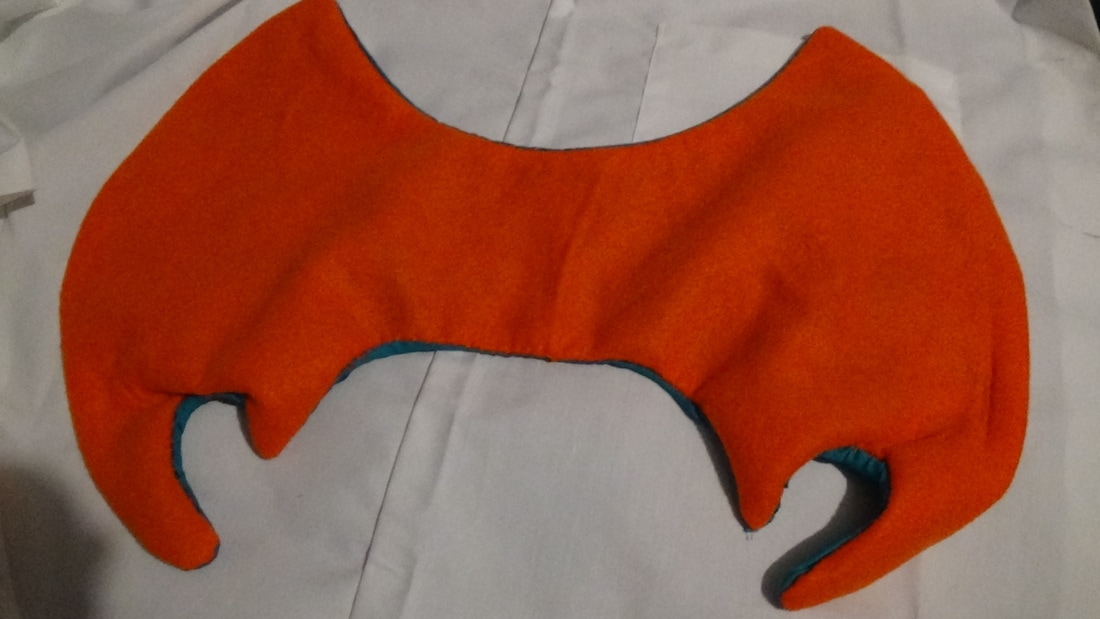
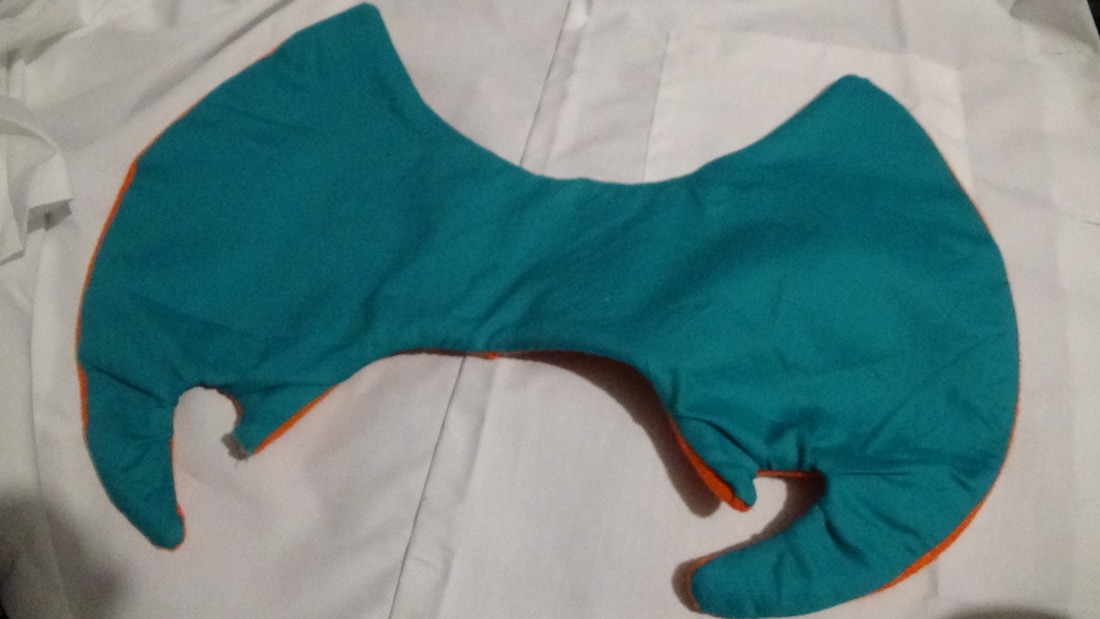
Next up I cut some wing shapes out of the orange felt and teal fabric. Now I would give measurement, but the wing size will not only depend on your size, but also just how big you want the wings.
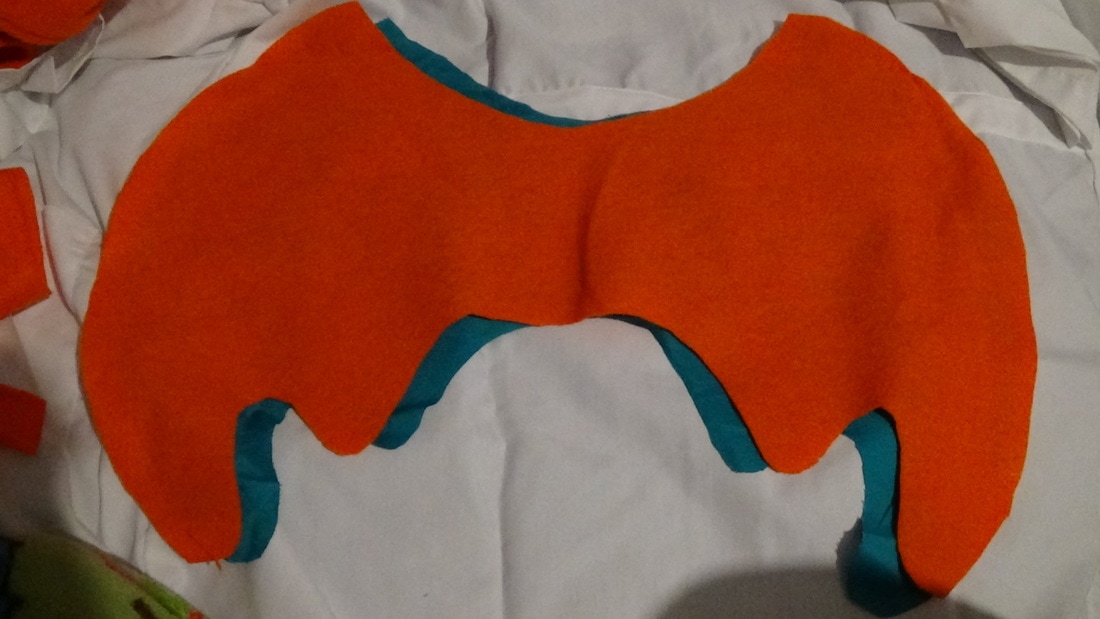

I also cut some "edges" for the wings from the orange felt that will come into play a bit later.
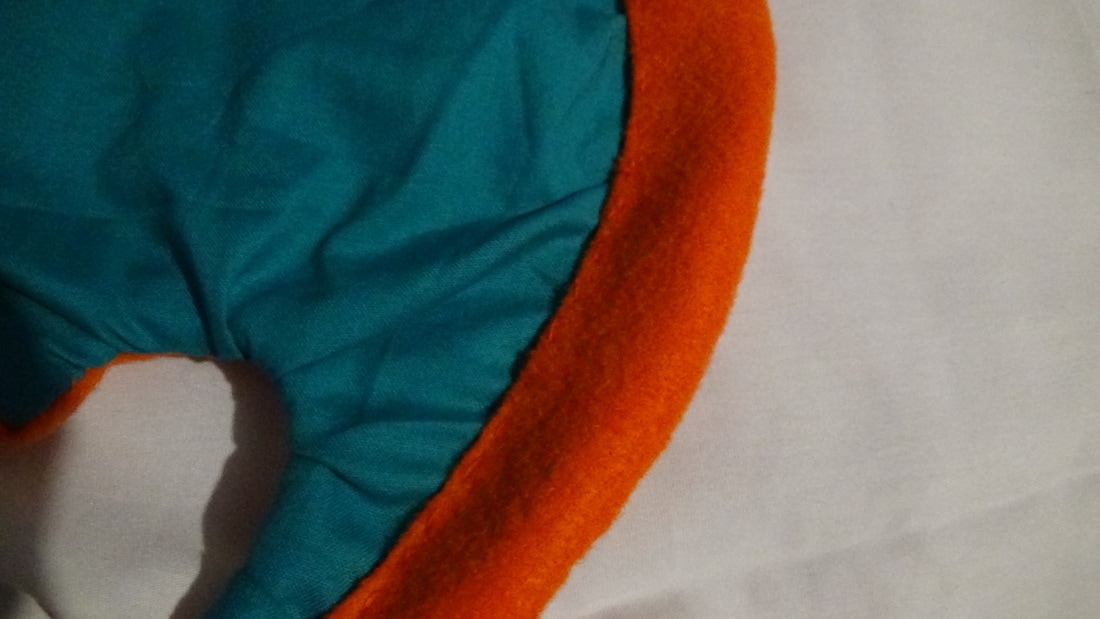
Step 8
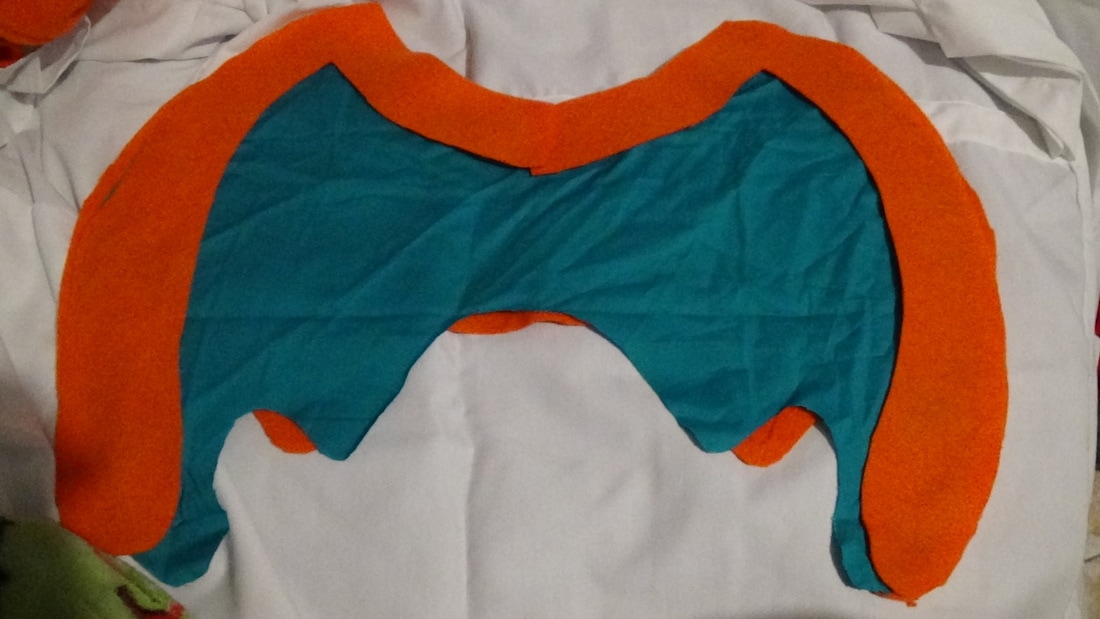
Next I went ahead and stitched the orange and teal fabrics together.
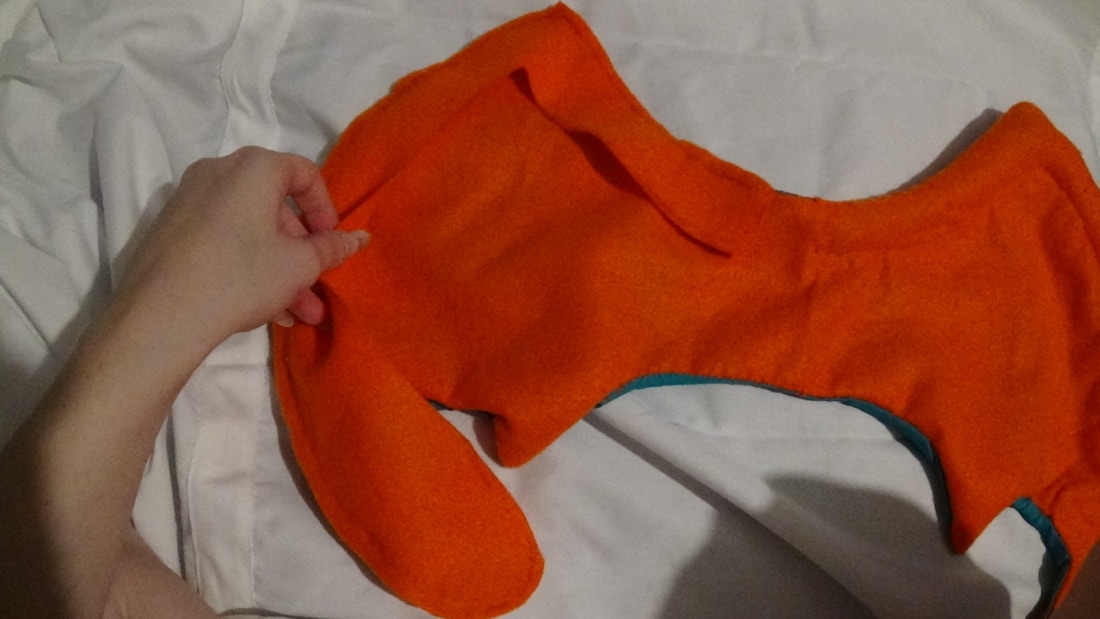
Step 9
Now taking my "edge" pieces, I started by sewing them right sides to the back, orange part of the wing. I then folded them over the wings.
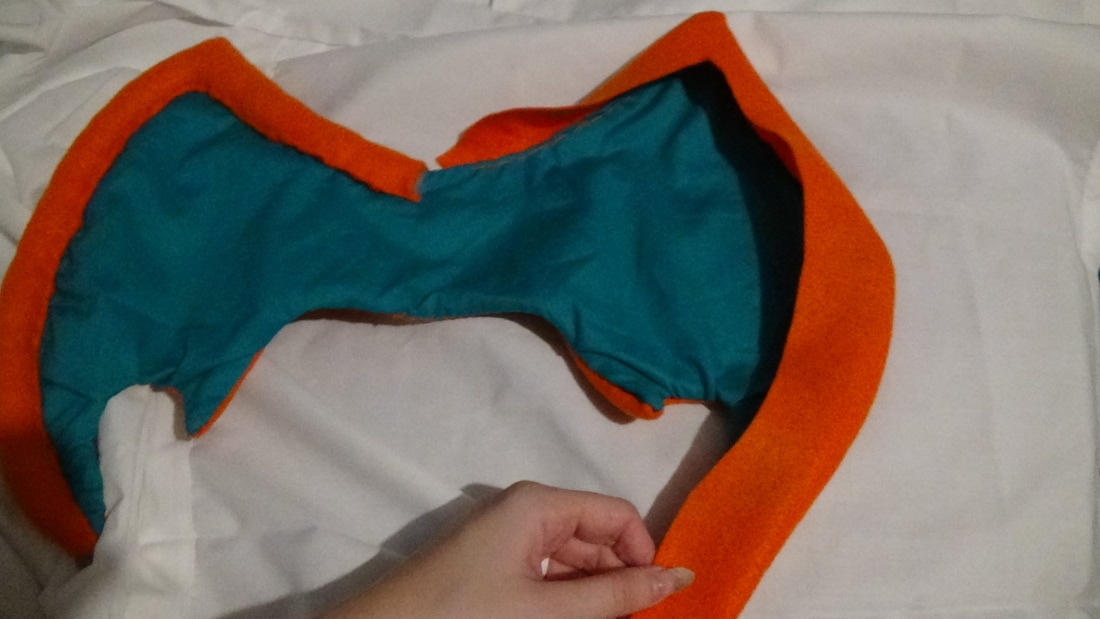
Step 10
I stitched along just the edge of the "edges", creating a tube.
I then stuffed the tubes with some poly-fil. This way the wings will hold their shape, but not be ungodly heavy.

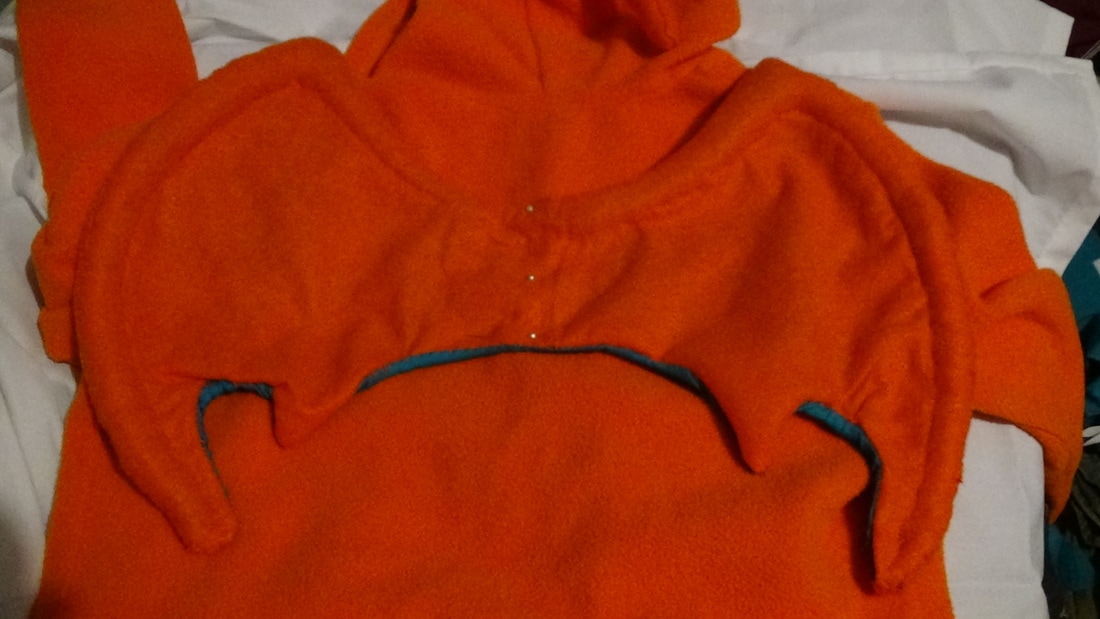
Finishing
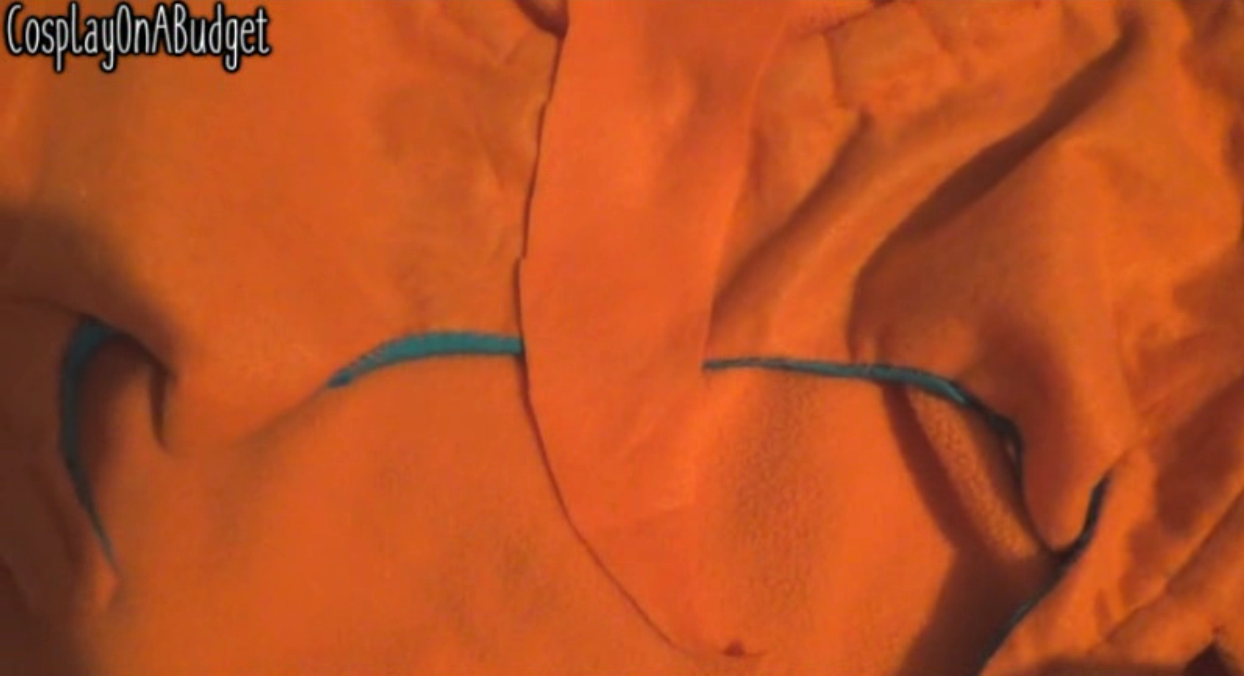
Lastly I found the middle of the wings, and the middle of the hoodie and ran two stitches along it.
I also tilted the wings up a bit and stitched some of the "edges" to the hoodie, this way the wings will stay up and not droop down.
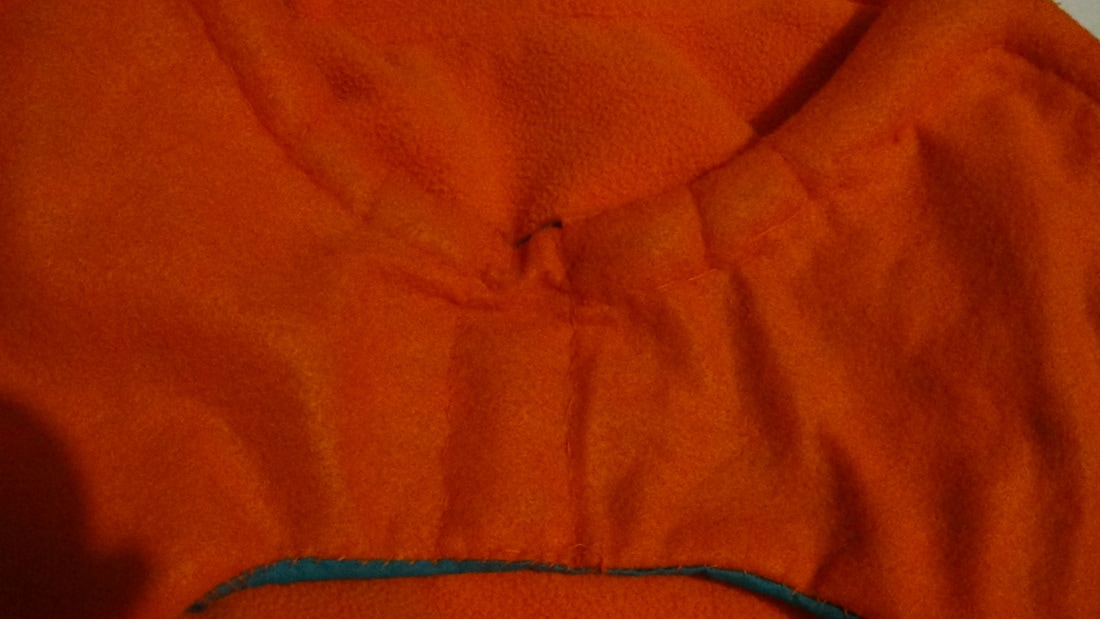
I then took an extra piece of felt and covered the middle seams, but this is optional.
I hope this tutorial helped anyone who needed it. Feel free to check out my Youtube channel, Facebook, or Instagram. If you have any questions, please feel free to message me on there, or email me (email on contact me page)